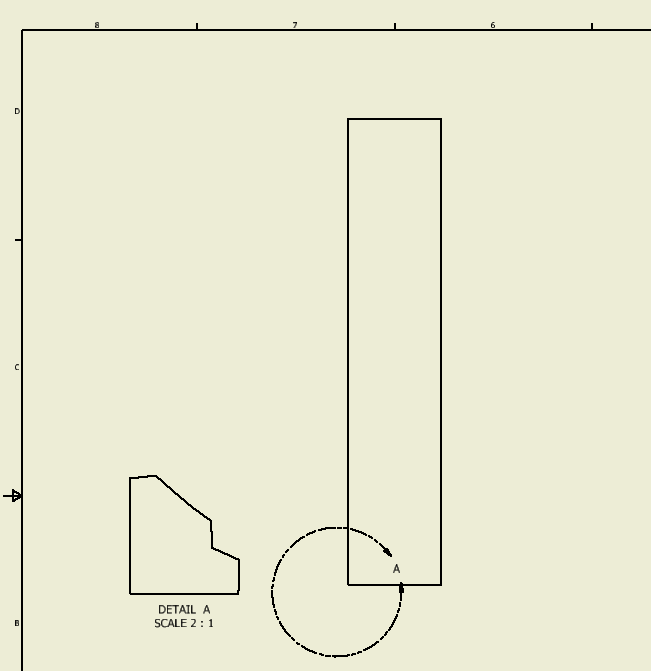
Autodesk Inventor makes dimensioning of 2D drawings quick and easy, but there are some designs that need a little extra thought when dimensioning. One example would be working with radial dimensions of cylindrical parts when using a detail view. In this case, you won’t be able to quickly dimension from the edge of the part to the axis center-line.
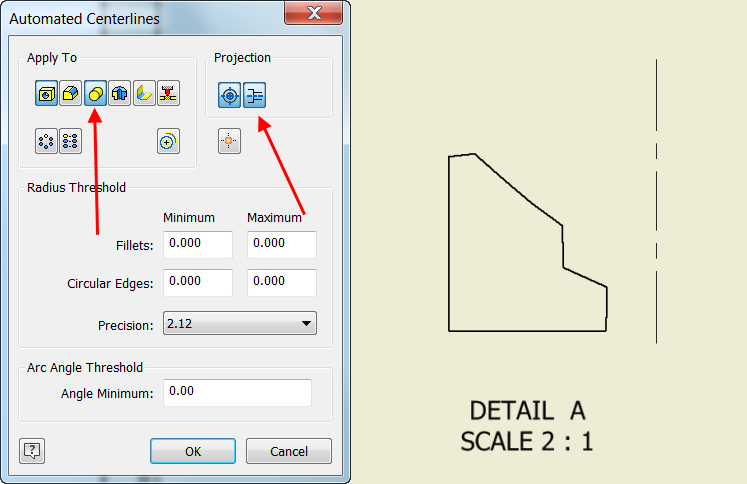
To solve this problem, you will need to right click on the section view and choose the Automated Centerlines option. From there, under the Apply To section, choose Cylindrical Features. From the Projection section, choose Objects in View, Axis Parallel. After that, your centerline will be created, and it is simple to set your dimensions as you normally would.
For more information on this workflow, additional tricks on dimensions and more, take a look at this Quick Tip video.
If you’re looking for more help with Autodesk Inventor, please make sure to check out the Autodesk Inventor YouTube channel. If you have more specific questions about Autodesk Inventor, please feel free to reach out to our experts on the Autodesk Inventor forums.


After you create the detail, using the arrow down to expose the origin of the part under the detail. Right click on the desired axis and choose include. Initiate the dimension command and choose your points. After you chose your second point, right click and choose linear dimension under dimension type. Right click on the centerline and choose to make the line not visible. Done.
Thanks for the tip! Paul
There is a much faster way of doing this and you do not need to mess op your dimension styles.