We are often asked how to import parts from Autodesk Inventor into Autodesk Revit. The workflow isn’t too difficult, but there are a few steps to take to make sure that your parts import with the proper orientation. The first step is to make sure that the top and front of the part is defined properly in Inventor. After this, you can use the BIM content environment to export building components. You will typically want to take this opportunity to reduce the complexity of the part to remove details that are unnecessary in Revit.
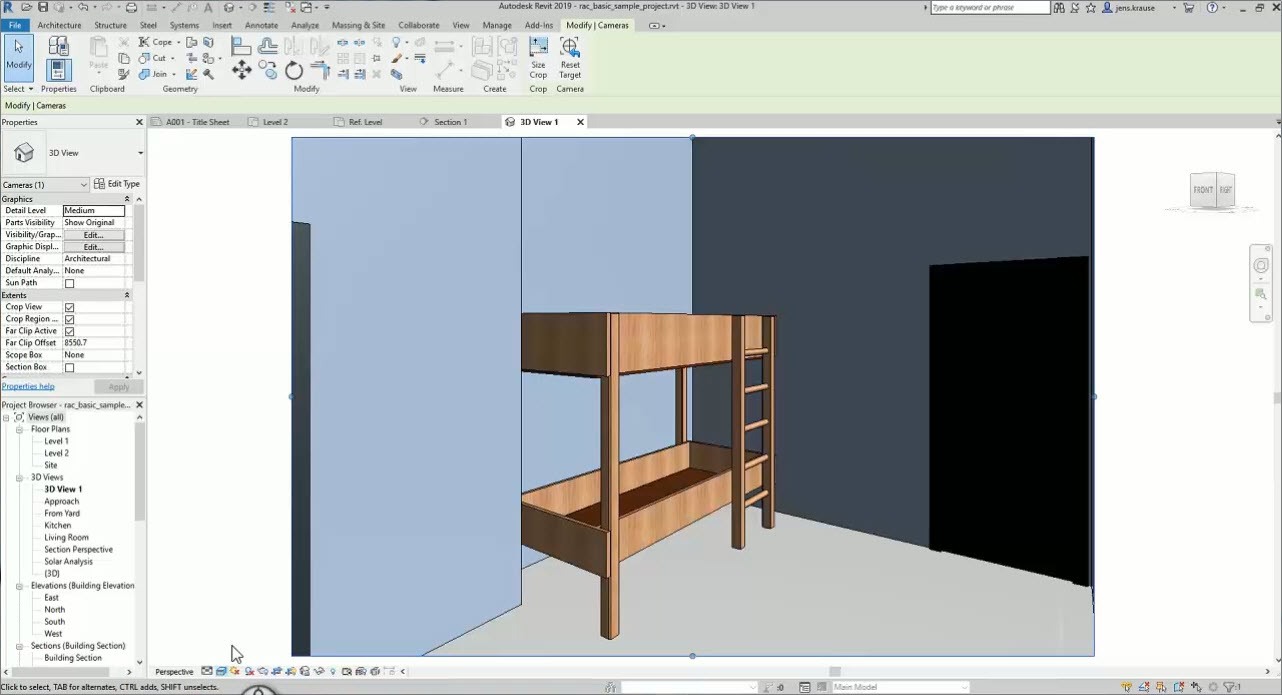
Once the object is opened in Revit, reference it to the local coordinate system of the family and adjust the height and location accordingly. To make sure the newly added object is in the right location, create a quick camera view to see the part in 3D.
The video below will walk you through the process of taking parts from Autodesk Inventor and placing them in Revit.
If you’re looking for more help with Autodesk Inventor, please make sure to check out the Autodesk Inventor YouTube channel. If you have more specific questions about Autodesk Inventor, please feel free to reach out to our experts on the Autodesk Inventor forums.
Jens


Add comment
Connect with: Log in
There are no comments