It’s that time of year when all the kids go back to school. That means it’s time to invest in all those valuable school supplies. In light of the beginning of a new season, I thought I’d use the most common back to school item everyone thinks of for our next Inventor quick tip.
We’re going to customize our engraved pencil text per company name and graphite specification. Then I’ll show how to automate the process of changing the text using parameters and set up a form.
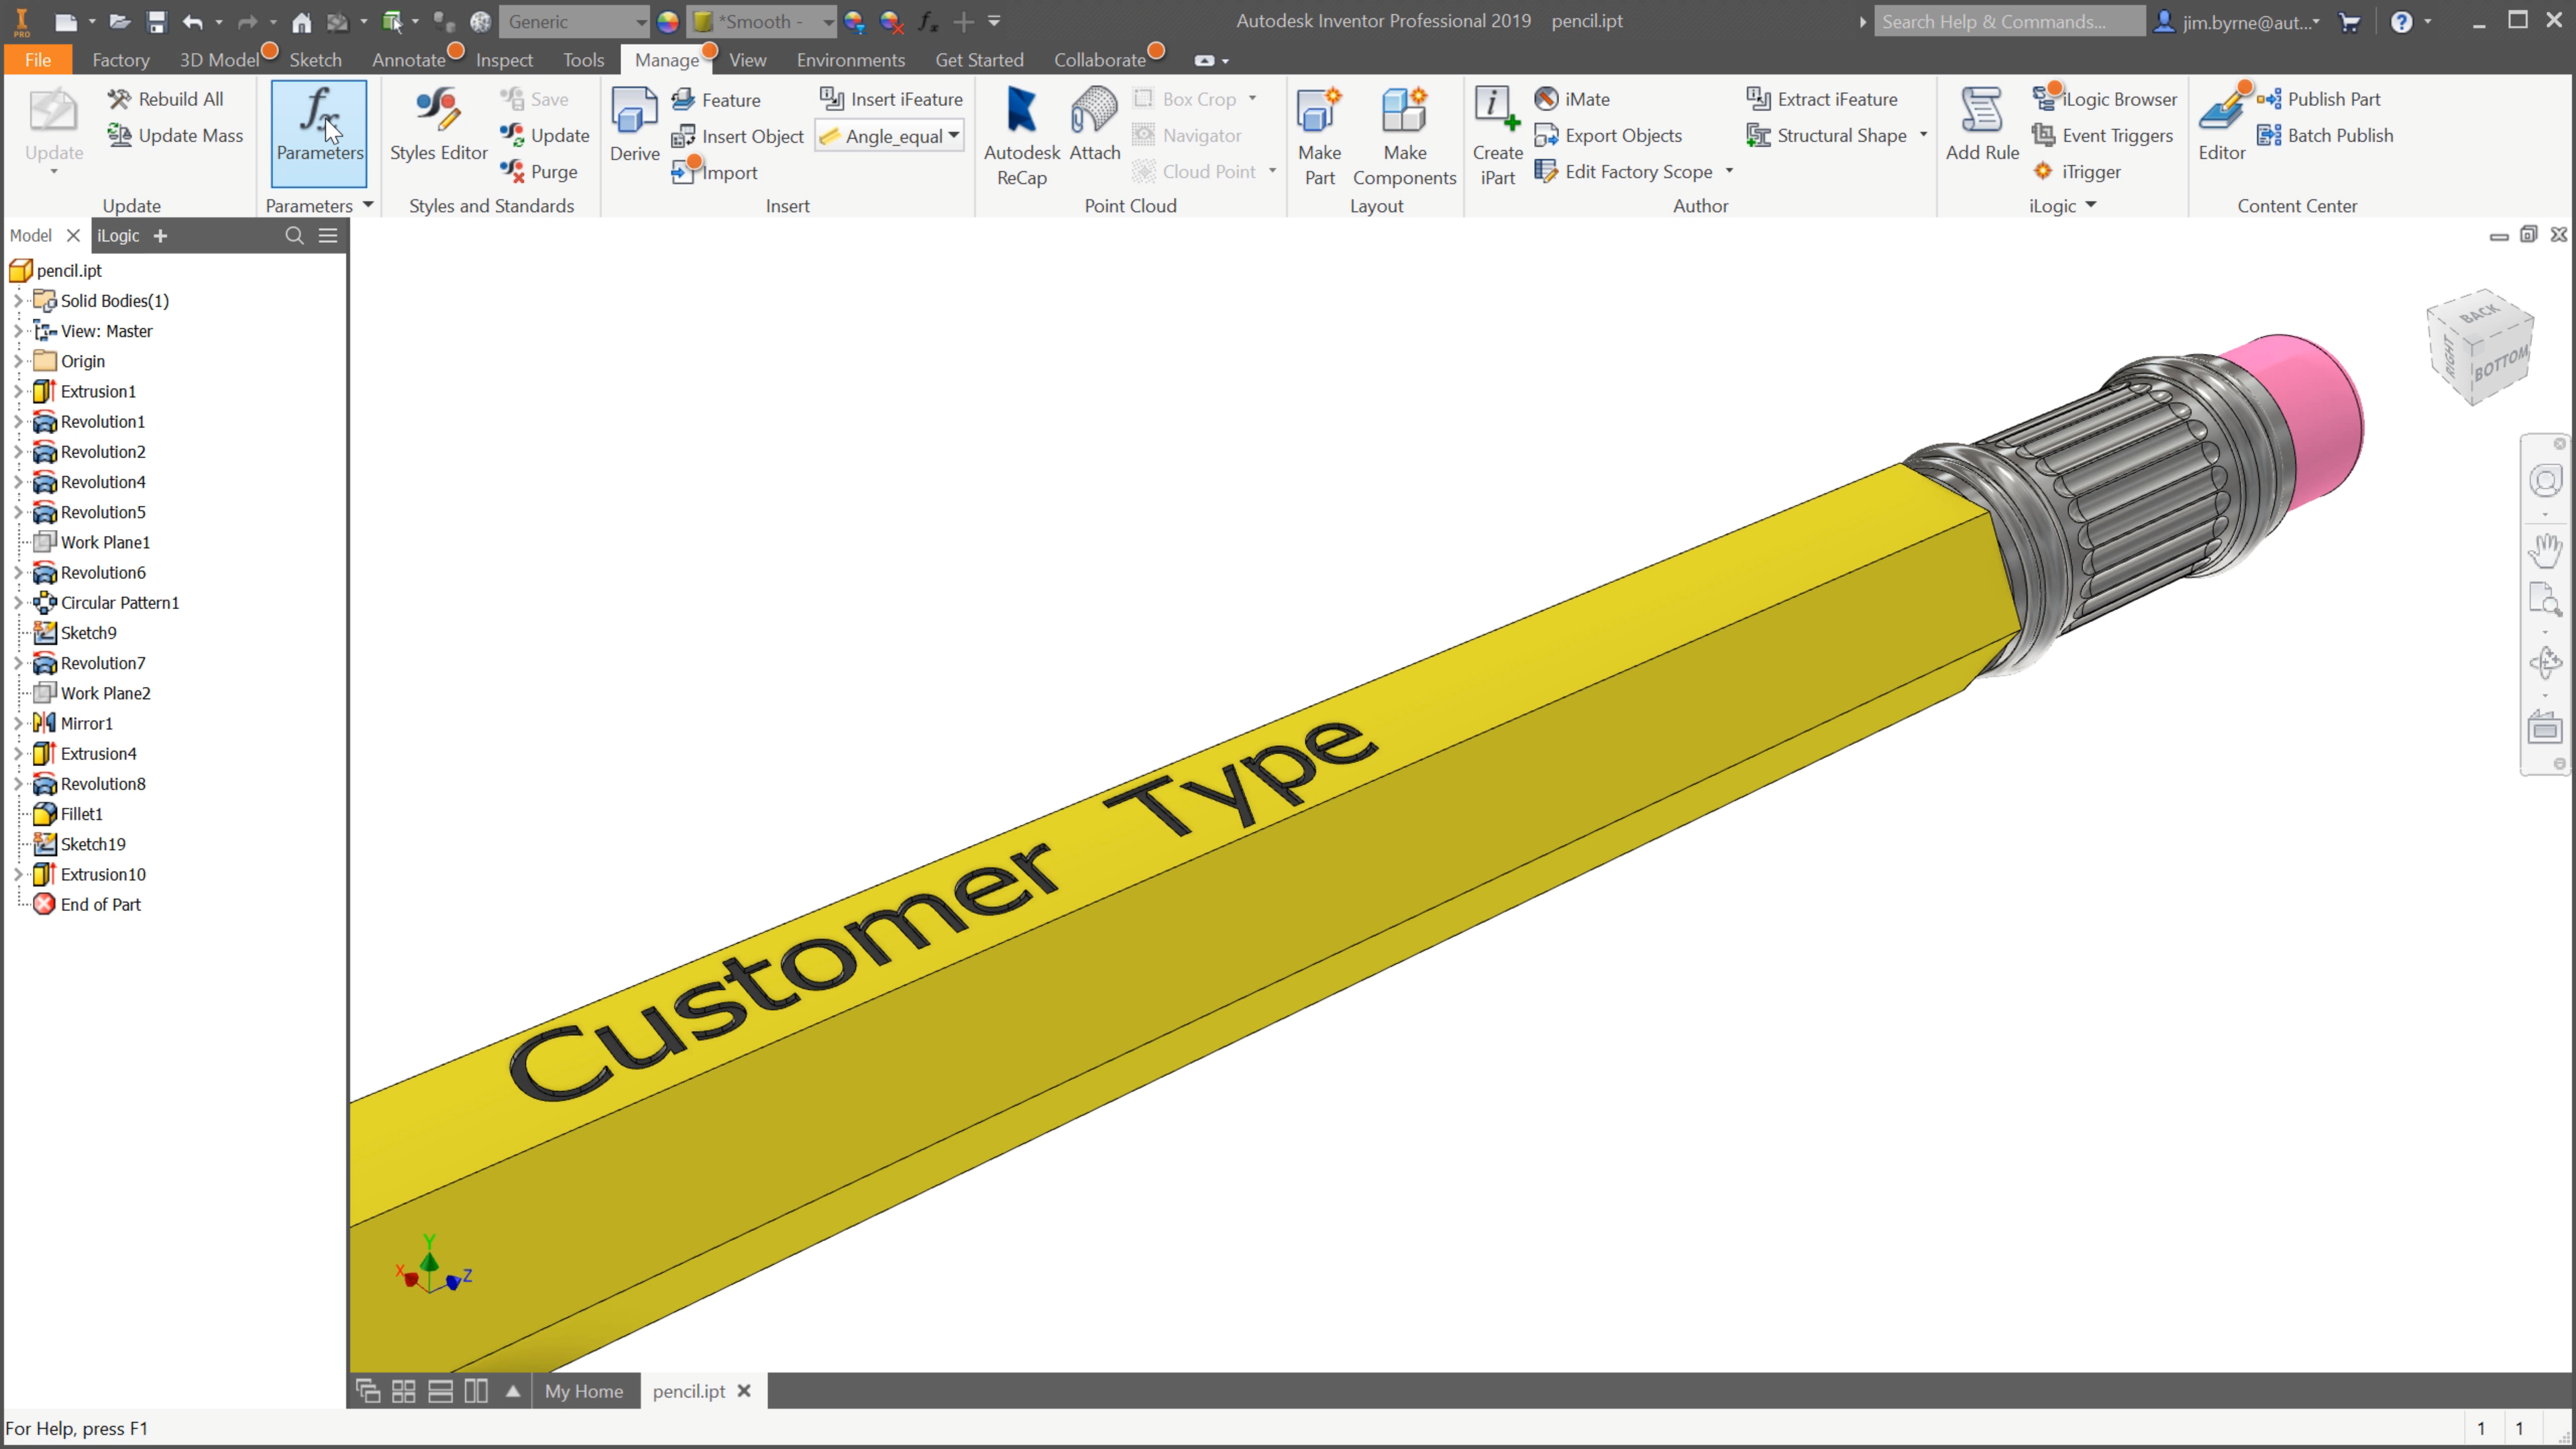
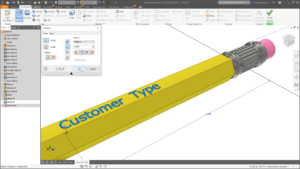
Most of you who are veteran users of Inventor are already familiar with the first step. Create a new sketch, place the desired text, and use it as the sketch profile for an extrude feature.
Then access the parameters dialog to add variables for the text. The values for your new user parameters can be entered manually or create a list to choose from.

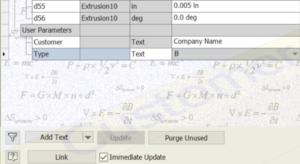
Then you can add those parameters to the extruded text you created earlier. You will find the option to include them in the text box.

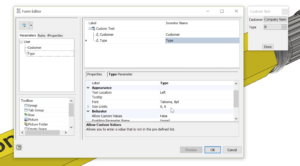
Now we will take it a step further. We can make the text even easier to edit by creating an iLogic form. In the iLogic browser, right-click and add a form. Finally, provide a name and drag in the parameters. Next time the text needs to be changed, simply open the form and fill it in.
This is a great feature for part templates. Set up the parameters and form and then save them into your template.
Would you like to try this on your models? Take two minutes to watch the following YouTube video.
 Jim Byrne joined Autodesk in 2013 on the design and manufacturing marketing team. Prior to joining Autodesk, Jim worked at a local reseller for 14 years selling and supporting CAD, Simulation, and data management solutions. He also has three years of experience in the industry as a machine designer.


Add comment
Connect with: Log in
There are no comments