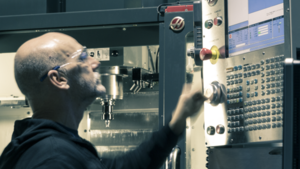
In this Quick tip CJ Abraham at the Autodesk Pier 9 workshop will demonstrate how to use tool break control. Tool break control is used in the middle of a program to determine wither or not the tool is intact. This is useful if you’re performing unattended machining operations and would like a fail-safe in place to stop the machine if there is a problem. Keep in mind, this feature require a machine that has a tool probe. In this case, we are using a Haas Automation VF2 SS with a Renishaw tool probe system installed.
To demonstrate, we are using the stock Haas Milling post found in the Autodesk Post library here: http://cam.autodesk.com/posts/?p=haas
Tool break control can be enabled two ways:
At Each tool change, by activating the “tool break control” check box in the tool library.
With this method, the tool is checked before the given tool is put back in the tool changer. Should the tool be broken, the machine will stop and wait for an operator to change out the tool.

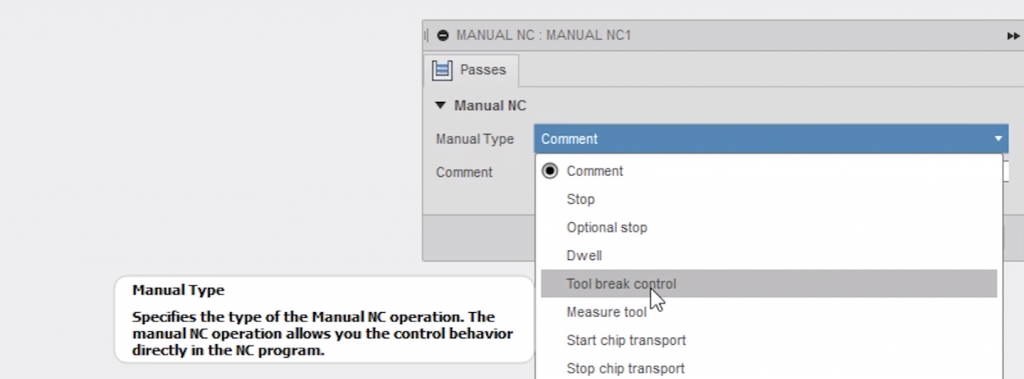
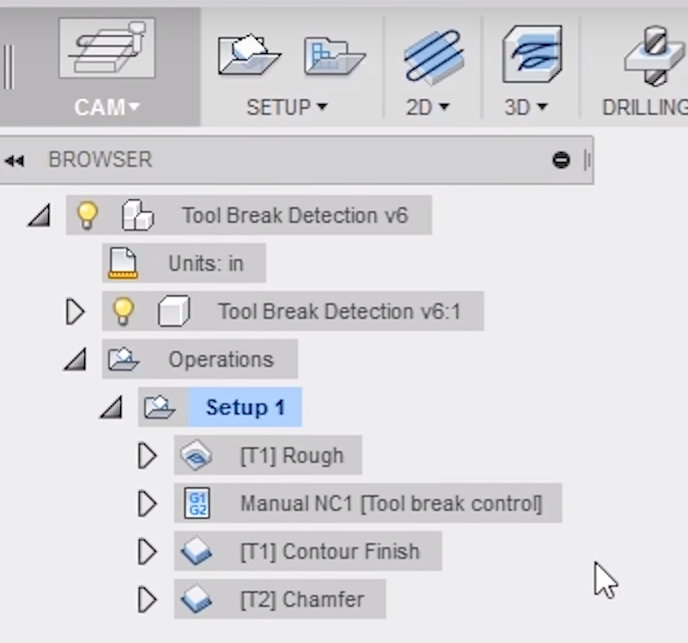
At any point in the program using a Manual NC operation.
In this case, a tool can be check in between operations, even if the operations us the same tool.
Happy posting!


Add comment
Connect with: Log in
There are no comments