Autodesk and FARO examines all the constraints and solutions of smart metrology for additive manufacturing in the future factory.
Measurement is critically important to the advancement of smarter, future factories. Inspection eliminates defects before the end-user, and measurement of manufacturing processes lets engineers understand them and make them more efficient.
If factories are to become faster and more flexible, inspection is a bottleneck to overcome, especially in industries where 100% inspection is required.
As manufacturing becomes more responsive and connected, customizable, more flexible and in-process metrology techniques for machined, molded, cast and additively manufactured (AM) parts will become more important.
New measurement methods, involving more in-process technology, are reducing human intervention. Measurement data, connected to a Manufacturing Execution System, for example, can receive, validate and pass the measurements automatically, enabling “connected factories”.

The challenges with additive manufacturing
Components made by additive manufacturing technologies (AM) have more variables than machined parts. Manufacturing a product additively incurs a complex and dynamic thermal environment, where the operator won’t know if there are defects in the component when it’s finished. No data exist’s on the quality of the material before it is manufactured. Additional inspection is required in order to identify whether there is stress, fatigue or other physical defects in the properties of the AM component.
Additive manufacturing can make intricate geometries and internal structures which you may not be able to inspect with a traditional CMM
Faster inspection for additive manufacturing is more challenging because AM processes are not as accurate as cutting metal. Better metrology for AM will also reduce AM feedstock and costs.
The aim is always to reduce cycle times for inspection and eliminate scrap and costly rework.
 Standards and hardware for AM measurement
There are no universal standards for how additively-made parts must be inspected. The scale-up of AM will have effect the standards industry, challenging international organizations such as ISO to set suitable standards for AM metrology in fast-paced, flexible factories.
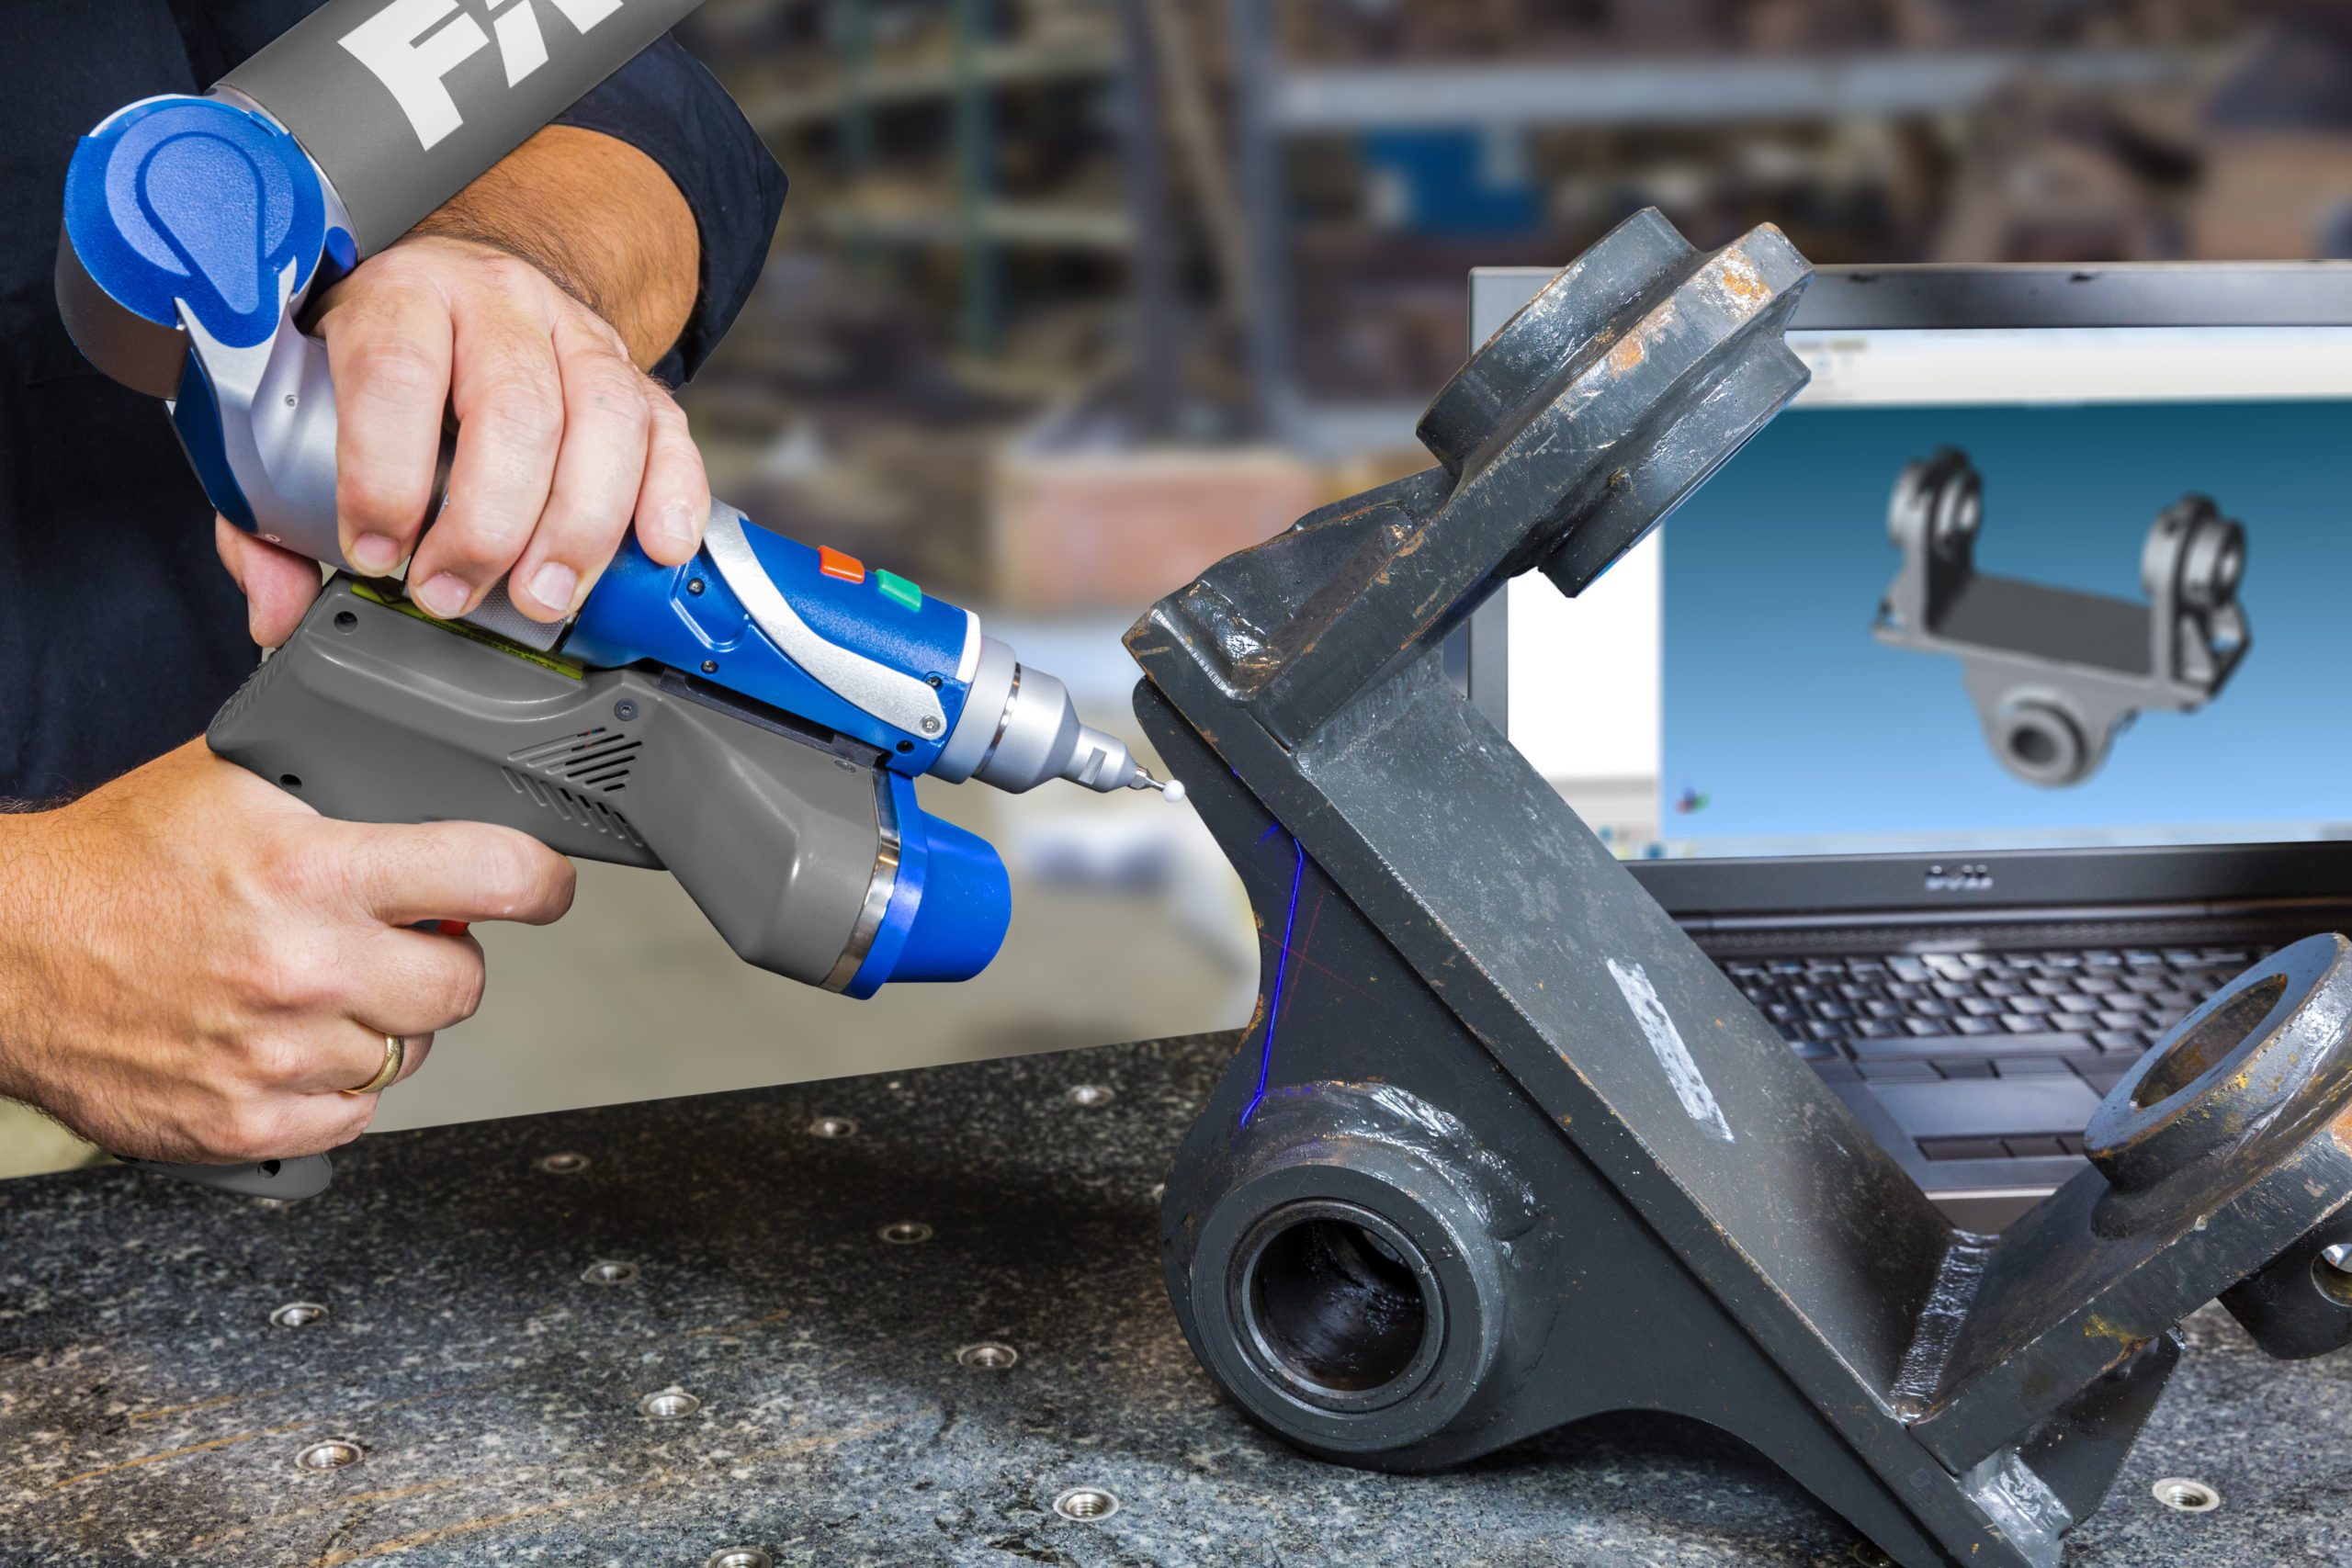
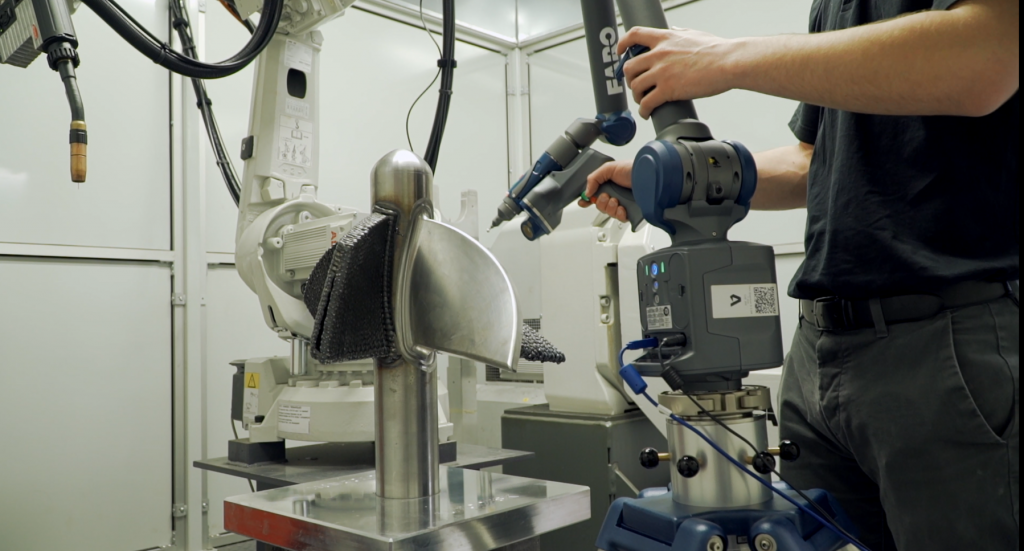
The lab-based coordinate measurement machine (CMM) has been joined by non-contact scanners, mobile and robot-mounted CMMs, and scanner arrays for fast, post-process monitoring and measurement.
Non-contact scanning and portability are being deployed for AM measurement. Portable scanners can collect all the data for AM parts with a pre-programmed set of scans and apply different analysis via software.
Scanning imager arrays – multiple scanners – can be used to measure multiple AM parts, which can be measured in different orientations as they exit the printer or AM machine. These array units can be connected to an “Industry 4.0 networked database” to recording inspection statistics and feed them back into the production system.
 Powerful software such as Autodesk’s Nettfab is used for AM, to programme different types of machines for additive processes, for taking measurements of components and assessing their suitability for additive.
In AM measurement, one future challenge is to make critical components that need internal inspection. The next step in inspection for additive manufacture is to perfect a flexible inspection process for a part that can be different every single time, in higher volume production.


