Autodesk Forma, available in the AEC Collection or as a standalone subscription, offers powerful AI-powered tools for architects and designers in pre-design and schematic design phases.
Executive summary
These are highlights from the 2024 Autodesk University Class hosted by Krzysztof Jedrzejewski (Principal Group Product Manager Autodesk Forma); Bill Allen (President, EvolveLAB); Ben Guler (Vice President, EvolveLAB).
- Concept design: Use Forma and the Veras extension to generate AI visuals to kickstart the ideation process
- Detailed design: Continue with Revit and Veras to refine the design
- Presentation and collaboration: Bring your visuals, models, and analyses together in Forma Board
In this blog post we’ll share tips on how to use AI to effortlessly create stunning imagery and compelling storyboards for concept and schematic design.
This opens the doors for more informed decision making, more effective, storytelling throughout the design stages, and improved discussions with your clients.
TOOLS
We’ll be using EvolveLAB’s Veras for Forma app first for ideation, then the Veras for Revit app for visualization, and lastly the Forma Board to bring everything together to create your presentation.
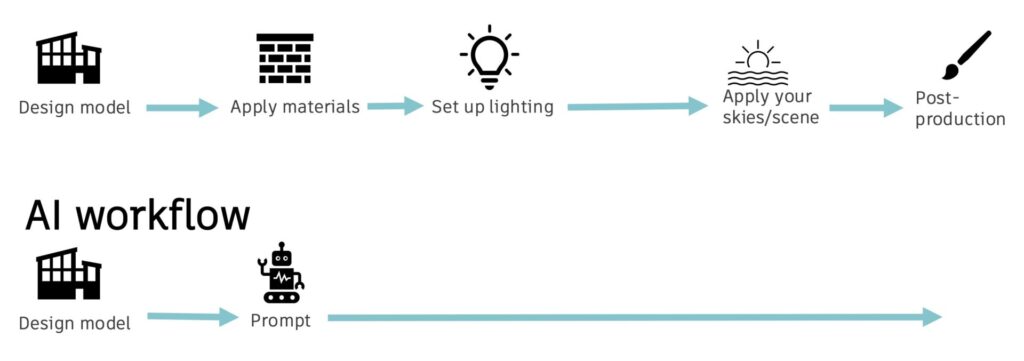
TRADITIONAL PROCESS VS AI RENDERING
We all know traditional rendering can be a very time-consuming process. Meanwhile project deadlines are only getting tighter.
With the Veras extension, it’s quick and easy to create the visuals you need: use your Forma or Revit model as the basis and just prompt the rest!
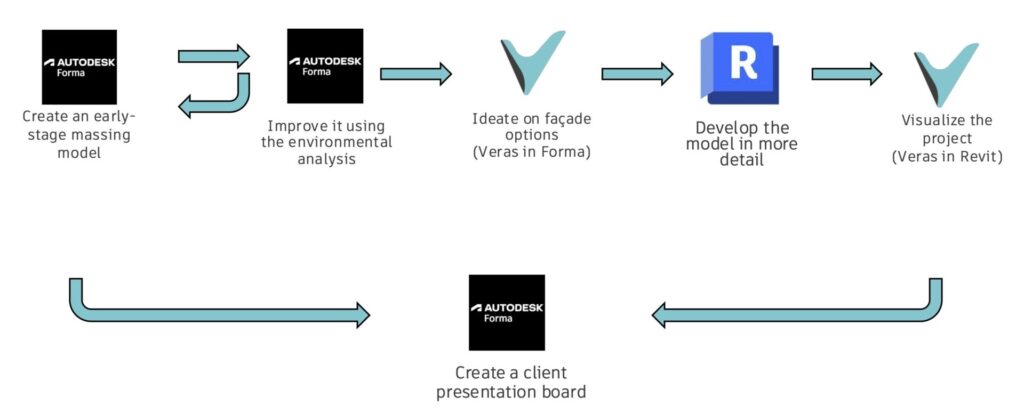
IDEATION: FORMA+VERAS
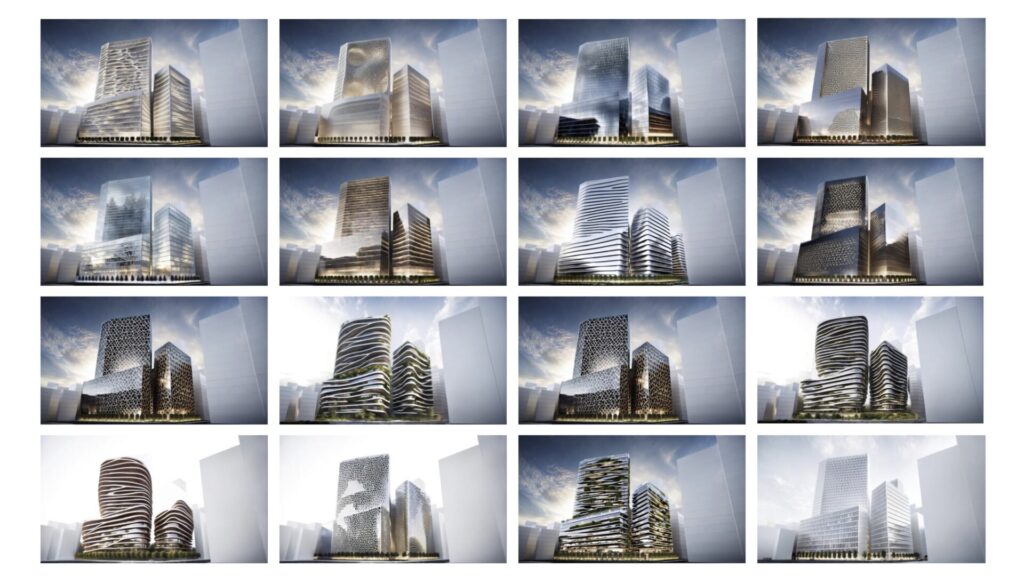
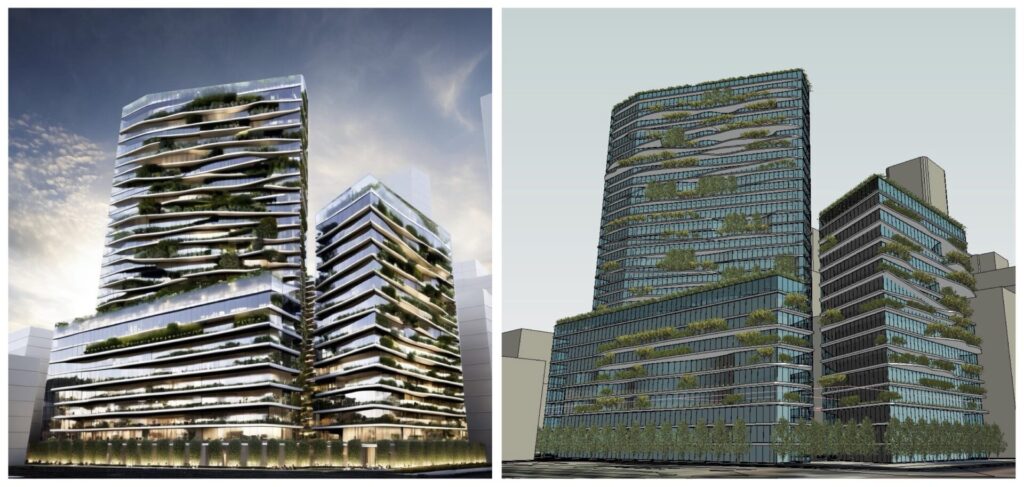
DO: Generate site-specific options directly from your Forma massing model to quickly test ideas
Generating ideas using text to image tools is useful for visual brainstorming–like a precedent study–but doesn’t consider your actual site, context, program, restrictions etc.
In short, they’re just random pictures and NOT your specific project.
Using Veras in Forma, you can generate a huge range of site-specific options directly from your Forma massing model so you can quickly test ideas, compare options, and see what works best for your site.
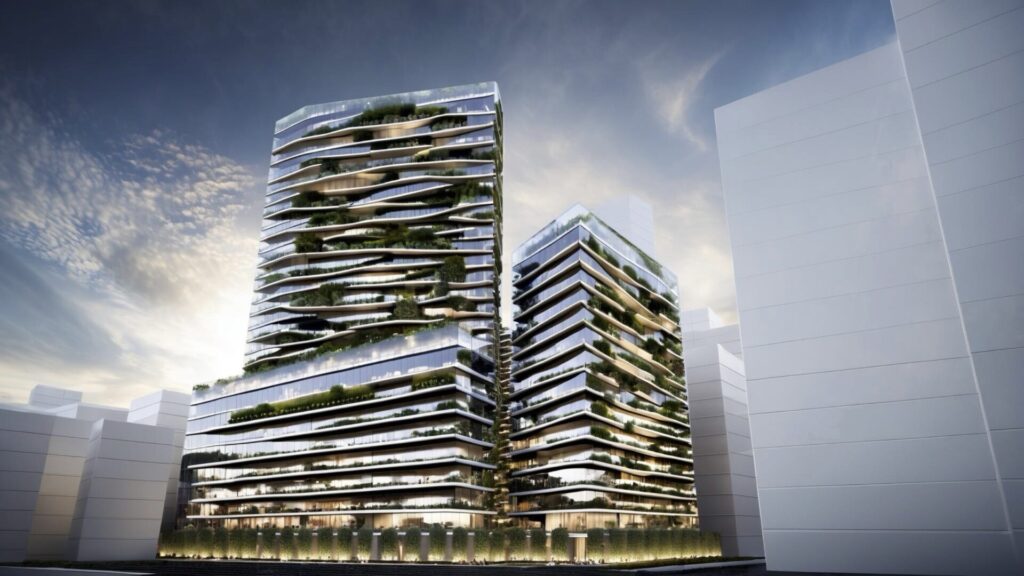
OK, the client likes this option below–let’s go with it.
VISUALIZATION: REVIT+VERAS
DO: Send your Forma model directly to Revit to refine your design and create more detailed visualizations
Use the “Send to Revit” button in Forma.
Then use the “Load Proposal” button in Revit
It’s that easy.
Now that we have the Forma model as native Revit elements, we can add more detail to the Revit model inspired from our Veras Image.
And when you’re ready, let the prompting begin!
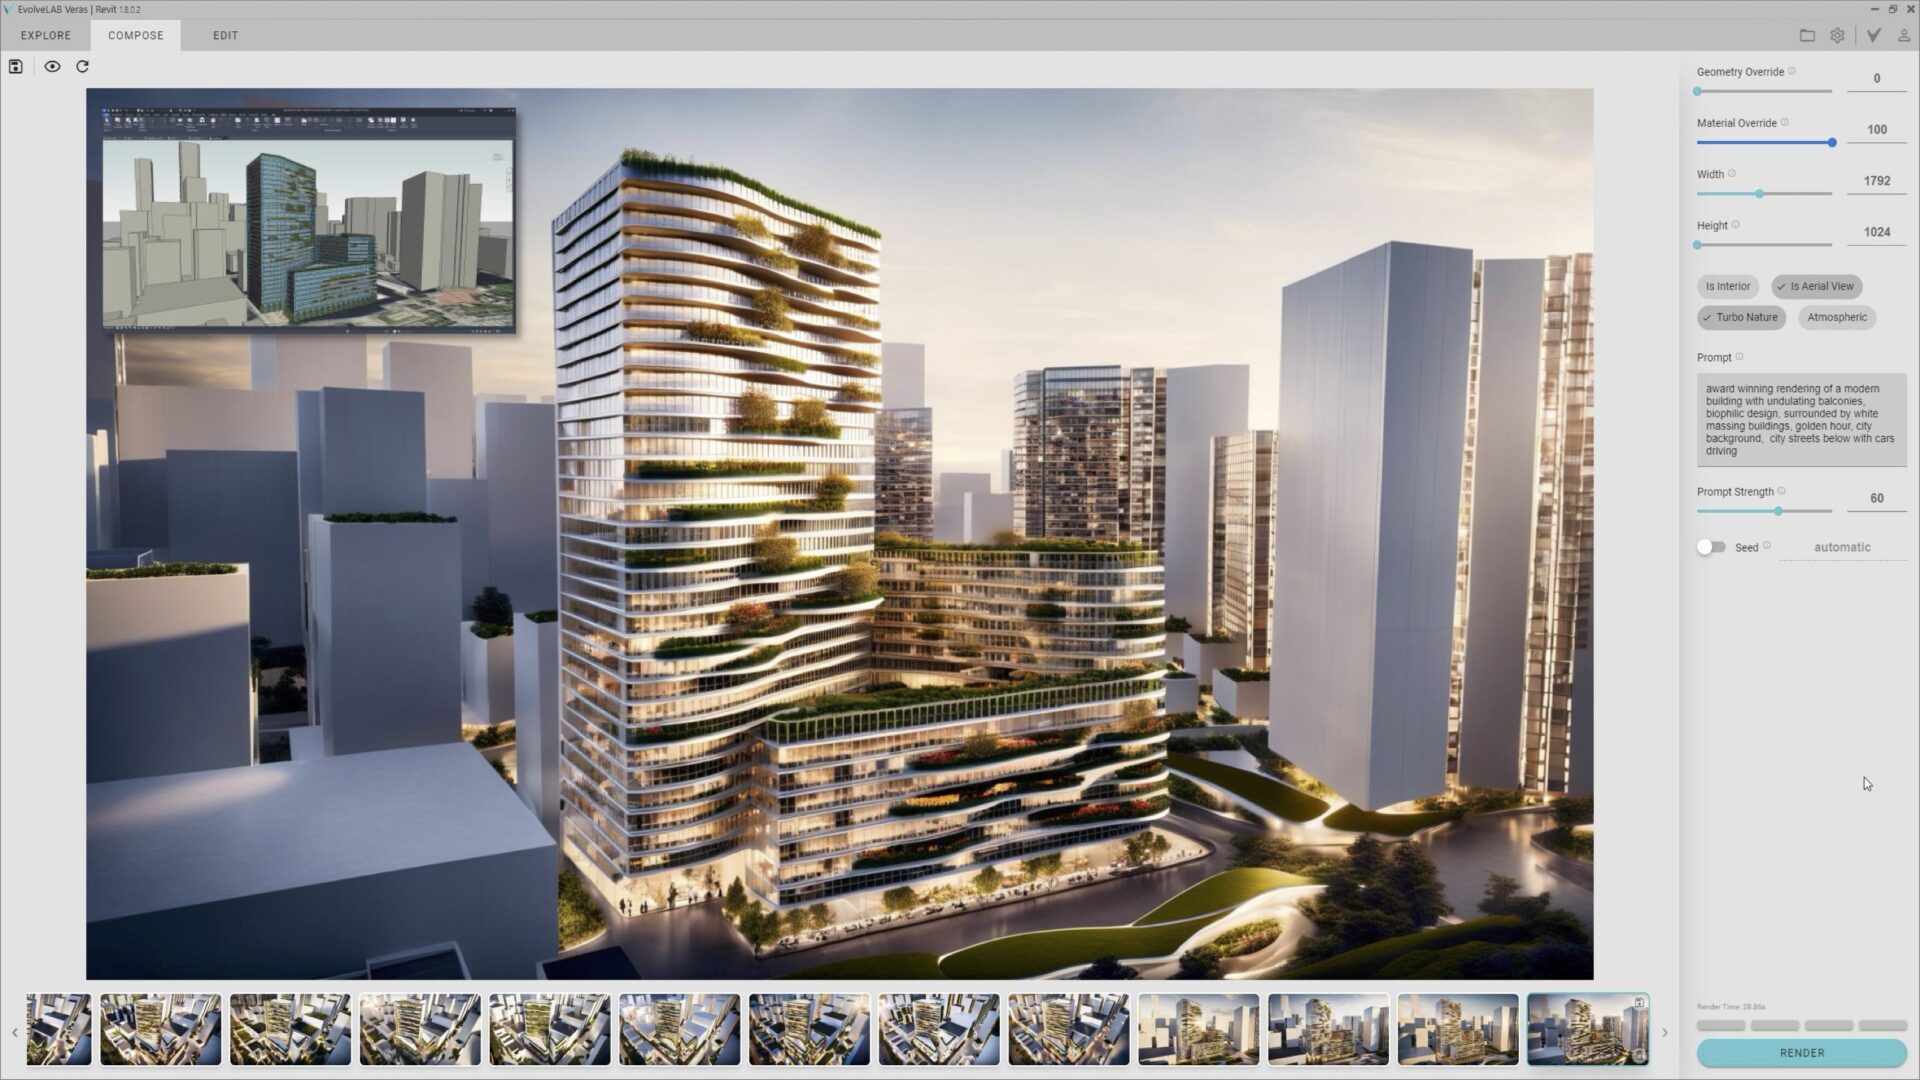
Every time you make design changes in Revit, just re-prompt to update your rendering.
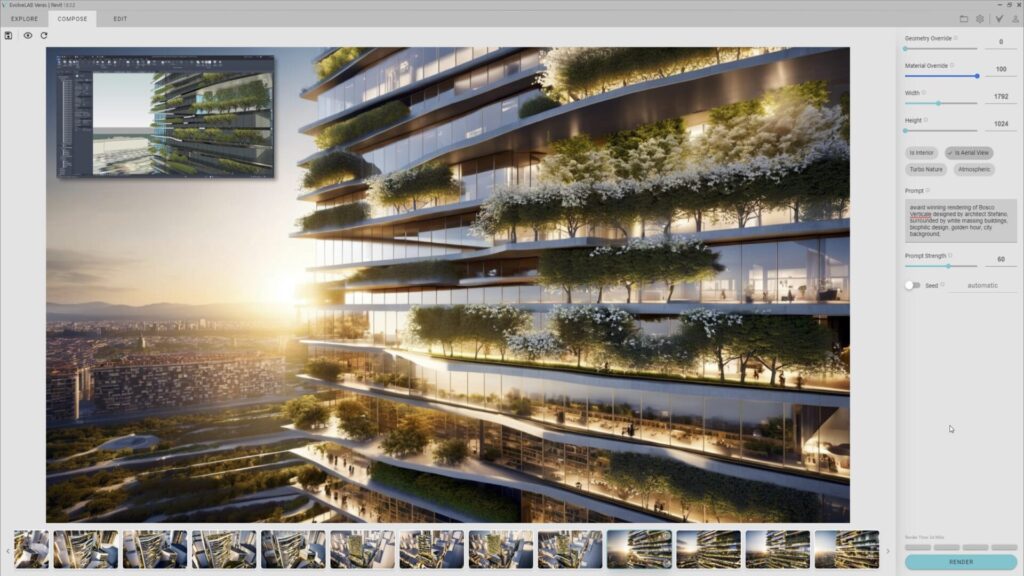
Now we can get started on the interiors too.
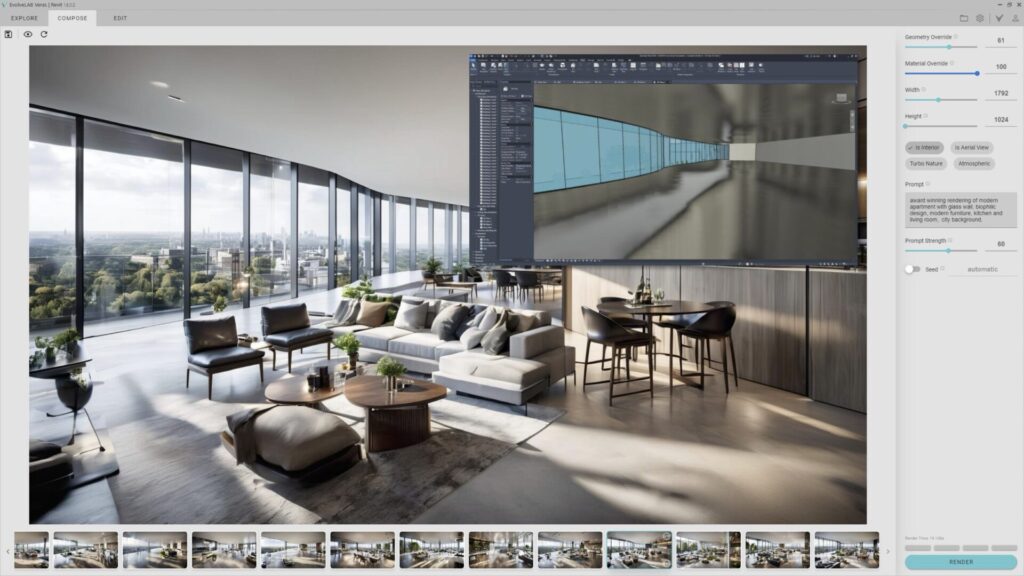
Let’s look at some best practices for prompting.
DO: Break down your prompt into categories to get specific results
So think about the:
- Subject/main idea
- Aesthetic
- Style and details
- Artists/visual style
- Lighting and color palette
- Other details
- Weather
- Season
DO: Think about the order of your prompts
Start with the big picture ideas first and then get into the nitty gritty.
The text at the start of the prompt automatically gets more attention from the AI–so focus on getting this right first.
And always use a comma to separate your ideas.
DON’T: use vague wording
Nobody likes unclear instructions and the same applies to AI.
Keep the prompt clear and concise, instead of vague and open to interpretation.
DON’T: write long, complete sentences; write shorter statements
Break down the prompt into short, descriptive statements–like you would write bullet points. The more vivid the better. And don’t worry about making these grammatically correct.
Start first with a few simple–big picture–prompts to test the renders.
Once you’re happy with the overall direction, gradually add more detail to your prompts to finetune the image.
Want to impress your client even more?
DO: Animate the renderings to supercharge your presentations
Now that we have some amazing images to show our client, we can even use them in another AI software called Runway to create cool videos.
Now it’s time to create a convincing presentation.
DO: Bring all your renderings, models, and analyses in one place for clear communication and easy collaboration
Bring everything together–your hand sketches, site plans, 3D models, environmental analyses, renderings–into the Forma Board.
You can share it with your client and your team, you can comment, draw arrows, add sticky notes all in real time so it makes feedback sessions easier and more fun!
Want to get started in Forma? Head to: Autodesk.com/Forma
Download the Veras extension from the extension hub.
Happy prompting!
Check out the full class here.