Revit 2018.0 has the ability to generate Piping Component Files (PCF) files from fabrication level of detail piping models using a simple macro. PCF files are used in the piping industry to automate a variety of process, such as stress analysis, generation of documentation (such as isometrics), and even to automate shop equipment.
The PCF creation engine in Revit 2018 is the same as what was historically in Autodesk Fabrication CADmep, and used by some users to generate isometrics. As long as you are using Fabrication (ITM) based piping components in Revit, you can use a relatively simple macro to output the PCF file, which will include the pipe, fittings, valves, and hangers. There are some limitations in our current output, for example, we’re not presently outputting fluid information or pipe wall thickness.
Here’s the scoop on how to create a PCF file from Revit.
Macro Creation
To create the macro, follow these steps:
- On the Manage tab > Macro panel > click Macro Manager.
- In the Macro Manager window:
- Select the Application tab.
- On the right side, under Module, click Create.
- In the Create a New Module window:
- Enter the name MyPipingUtilities
- Leave the Language as C#.
- Click OK.
- In the Macro Manager window:
- On the right side, under Module, click Macro
- In the Create a New Macro window:
- Enter the name ExportSelectionToPCF
- Click OK.
- The SharpDevelop macro editing environment will open.
You are now ready to write the associated code.
Writing the Code
There will be a pre-populated function block created as shown below.
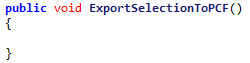
- Between the curly braces, copy and paste the following code:
             Autodesk.Revit.DB.Fabrication.FabricationUtils.ExportToPCF(
                 this.ActiveUIDocument.Document,
                 this.ActiveUIDocument.Selection.GetElementIds().ToList(),
                 "C:\\temp\\somefile.pcf");
Your end result should look like the following:

That’s it! One line of code (well, four lines to improve readability).
- In the SharpDevelop menu.
- Click Build > Build Solution
- Click File > Exit
- Click Yes if prompted to save your changes.
The code will export the selected Pipe Fabrication Part elements to the filename indicated. Feel free to refine this code to change the path or further modify to suit your workflow needs.
Testing the Functionality
Now, you can try it out!
- In a model with some Pipe Fabrication Parts.
- Select the elements you want to output.
- On the Manage tab > Macros panel > click Macro Manager
- Select the Application tab
- Expand (if necessary) the tree so you can select ExportSelectionToPCF under MyPipingUtilities.
- Click Run.
- Verify that the file was created in the indicated location.
Sample Result
Once you have the PCF file generated, you can try it out in your targeted workflow.
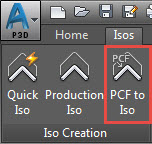
I used the Plant 3D PCF to ISO feature to generate a single line isometric.
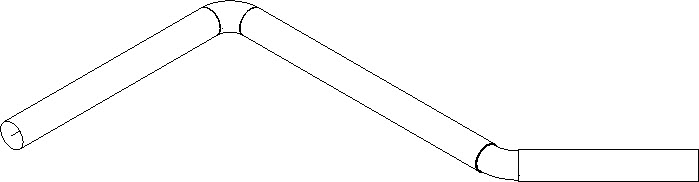
Here’s the original model in Revit.
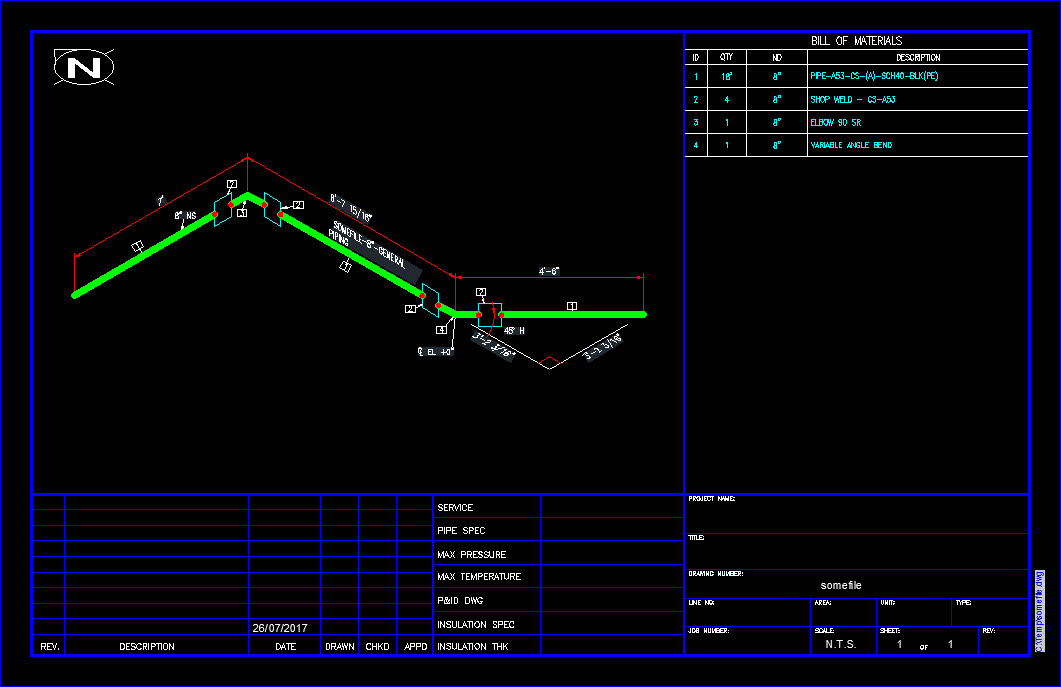
Here’s the resulting isometric.
We would love to hear your feedback on this functionality, it will help us prioritize the refinement to achieve the workflows important to you.
See Part 2: Exporting PCF Files from Revit 2018 – Part 2 (Assemblies) to learn how to create a PCF file from Revit.


