If you’re not using views in Autodesk Inventor, now is your time to start, and I’ll give you five reasons why.
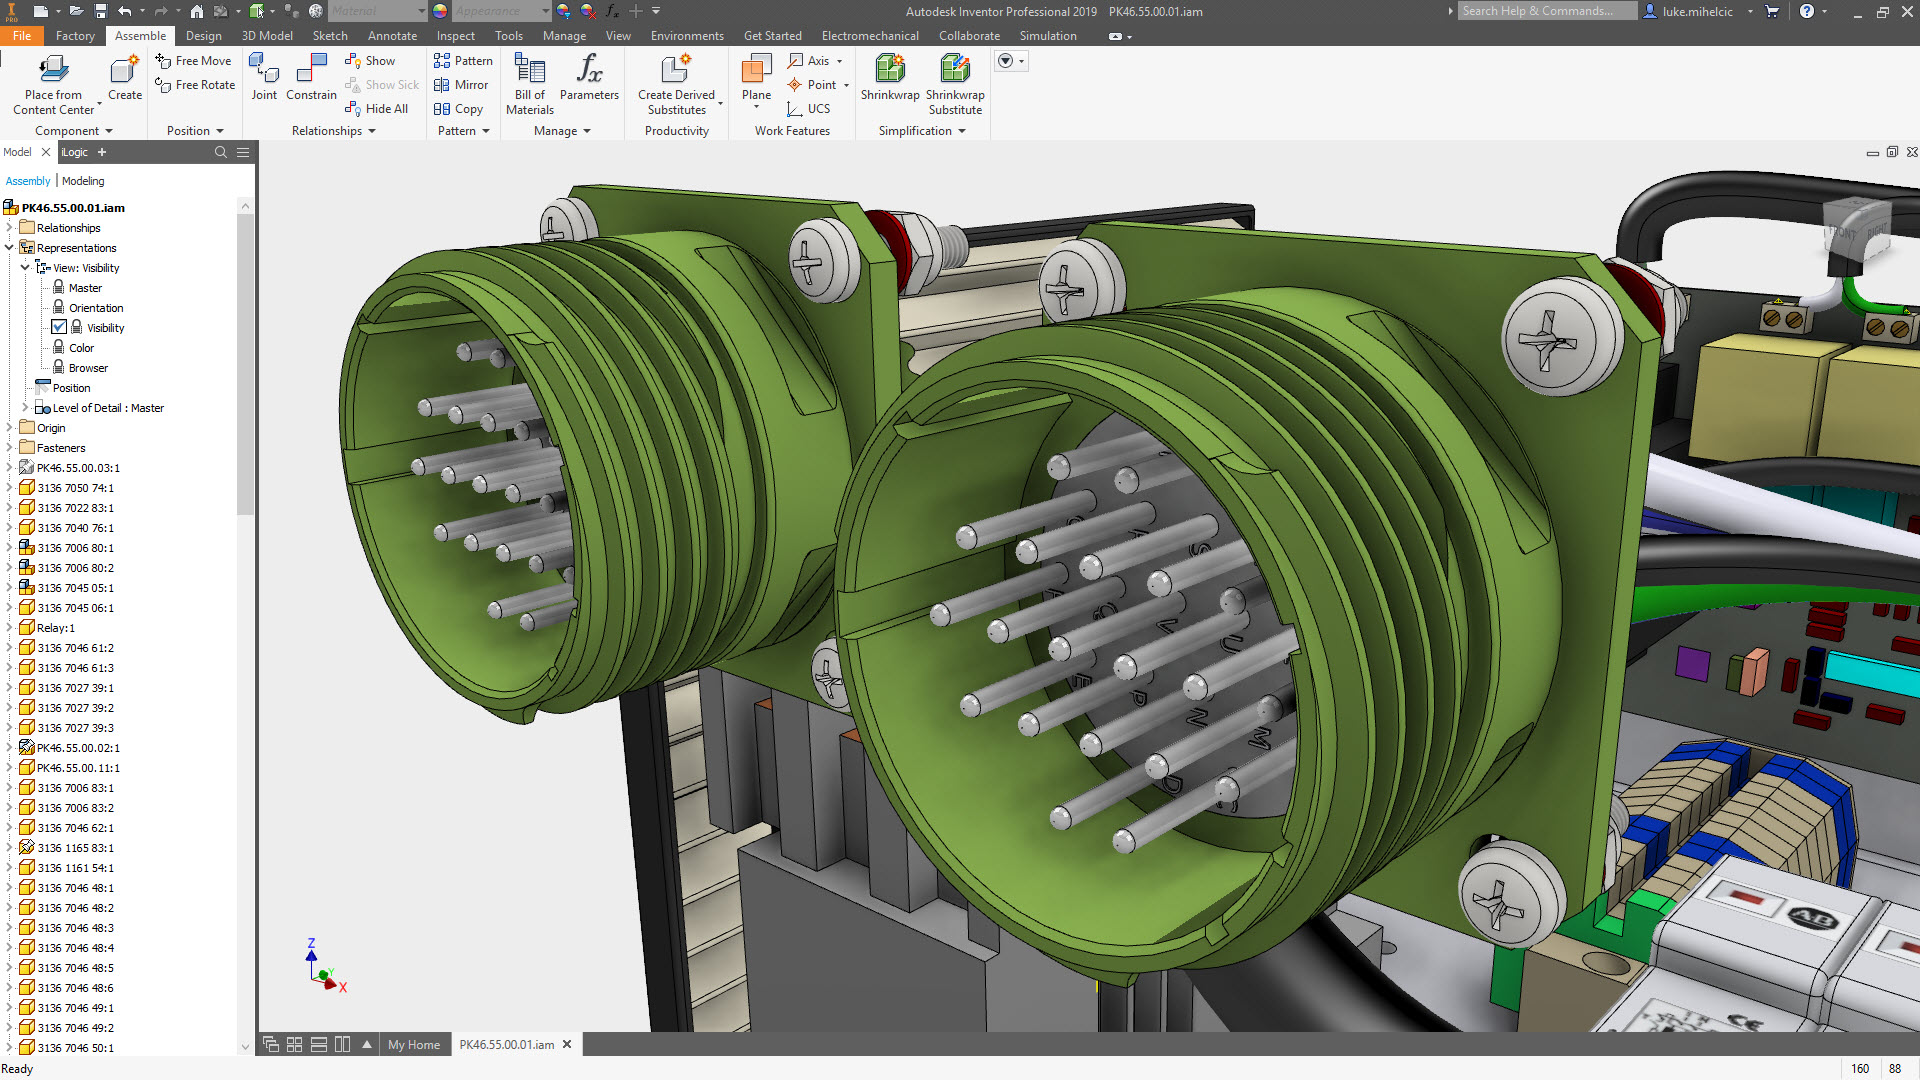
#1 View Orientation
Have you ever wanted to duplicate a screen capture, rendering or video clip of something you did three weeks ago? My guess is you can’t seem to get the orientation the same. Creating a view and locking it ensures you have the exact same orientation every time for repeatable screen captures, renderings or video clips.
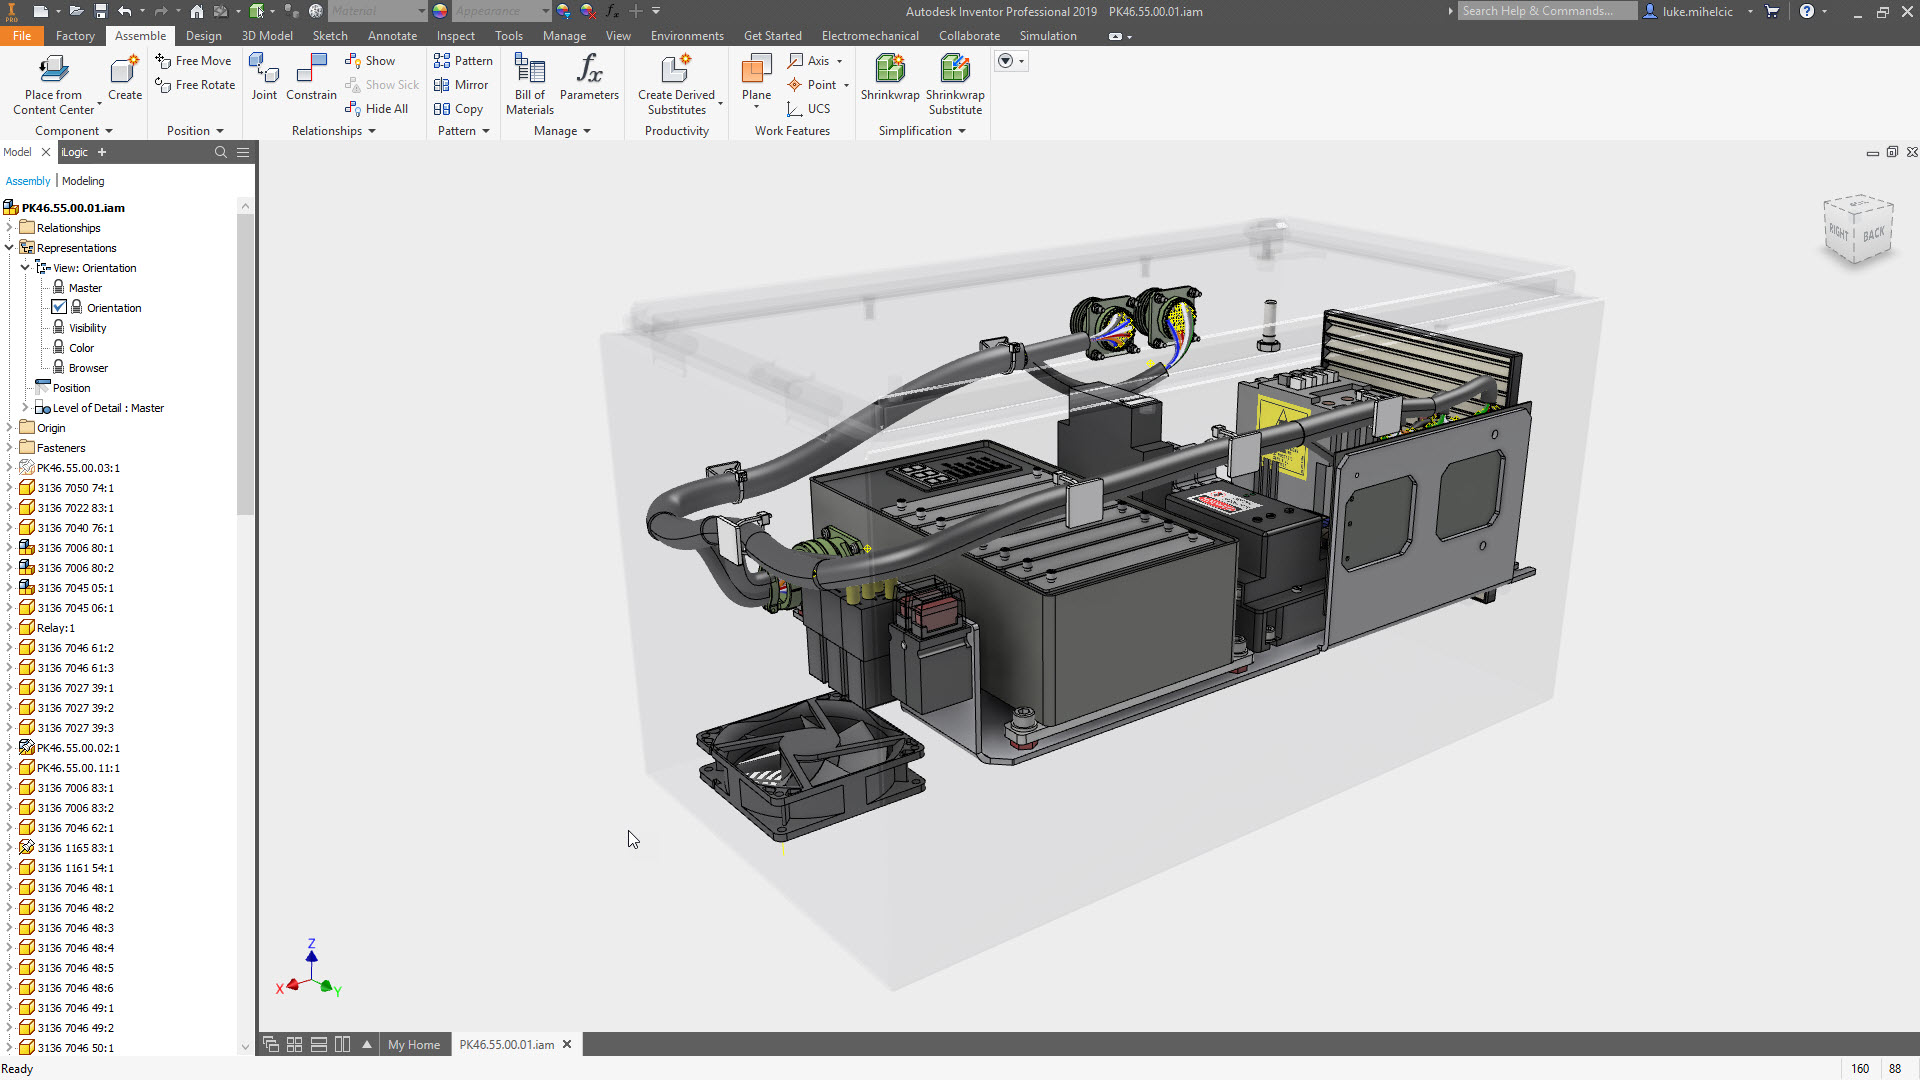
#2 Controlling Visibility
Controlling visibility of parts and assemblies is super easy, right click and visibility. But, what if you’re working on a large assembly and need to come back to the same set of parts and assemblies over and over? Creating a view, adjusting visibility and then locking it ensures you have the same set of components visible.

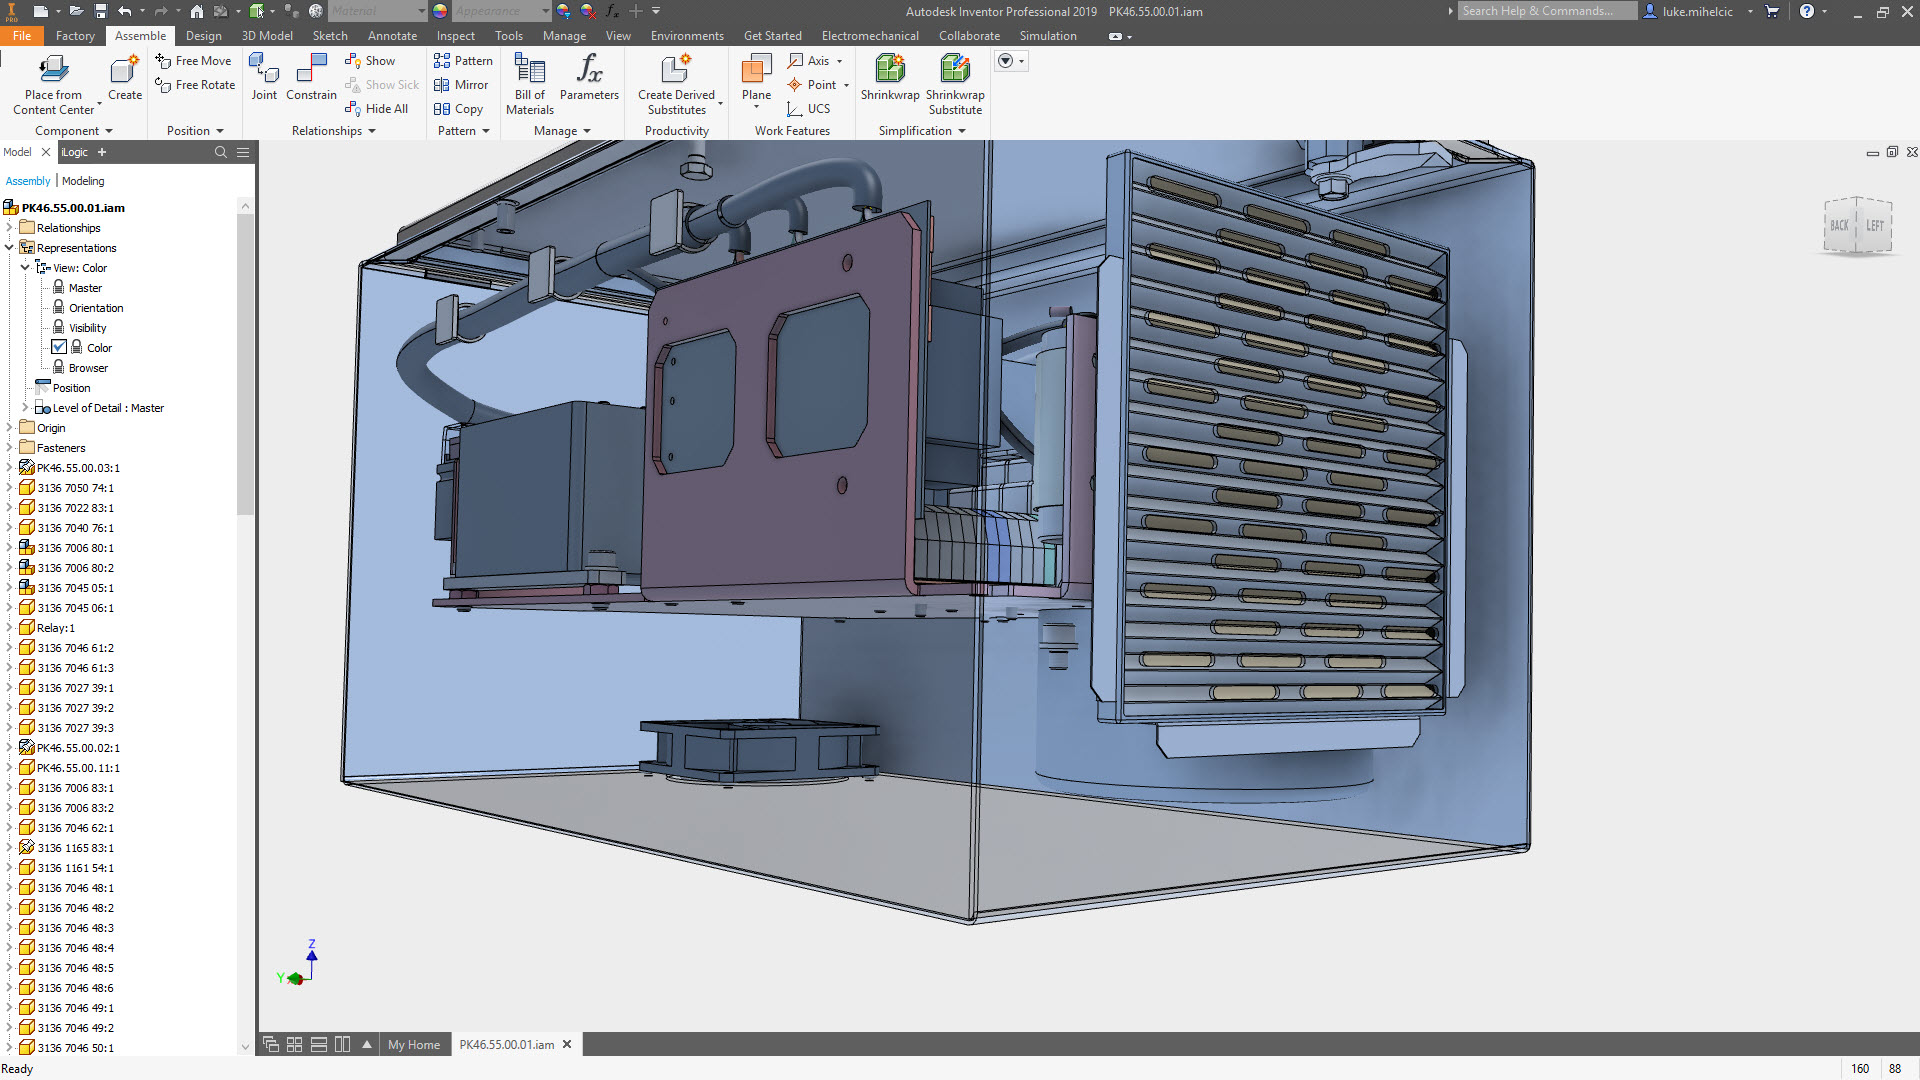
#3 Color Overrides
We all want to make your 3D models look great, but you don’t want to mess with someone else’s work. You can create a view and change the color of components without affecting the original. (Pro tip: Make sure you save and lock a master view before getting started)
#4 Digging into the Browser
If you find yourself digging into a browser to find the same components over and over, creating saved views will save you tons of time and searching. When you get your browser looking the way you want, just create a view and lock it and return to that browser state anytime.
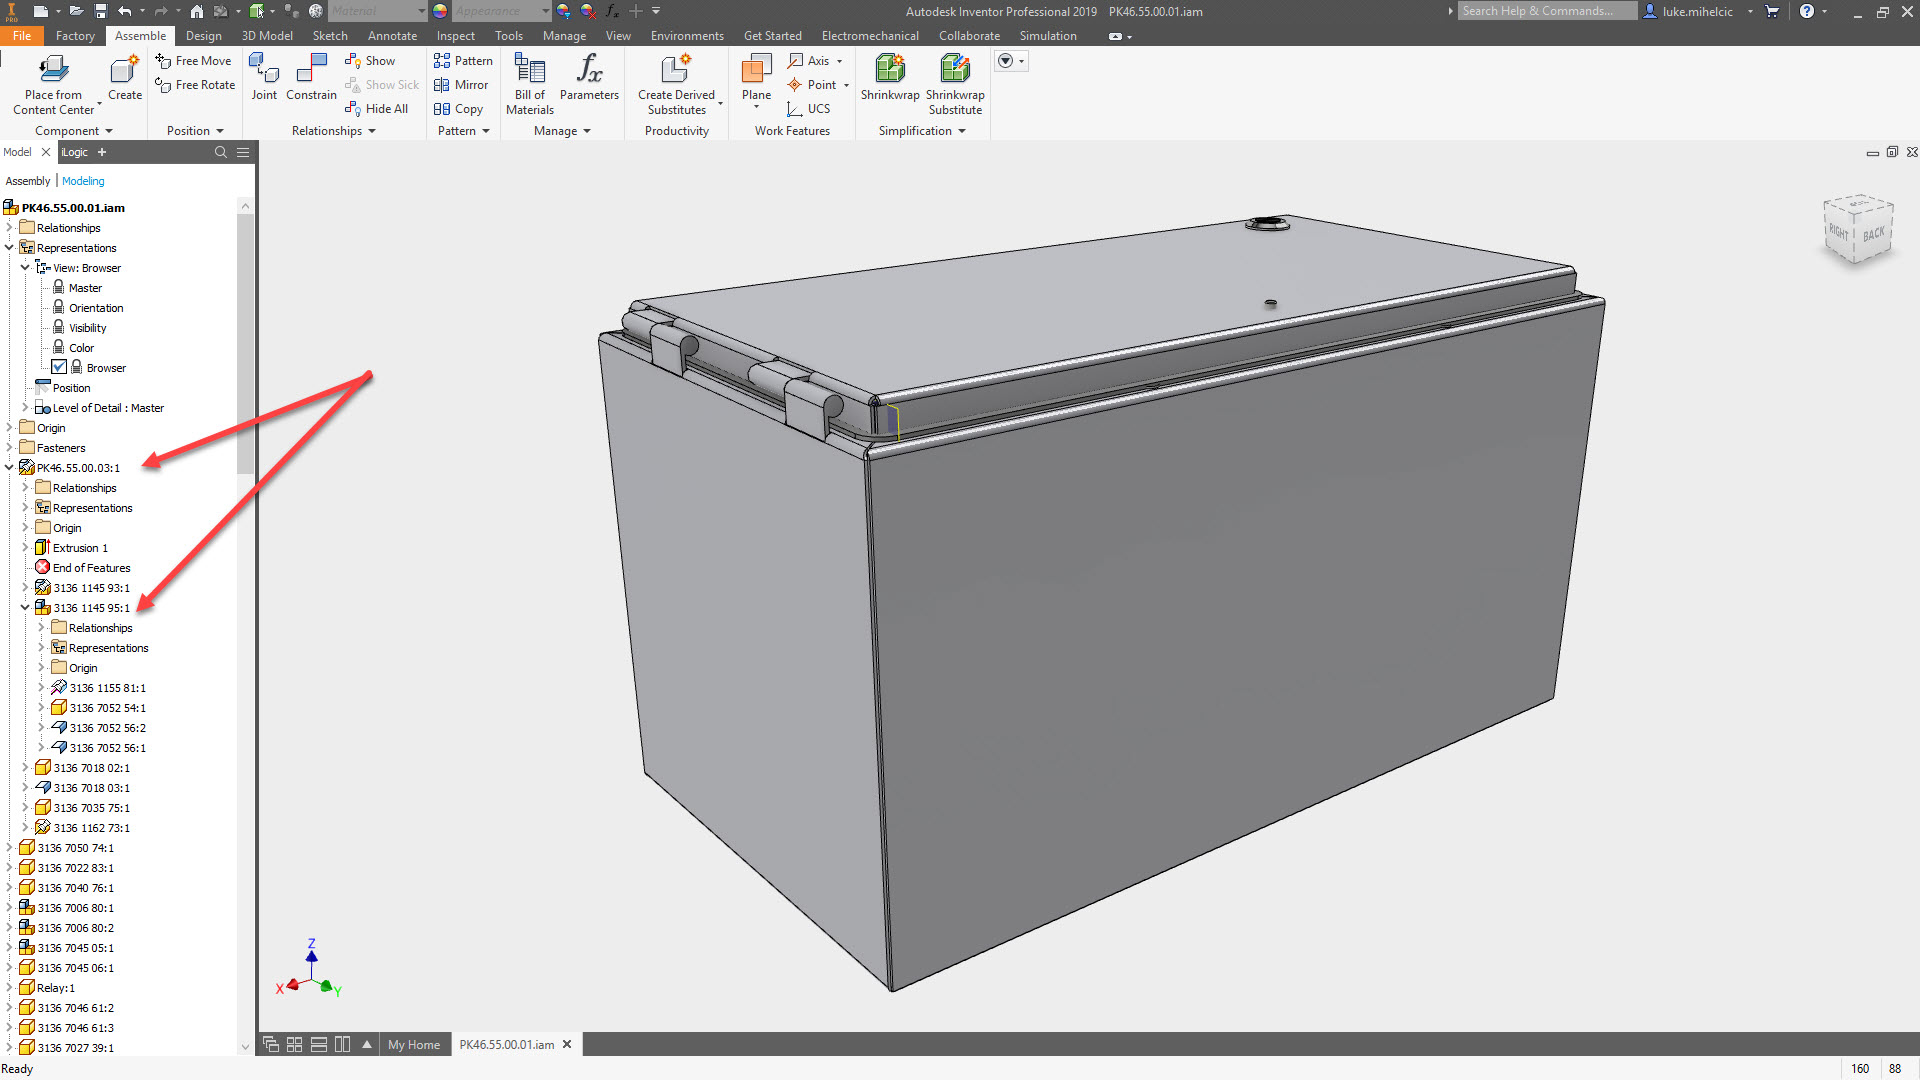
#5 Using All of Them Together
You can mix and match these options into one view or as many views as you like. Oh, and one more bonus tip! Don’t forget to use this tips when creating drawing views, too!
Looking for more? Here’s a quick video that will walk you through the workflows that I laid out above.
If you’re looking for more help with Autodesk Inventor, please make sure to check out the Autodesk Inventor YouTube channel. If you have more specific questions, please feel free to reach out to our experts on the Autodesk Inventor forums.
Luke


