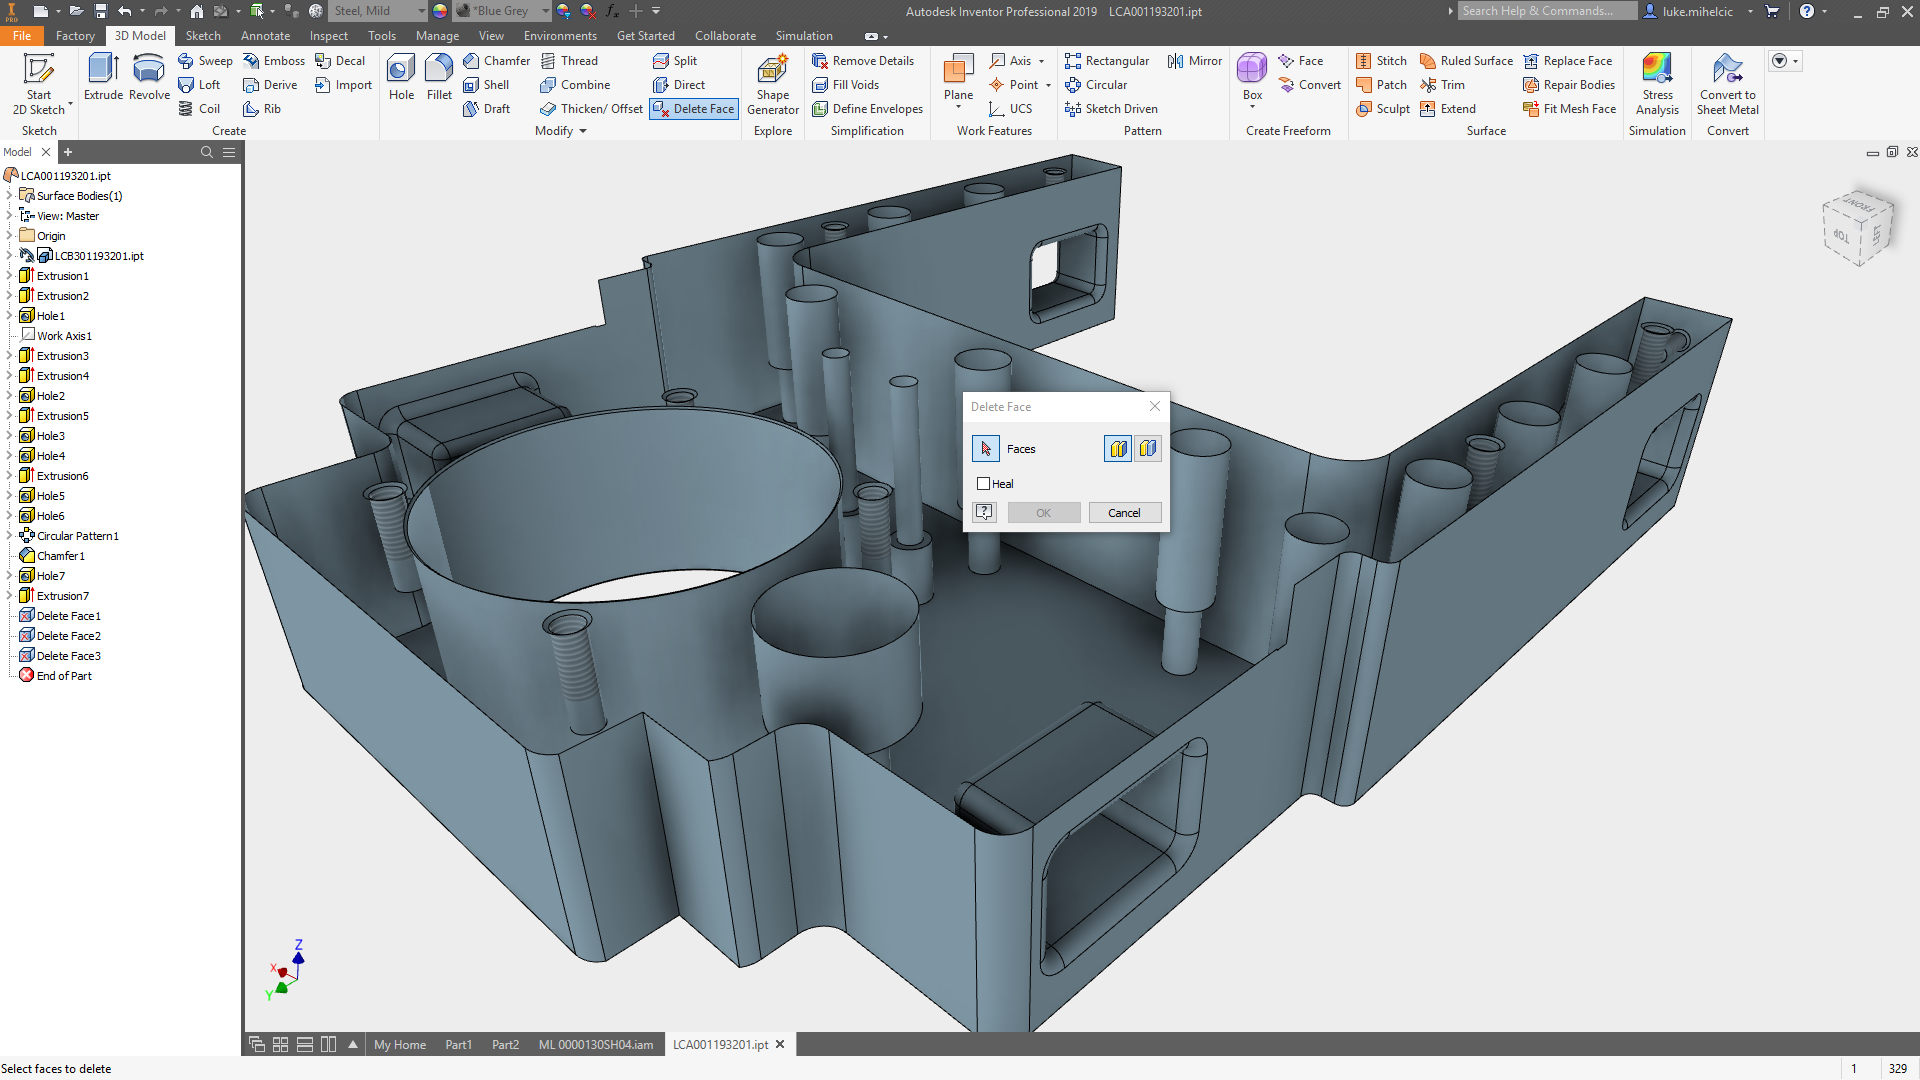
If you are cleaning up imported geometry, fixing 3D models that are not quite right, simplifying model for simulation or removing details to protect your IP the delete face command is your one-stop shop for making geometry exactly how you want it.
When working with imported geometry, you don’t have the luxury of having a feature history. Delete face allows you to remove geometry and fill holes quickly without the need to create sketches and other features.

Even when you have native geometry, editing feature history can sometimes cause model failures. Or you have that co-worker that is terrible at building clean models and leaves slivers and overhangs all over the place. Using delete face at the end of a model allows you to clean-up geometry without modeling failures.
Small details can have a big impact on simulation mesh size and run time. Sometimes you need that level of detail, but often you can eliminate that level of detail with little to no impact on the final simulation results. Delete face quickly removes fillets, chamfers, emboss/deboss text and virtually any other detail you want to remove. You can even move to end of the part when you’re done with your simulation to easily bring the features back.

When sending data outside of your company delete face is an easy way to remove specific details. Vendors typically only need connection points, bounding box size and accurate weight in most cases. All three of these can remain intact, or in the case of weight, be overridden in the properties panel.
Do you want more help on working with the delete face command? This video should give you everything you need.
My Favorite Features: Delete Face
If you’re looking for more help with Autodesk Inventor, please make sure to check out the Autodesk Inventor YouTube channel. If you have more specific questions about Autodesk Inventor, please feel free to reach out to our experts on the Autodesk Inventor forums.
Luke


