If you work with a lot of iPart and iAssembly models, you know that keeping track of what version of the part you are working with can be tedious, especially when calling the same part out in your Bill of Materials. This tip will teach you how to create a unique description of your various iPart options.
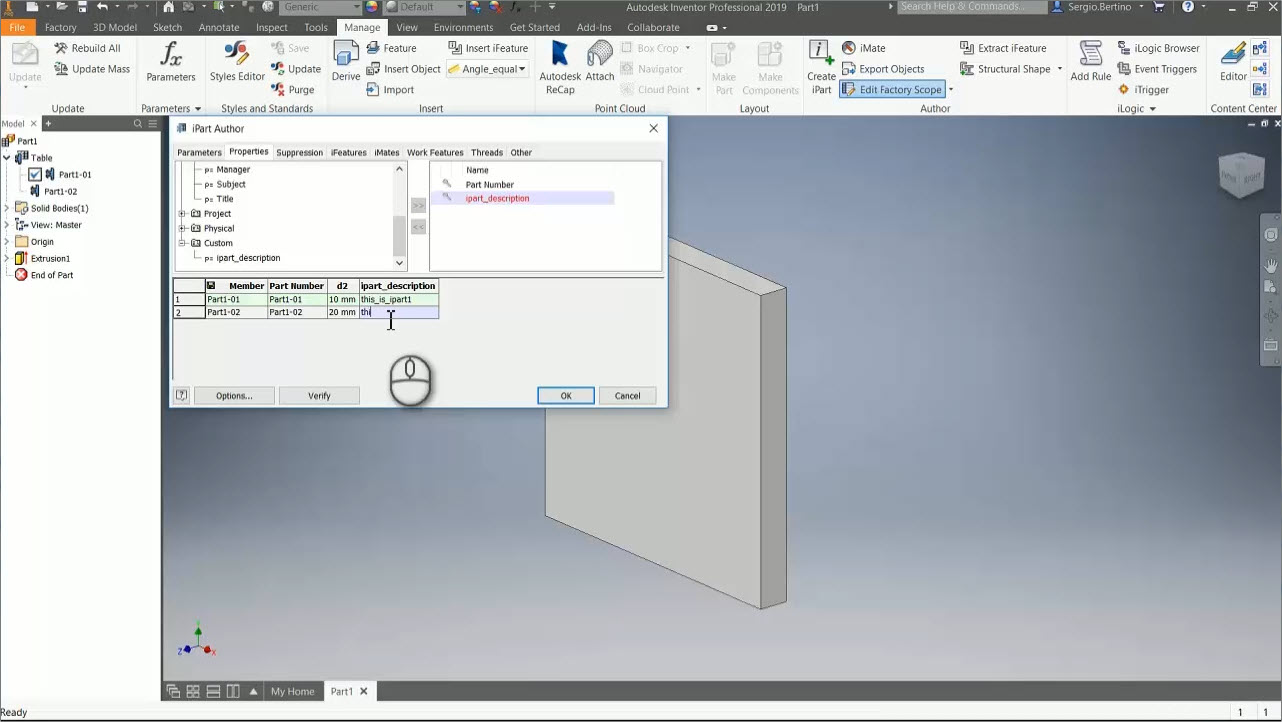
After creating your part and defining the iPart values, enter the iProperties of the newly created part. From the custom tab, enter a description and close out of the tab. If you then go back into the iProperties for the part, you can see that your newly added description exists. If you transfer it using >> your table will now how a new column for you to describe your parameters.
You’ll then have to create a standard assembly for your iAssembly, placing the iPart and choosing which instance you want to place. Again, from the Manage tab you’ll choose to create an iAssembly and this time you will move the Table Replace option to the right, and you are able to now access the previously defined iPart values.
Now, to get the descriptions into the Bill of Materials, access the BoM as normal and choose to add a custom iPropery column. Be careful to name the property name the same as your iPart description in the iPart and you will then see this description update in the BoM based on which iPart value you choose.
For a quick walkthrough of this process, take a few minutes to check out the video below.
For more great tips, make sure to follow us on Facebook and YouTube!


Add comment
Connect with: Log in
There are no comments