One requirement we've often heard coming from Item and Bill of Material users is support for long lead time work-flows. For those of you that haven't enjoyed some of these manufacturing realities, the long lead time term refers to components that have a time to manufacture or deliver that means for "on time" product delivery they need to be defined, designed or ordered prior to finishing the complete design or Bill of Material.
Historically our approach to item assignment was a "one in, all in", meaning that if you wanted to create an item from a CAD file, items would be created for the entire structure and to execute any top level release process all children of that item would also need to be released. This meant that early in the design process it was not wise or desirable to assign top level Bills of Material – who knows what changes lay ahead through the design process (removing items, adding items, changing CAD structure etc) so there was no good answer to building an incomplete BOM early in the process. Individual components or sub assemblies could be created and released but there was no downstream context for where the parts fitted into the project, costing or quantity tracked.
In 2015 the ability to partially assign Bills of Material means that we can create the top level item and assign BOM rows to only those components we have confirmed or completed, so we can configure the item detail and start the ordering process. The rest of the item Bill of Material sits idle in the background, allowing users to add rows and structure as the design progresses towards completion.
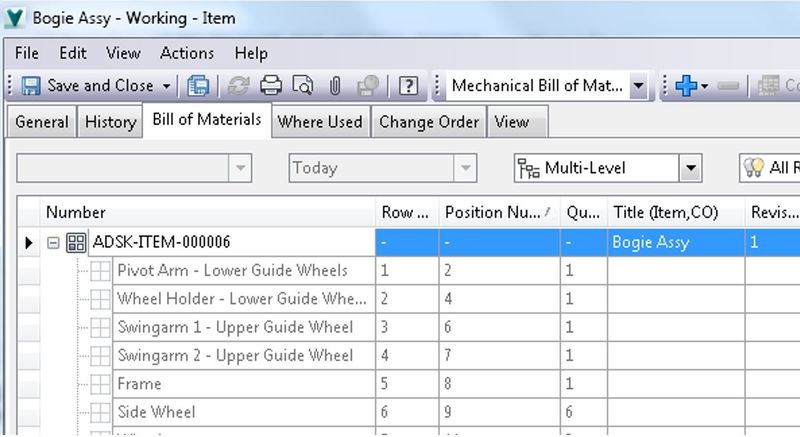
Lets take a look at the process, remembering back to the earlier blog post on assign item here, we need to decide on and configure what the default behavior is on assign item: the legacy – create all rows, assign existing only or assign none. In the image below we see the results of the "none" behavior, the top level item is assigned but all other rows appear greyed out and pending assignment.
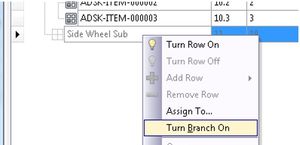
Once we create the top level item we can start to move through the rows and modify the behavior. Right clicking on a BOM row we will see that we can Add or Remove single items or a tree where the Item has child dependencies.

Note the full item sub-structure is not visible until that row is enabled – and we can choose to only assign item to the top level of that BOM too!
The icons on the right hand side show us the item status- the "light bulb" means that the row is currently switched on – when a row is switched on we can see whether turning this on creates a new item (plus icon) or inserts an existing item.
Moving down the BOM rows switching on or off as required we get a partial Bill of Materials. Using the view filters at the top of the window we can distill this down to what this current configuration will look like.
Its worth noting during this BOM row configuration, no items are actually being created – when you are happy with the structure hit "Save" and the parent item along with any new items will be created, they appear now in the BOM row as existing items. (Note too that new items numbers can be assigned right in the BOM tab as we go)
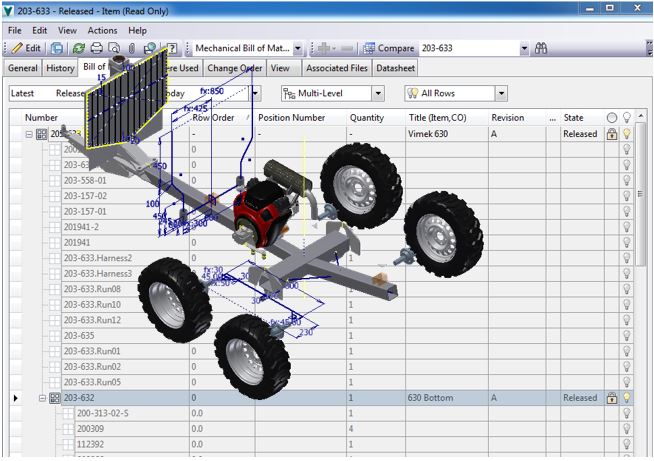
With our partial BOM complete we can now even go so far as releasing the top level item – the fact that there are unreleased components unused in the BOM does not restrict any additional work-flows.
This new functionality on item assign enables a whole new approach to partial BOM creation and speeds up the long lead time ordering process.
-Allan


