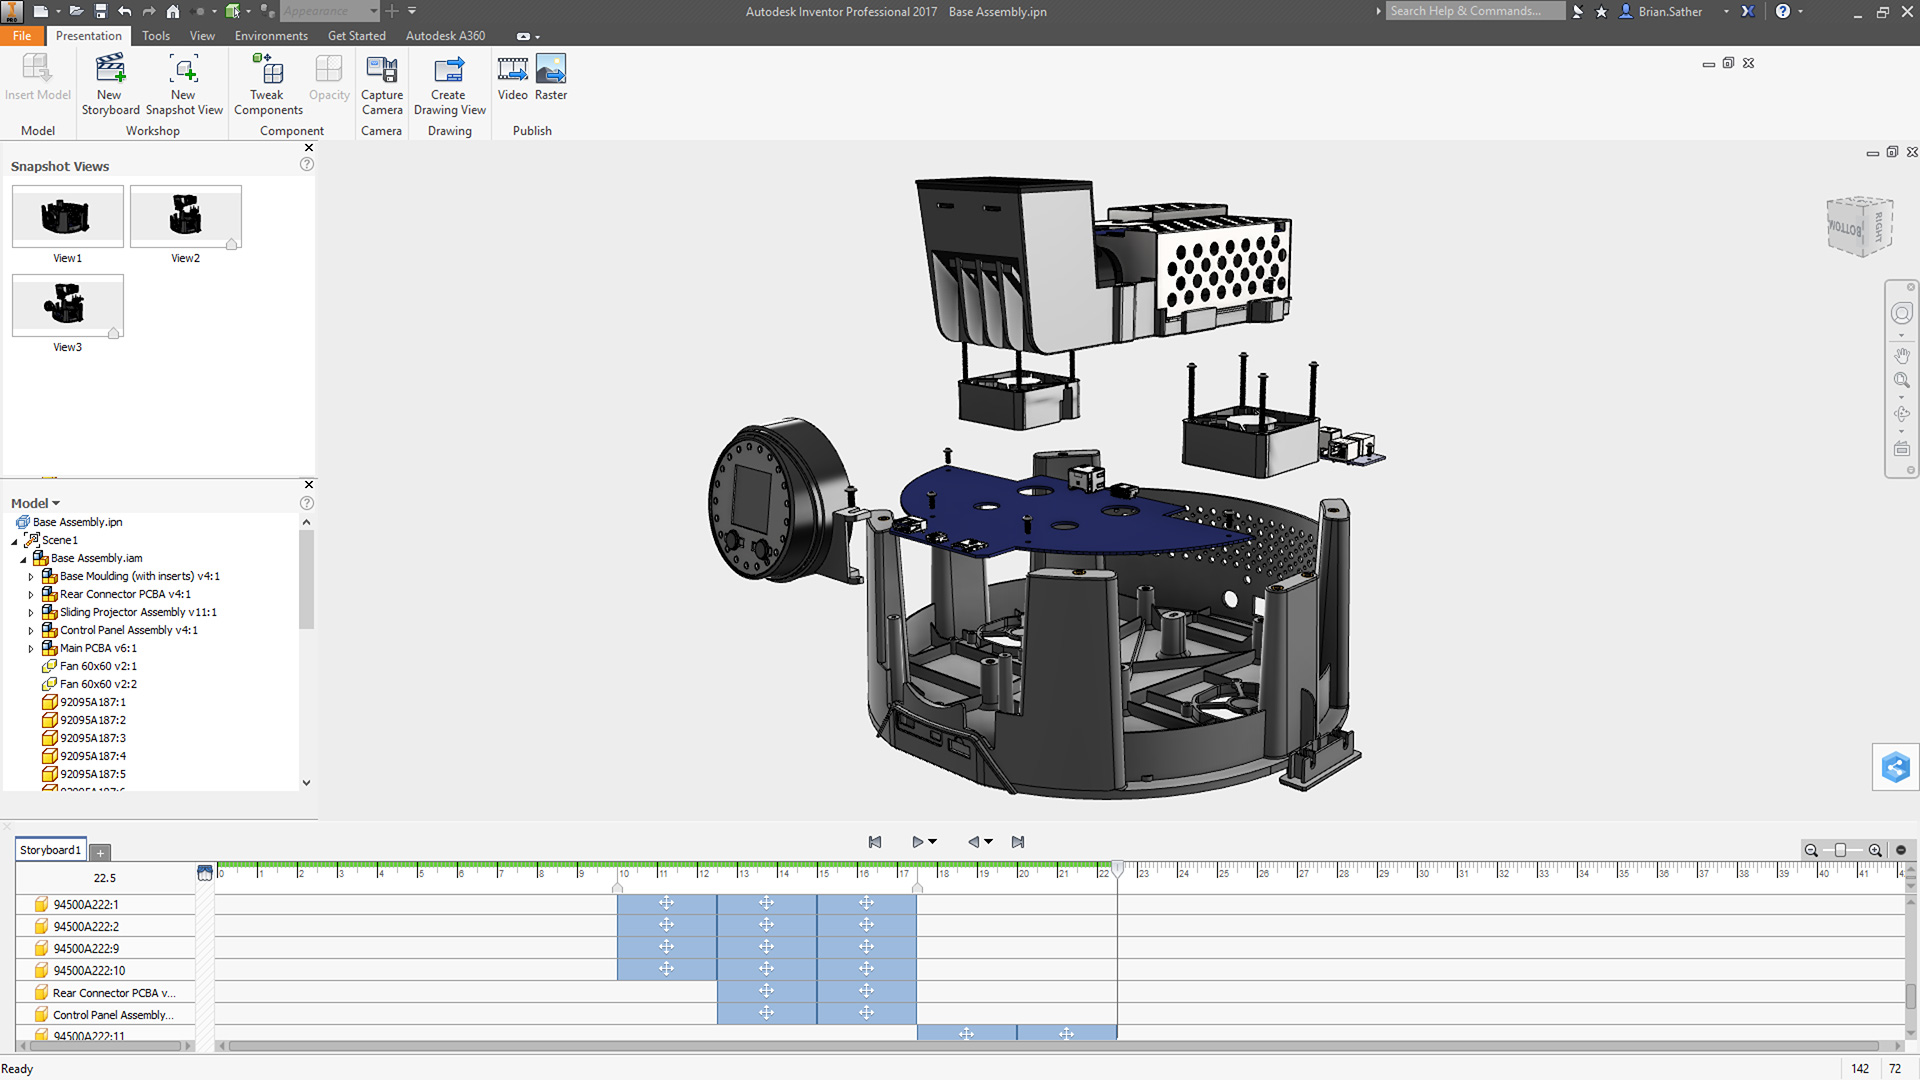
Creating exploded views and assembly animations just got a lot easier.
Inventor 2017 brought about a major face-lift to the Presentations environment. The intent behind these updates was to make the entire process of building exploded views and animations simpler and more visual.
The first major addition is the storyboard panel. This captures every action you take as you’re creating the exploded view – including tweaks, camera positions, and component visibility. Any changes to the sequencing or timing of each action can be done visually – just move or resize the boxes in the storyboard and the animation updates accordingly.
The second addition is the snapshots panel. This is used for capturing point-in-time views of the model, so you can create step-by-step instructions by publishing them out as images or you can send them out to a drawing view for documentation.
There’s several other usability improvements – the most noticeable being the updated Tweak command that now automatically places a triad on the selected components and has a mini toolbar where you can easily adjust trail lines, timing, and selection options.
Have a look at the tutorial above and give it a whirl – you can download the files and try it for yourself. The starting file can be found in the directory: /ember/Workspaces/Workspace/Base Assembly (START).ipn.


