Every component inside of Autodesk Inventor that you create has a material assigned to it. This is important to keep in mind, as it affects the component’s appearance – as well as the physical properties, which is important to keep in mind if you plan on running simulations.
Changing materials and appearances of a component is crucial to product visualization, as it brings a greater sense of realism to your design. While we like to think of ourselves as purely analytical problem solvers, aesthetics and feel do affect our design decisions.
At the end of the day too, refining your product materials and appears can help in the rendering phase as you sent quotes to clients or share out designs. Just like adjusting material appearance properties in Inventor can help polish your components, it too helps polish out your final design.
Product visualization in Autodesk Inventor: image rendering
After you’ve got all of the material properties and appearances set up correctly for a part or assembly, the next step is rendering the design. Doing this means that you’ll have to know how to switch over and work in the Inventor Studio environment, create cameras for the rendering views, and modify the overall rendering settings so that you can create exactly what you need.
When you’re able to do all of these things, you’ll be left with a cleanly generated rendered image (or animation, the next video) straight out of Autodesk Inventor.
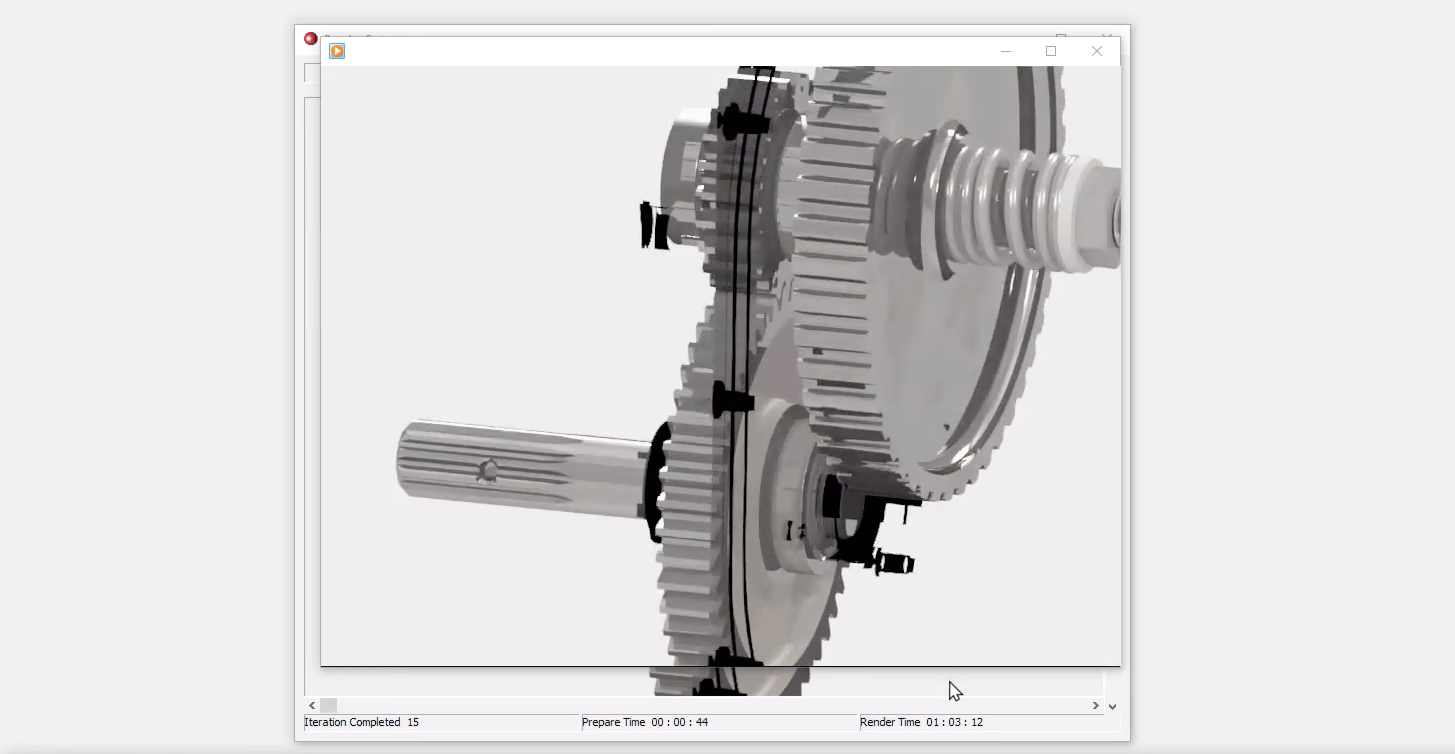
Product visualization in Autodesk Inventor: create animation
We covered the basics of rendering in the previous video, but it’s important to realize that renders aren’t just limited to still images. Inventor Studio allows you to create a customizable animation of your part or assembly. This means that you can get a real-life look at how your part will work when it is finally created.
When you got into engineering, you may not have thought that you’d be creating animations, but the truth is, visualizing your design is oftentimes the best part of the job. After all, you might not have become an engineer to animate things, but you definitely became an engineer to make things and bring them to life.
Animate assembly or service instruction in Autodesk Inventor
This final video in this four-part series on design visualization goes into more depth in regards to design animation. Utilizing tools like exploded views can add a greater level of understanding to the final design.
While you, the designer, might have a pretty good idea about how everything works together, exploded views will allow other engineers to quickly grasp the function and assembly of your product. Animation and product rendering are some of the most effective non-verbal engineering communication methods. Be sure that you take advantage of all the tools you have available to you inside of Autodesk Inventor.


Add comment
Connect with: Log in
There are no comments