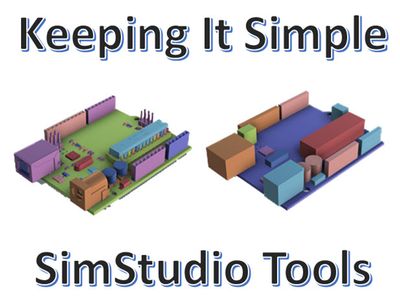

If you have been following our multi-post series on SimStudio Tools, you already know how it can be a great companion to your simulation process. Last month, we looked at repairing problematic CAD geometry, check it out here, and this month we will tackle our next deep dive topic, focusing on geometry simplification. In this post, we will look at four ways that SimStudio Tools can help you simplify your geometry for simulation.

Simplifying CAD Geometry for Simulation
In many simulation scenarios, it is often necessary to further prepare a CAD model from its original state, which is typically focused on providing a manufacturing level of detail. In this original state, it is not uncommon to see the inclusion of fasteners, part numbers, gaps where welding will occur and detailed representations of all of the components, as this is required for drawings and bills of materials. In the context of simulation, this level of detail typically has an adverse effect on your success rate and efficiency. This complexity can make models overly difficult to mesh or simply add unnecessary size to the model making it slower to get results and make a design decision. Further, if the manufacturing level of detail does not accurately represent the as-built state, your simulation model may not give you the proper response. An example of this is where gaps are left in sheet metal for welding. If these gaps are not closed or the weld geometry is not included in your simulation model, the geometry will not carry the load in the same way it would in its as-built state, leaving you with results that do not accurately reflect the intent of your design.
To better handle these scenarios, we have provided robust functionality inside SimStudio Tools to make geometry prep quick and easy. We will review 4 key functionalities in this blog post with a video to look at each of them in greater detail.
- Removing small or unnecessary parts
- Dealing with interferences
- Replacing complex geometry with primitives
- Removing complex features
Removing Small or Unnecessary Parts
SimStudio Tools provides multiple selection methods to easily select and suppress parts not required for simulation. Users can bulk select parts by Size, Name and Boundary.

After selecting the components that are unnecessary, with just a few clicks you are able to remove them from the assembly. Take a look at how you can do this in this quick video.
Dealing with Interferences
Next, SimStudio Tools makes it easy to find and fix interferences in an assembly. The Interference tool will find and remove interfering volumes between bodies you select. This will help meshing and contact creation in Simulation.This tool can also be used to identify faces that are already coincident.

Interfering volumes can be displayed as a group or individually for easy identification. The user has the choice on how to address the interference, by selecting which of the two interfering parts to cut and which to preserve.
https://youtu.be/U_9IV5K3N1o?list=PLIv6vwn776aSYEk9s45EmtthNzb2I1RCi
Replacing Complex Geometry with Primitives
Further, the Replace with Primitives tool can be used to easily replace complex parts with a simple body. This is helpful if the volume and/or mass of the original part is important for the Simulation but the details are not.

Box, cylindrical and spherical primitives can be created and are automatically positioned to enclose the selected geometry being replaced and easily allow the user to resize based on their needs.
Removing Complex Features
Lastly, SimStudio Tools provides users the ability to remove unnecessary features from the remaining parts using the Remove Features and Remove Faces tools.

The Remove Features tool recognizes multiple features and a range of sizes, while the Remove Faces tool can be used on geometry that isn’t automatically recognized as a feature. This is a great option for removing part numbers and cosmetic fillets and chamfers.
Understanding these four functionalities will better equip you to make the most out of SimStudio Tools for preparing your CAD geometry for simulation. Be sure to watch the following video, as I go through the steps for using each of these tools to simplify a model for simulation.
Thanks for reading and watching. Check back next month for our next post on SimStudio Tools.Let us know what else you would like to see in SimStudio Tools on the IdeaStation.

Originally posted on Simulation Blog @ http://simhub.autodesk.com/blog/post/6266765