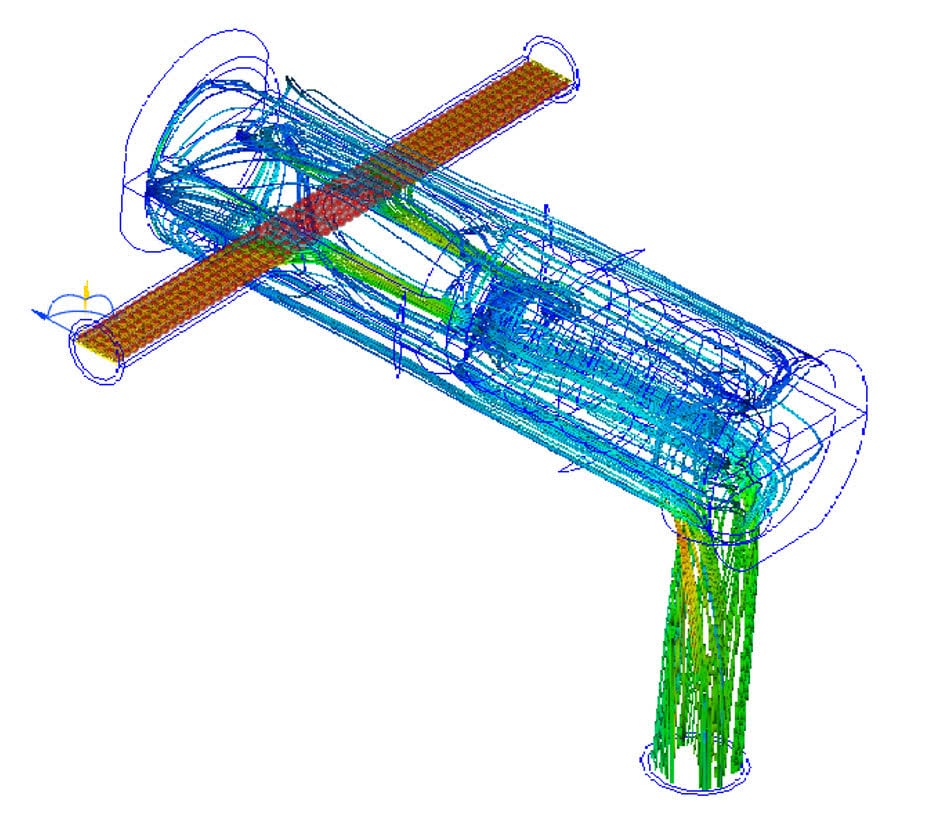
Particle traces allow you to more easily understand how a fluid passes through or around your parts, helping you to visualize flow path, circulation and swirling. Below, you will find the basic steps needed to apply particle traces.
To hide the vectors, right click on the plane, and select Plane vector. Select None.
Click Traces from the Results tab:

In the Traces context panel, set the Seed Type to Rectangular, and the Seed Pattern to Grid. Click Add.

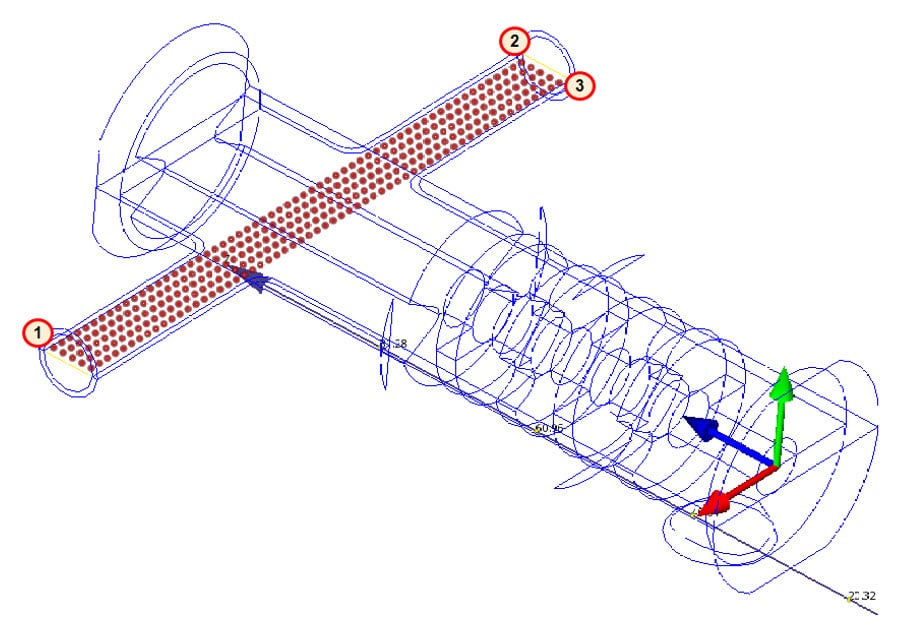
We can use the results plane as a platform on which to draw the Trace Seeds:
- Click to define the first corner of the seed grid, as shown below.
- Drag the grid to the second corner, and click.
- Drag the grid to the third corner, and click. This completes the grid and draws the traces.

There are a few items to note at this point to help you control your particle traces.
- If we didn’t have the plane, we could use any surface in the model, including the two inlets.
- You are able to edit the location of any plane that you define to place it in a more optimal location or to help you understand how flow is moving from a different direction.
- In addition to rectangular, Seed Type can be defined as Point, Line, Ring, Circular, Region and Key in.
- The Seed Pattern can be defined as Diamond, Grid and Hexagon.
- You can change the value next to Seed Density to increase or decrease the number of particle trace points applied

When you’re finished looking at your particle traces, you can choose to delete the traces by clicking Remove from the context panel.