Vault 2018 introduces three new roles, Project, Security, and Configuration Administrator, allowing global administrators to delegate tasks to key users within the engineering departments without giving them full administrative access. Vault 2019 introduces the ability for administrators to create custom roles with a unique set of permissions which delivers elevated object permissions above the regular Designer role. Opening up fully customizable roles allow members of the team to manage Vault configuration and security settings at lower risk than members with full administrative privileges.
Out of the box, Vault Professional comes with 22 system roles that cannot be modified. These roles have different levels of permissions and are meant to be additive to each other. Meaning that for a user to have all of the permissions needed to perform their daily work, they will need to be assigned a combination of roles. In previous releases of Vault, the system roles either provided too many or not enough permissions and limited the administrator’s ability to set users with specific permissions. Vault 2019 opens the door for administrators to be more flexible with assign users with particular permissions.
One thing to note, Vault 2019 did not introduce new permissions. It allows administrators to create roles with the existing permissions. Let’s discuss this feature in more details.
Roles Management
The Roles Management dialog has been updated to display the Role Description and the Usage Count which indicates the number of users and\or groups that have been assigned to the Role.
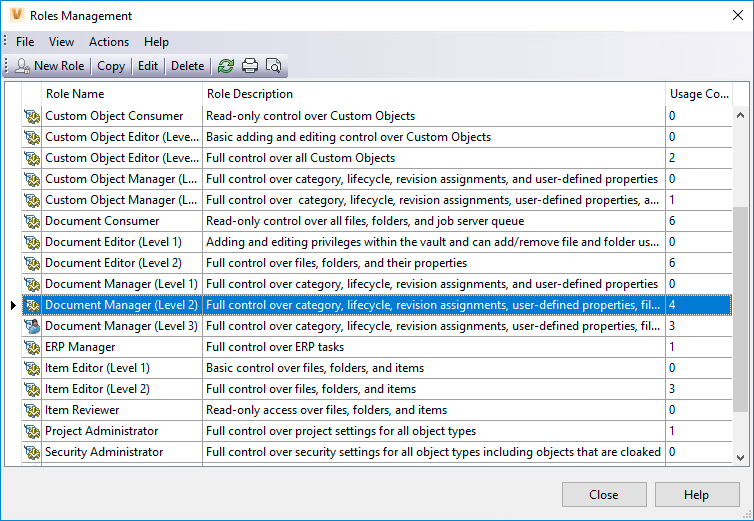
The Roles Management dialog now shows icons similar to those found in the Property Definitions dialog so that you can quickly identify the system roles versus the custom roles. The gear icon represents the system roles, and the human figure is a custom role as seen in the image below.
![]()
Creating a Custom Role
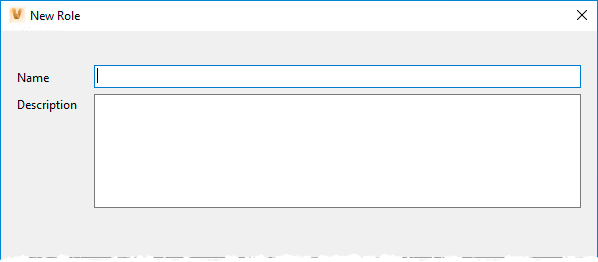
Creating a custom role is as easy as clicking the New Role button in the Roles Management dialog. Once the New Role dialog appears, give the role a name and a good description so that you understand what this role was designed to do.
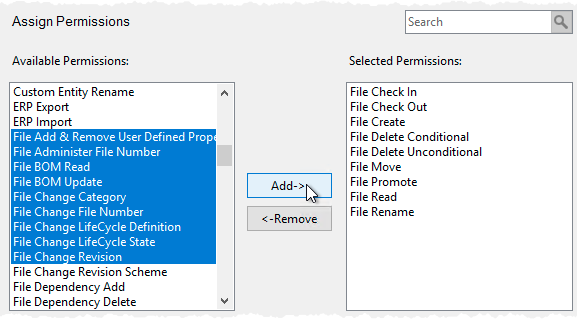
Next, add the permissions you want to add in the Assign Permissions section of the dialog. Select the permissions from the Available Permissions list and click the Add button. If you have selected too many permission, just select them in the Selected Permissions list and click the Remove button.
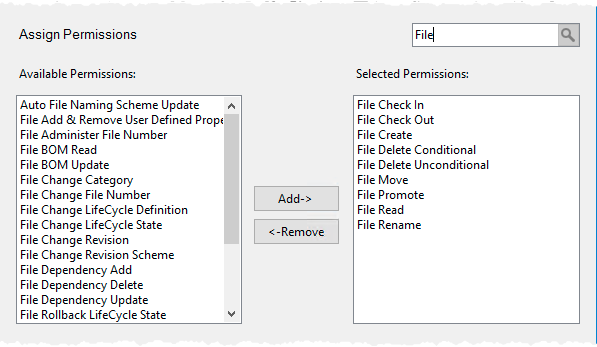
This list of permissions is long, and it may make it hard to find the permission you need. Use the Search file to find permissions with keywords like File. The Available and Selected Permissions lists will display those permissions that contain the keyword you typed in.
Once you are finished with selected the permissions, click the OK button to save it and you are ready to assign users and groups to the role.
Copy an Existing Role
It might be easier to start with an existing role to create a custom role with some minor differences. Select the role you want to start with and click the Copy button.
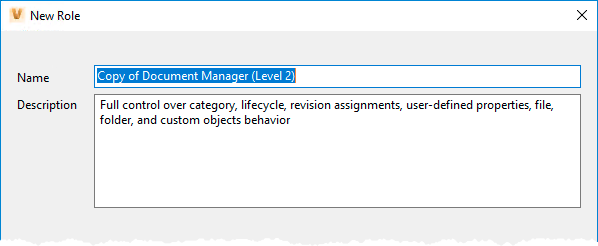
Change the name of the new role and description and start modifying the permissions as needed.
Things to Know
- System Roles cannot be deleted or edited.
- After a custom role has been changed, users need to log out and back into Vault to see the effects of the change.
- To find multiple roles with a keyword, use CTRL+ F shortcut keys and enter a word in the Find Panel.
(0)