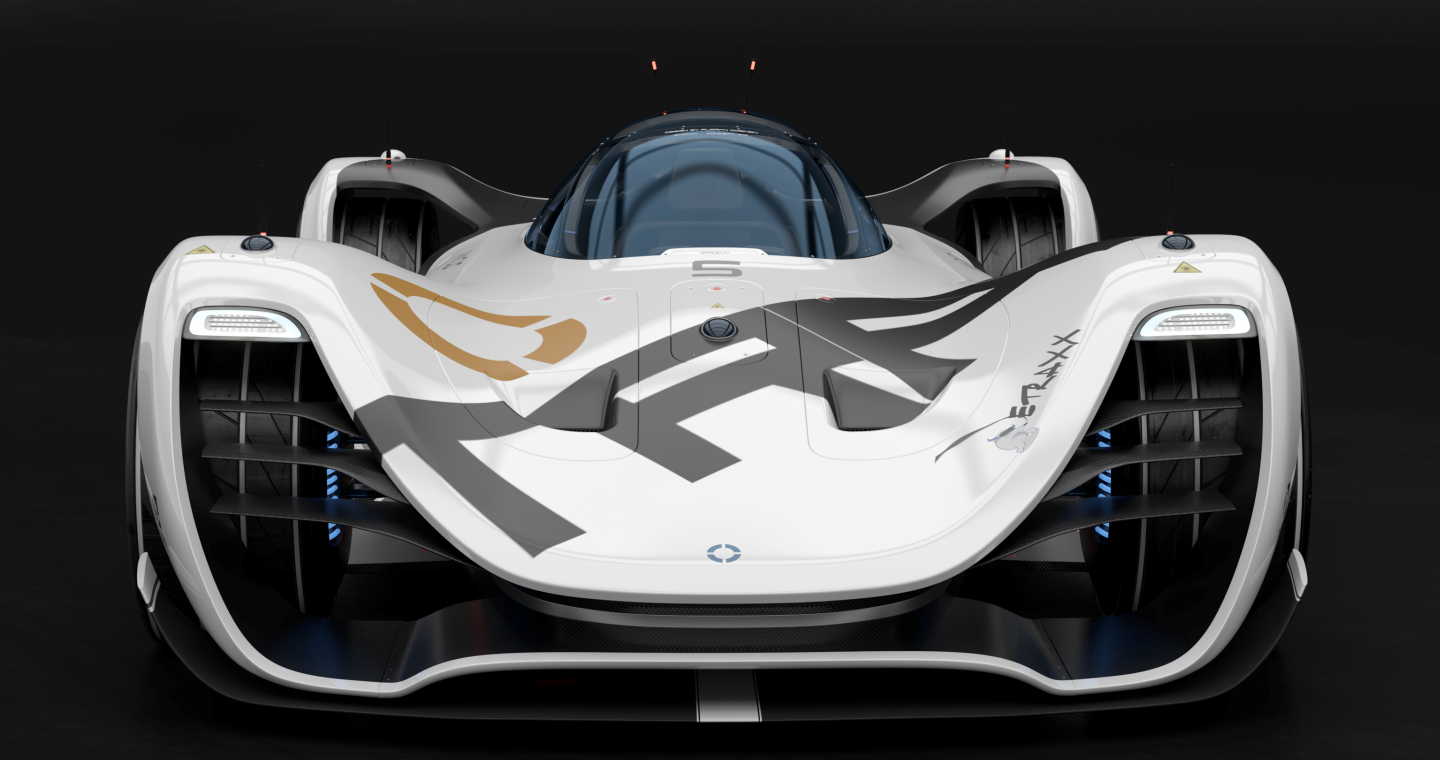
This is Part 3 of our podcast with Florian Coenen, Technical Marketing Manager.
In Part 1 of our podcast, we introduced you to the ETRAXX. We talked through the process behind the design, what design elements inspired it, initial sketching and moving those sketches into a CAD environment.
In Part 2, we went deeper into the process for modeling the ETRAXX: from rough proportional studies through to 3D design review in VRED.
That’s where we’re picking up for Part 3—going deeper into the modeling process.
First, a follow-up about using visualization. Aside from design reviews in VR, Florian frequently pushes data in VRED to work on specific elements of the design within a realistic environment. Visualizing his design also allows him to explore different realistic materials, like paint colors, leathers, brushed metals, etc.
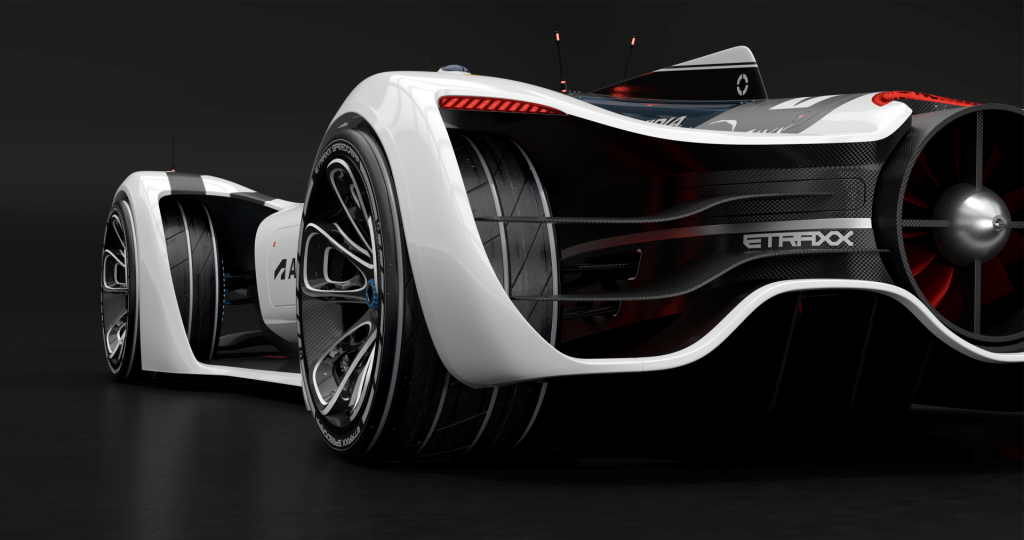
Raytracing is also part of this visualization work. Realistic reflections can help reveal weak points or surface errors in your design, and with GPU raytracing in VRED, you can ray trace your design quickly and see your design in real-time, with full global illumination.
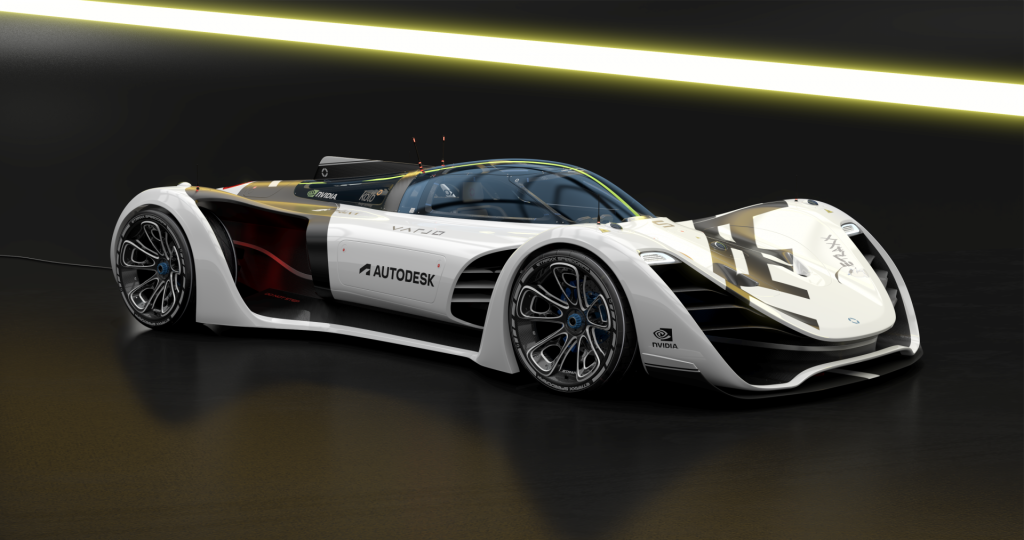
With Florian’s design concept phase finished, he turned his attention to detail work: looking at proportions, frame construction, front lights, panel gaps, etc.
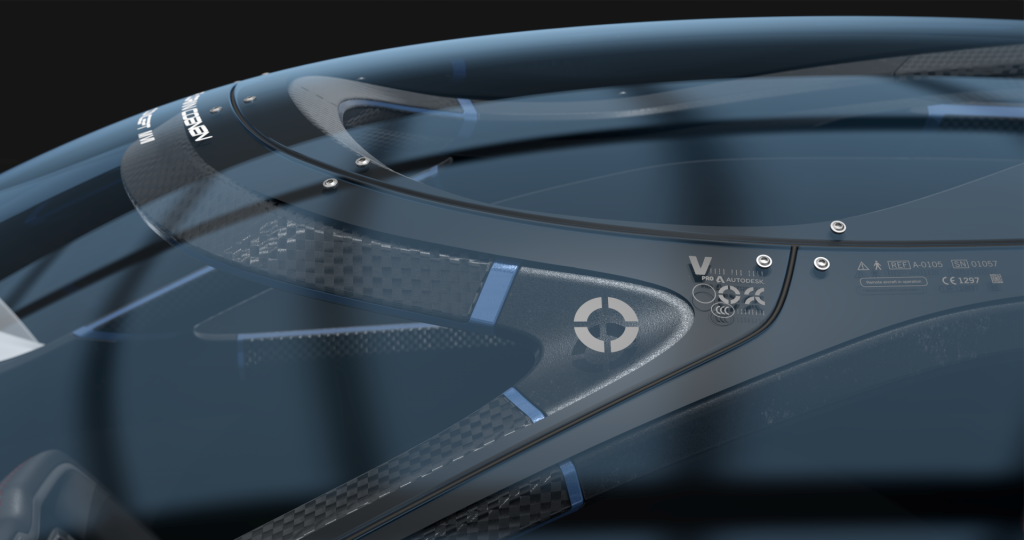
SubD plays a significant role here, giving Florian the ability to create and define a NURBS fillet or projecting curves onto the SubD model. He used the Curves on Surfaces for trimming and for panel gaps, for example.
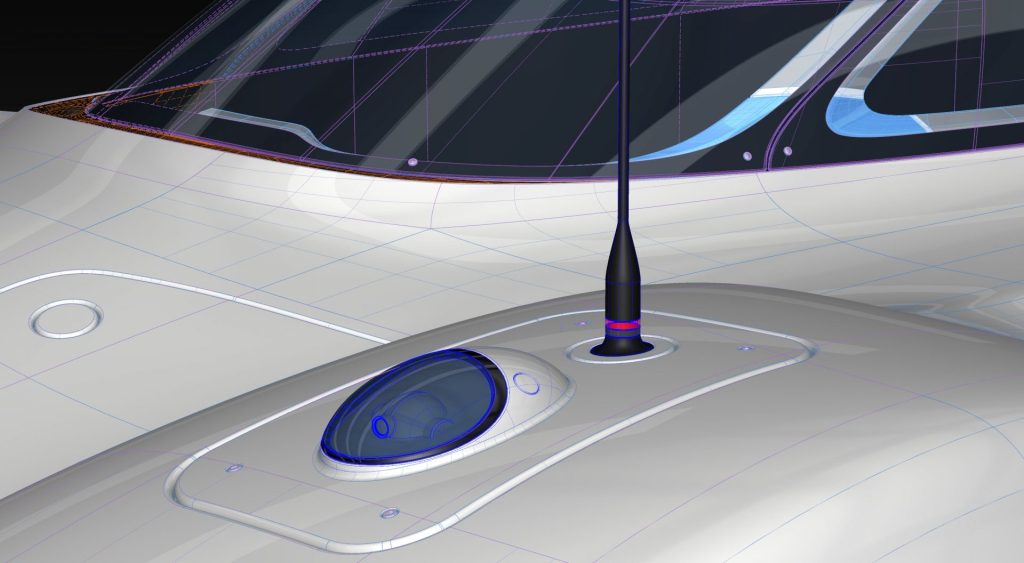
The exciting news, though, is about some new workflows. The first is a SubD Trimming workflow, which allows you to globally trim the complete SubD body without having to do each and every single NURBS surface of the SubD.
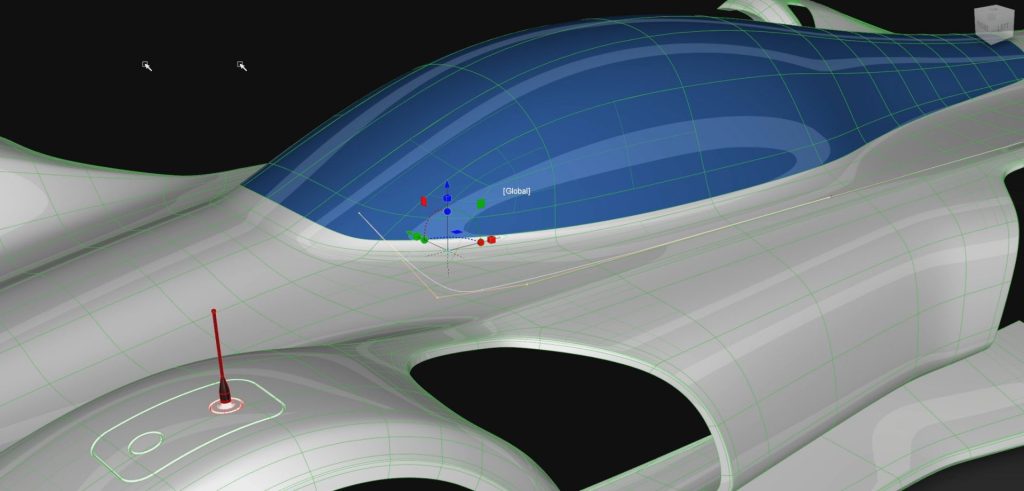
The second is an Alias to Fusion 360 workflow. Florian’s exploring this workflow and what it means for further editing: clay milling, printing, generative design, even simply detailing.
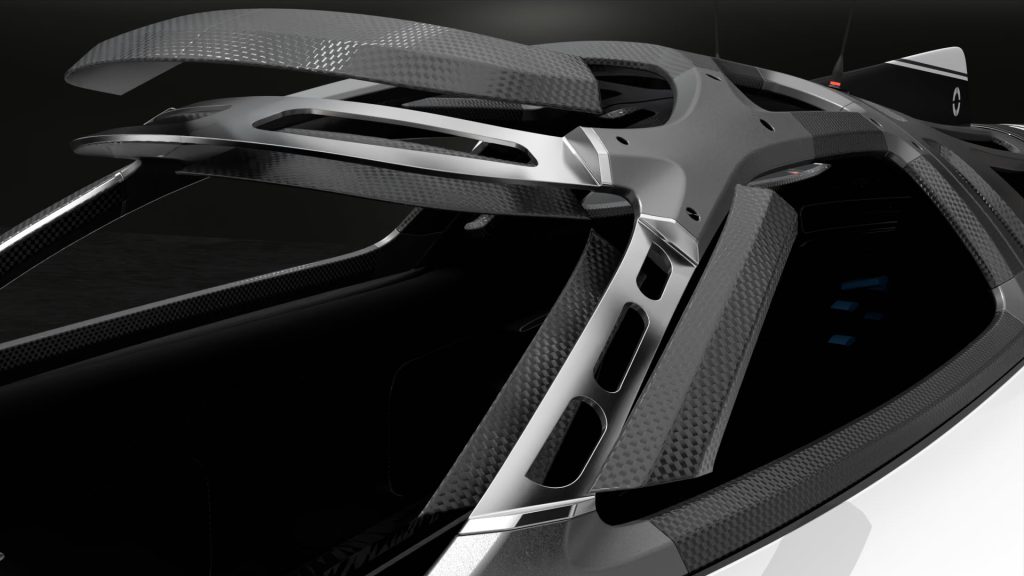
The next step for Florian and the ETRAXX is to bring it to life in clay milling. Some companies are also exploring clay printing technology. This phase allows you to create UV sets for texturing materials and decals, etc, so you could potentially 3D print in color.
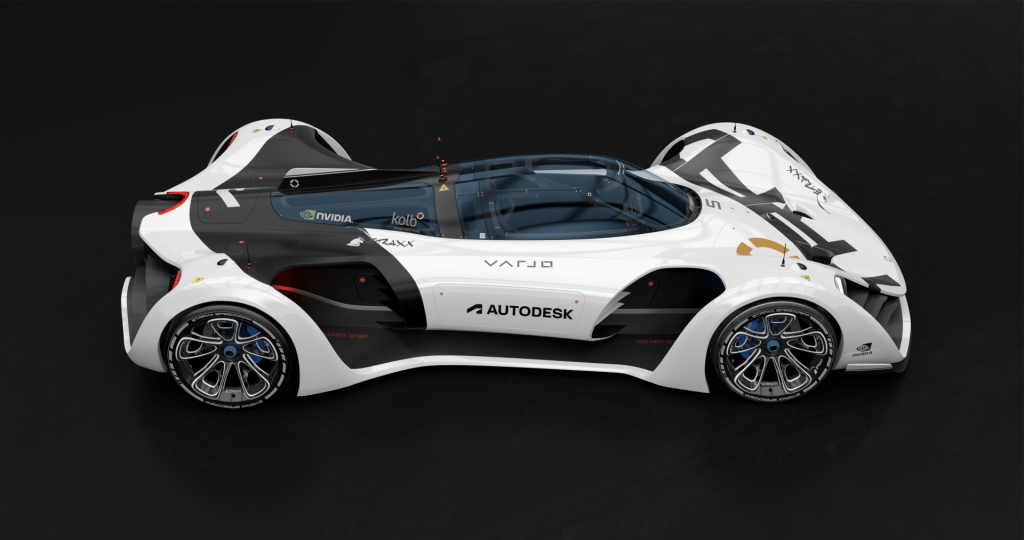
That’s it for our series on the ETRAXX. Thanks for reading and listening.
For updates and the latest news, subscribe to the Autodesk Design Studio blog and our Alias and VRED YouTube channels. You can also follow us on Facebook, and follow Florian on Instagram