
In episode 03 of his second series, Senior Designer Mike Turner showcased how VRED manages shadow plot development, a key area for ISO sightline assessments.
Here in episode 04, Mike turns to a personal project to walk through decal application in VRED, as well as sharing a simple technique to apply dirt and scratches to your design.
These simple applications give your design more character, giving the sense that they are not only well-designed, but lived in. The process involves working with Transparency Maps in VRED and Photoshop post-processing layer masks and overlays.
The Highlights
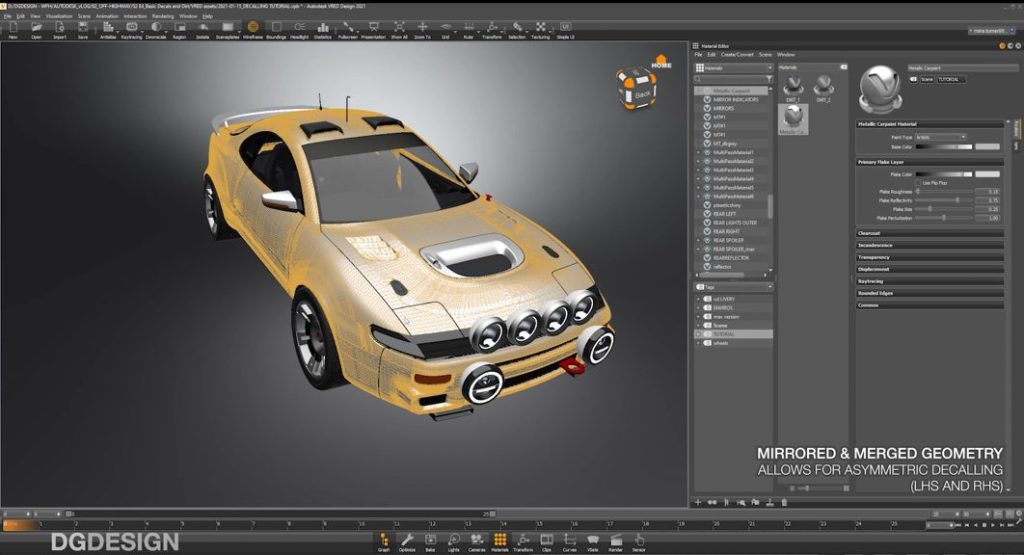
1:59: Using an Alias sketch model of a famous ’90s rally car, Mike sets up the model with mirrored and merged geometry.

2:29 – Drag and drop the decal onto the model, then use the Manipulator to tweak its positioning.

4:53 – Using numeric adjustment for symmetrical positioning of decals on both sides of the model.

9:13 – Using a basic foam material shader. That shader has a dust and scratches map on it that will apply certain amounts of dirt.

10:09 – Post-production in Photoshop: playing with dirty and clean areas with layers, masks and paint.
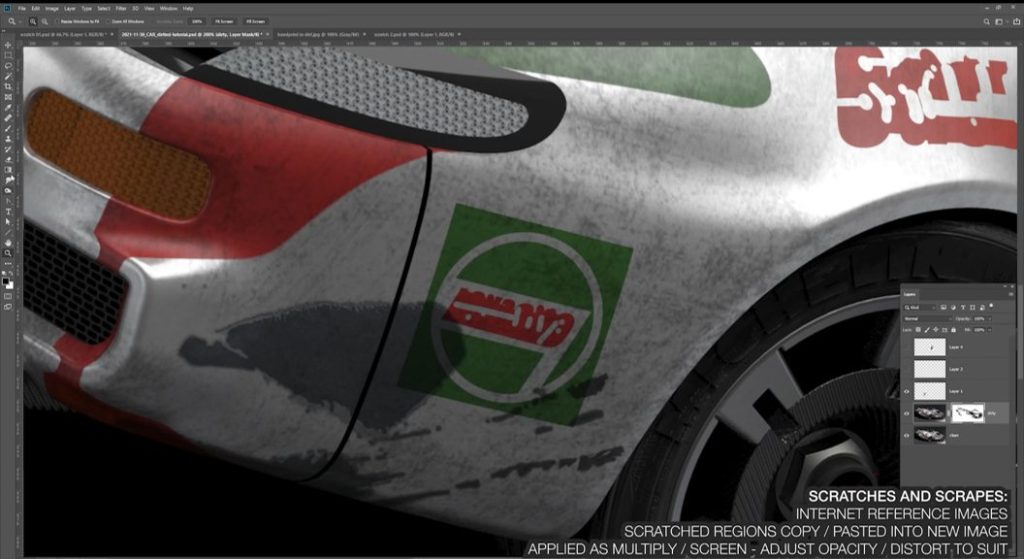
14:40 – Using scratches, scrapes, handprints, etc. to elevate your visual storytelling.
If you’re interested in having some fun, making stuff look more interesting / believable by applying post-showroom damage and wear, check out the video below:
Yes, there will be more! Subscribe to the Design Studio Blog or bookmark it for future posts. You can also check us out on LinkedIn, subscribe to our Alias and VRED YouTube channels and follow us on Facebook.