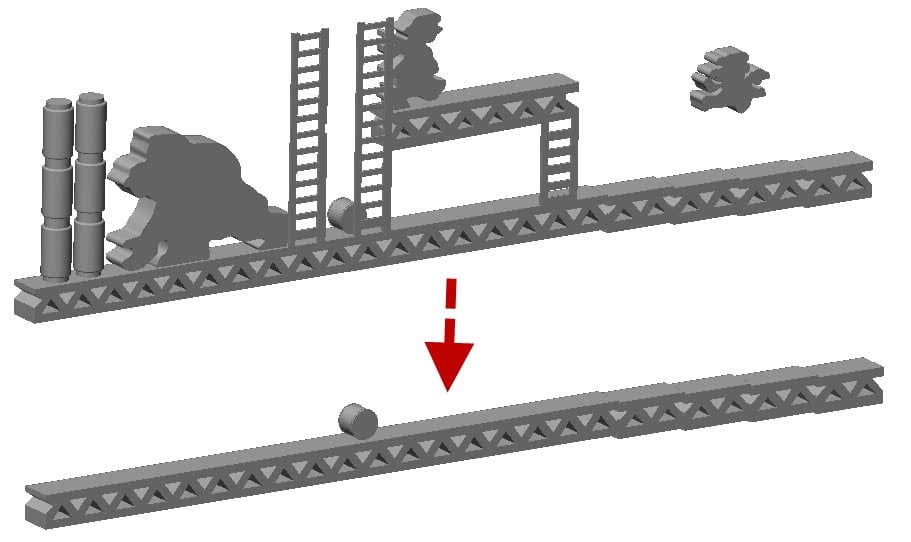
Successfully running an analysis with surface to surface contact can be one of the trickier problems to solve in finite element analysis. Due to the complexity and high number of equations involved in a contact analysis, reducing the element count is extremely important. The easiest way to do this is by suppressing parts that are not critical for the analysis. In this example, we will suppress everything but the barrel that DK just rolled at Mario, as well as the tracks that it is rolling down. Sure, if we were interested in seeing if it was going to hit Mario he would need to stay as well, but we can save that for another time! By selecting all of the parts to be suppressed in the model tree, right click on one of them and choose suppress.
Since this is a complex analysis, I’m assuming this isn’t your first time running the software. If you are just getting started, I’d suggest checking out some of our videos on SimTV to learn the necessary steps, such as how to mesh the model, which will have to be done to move on.
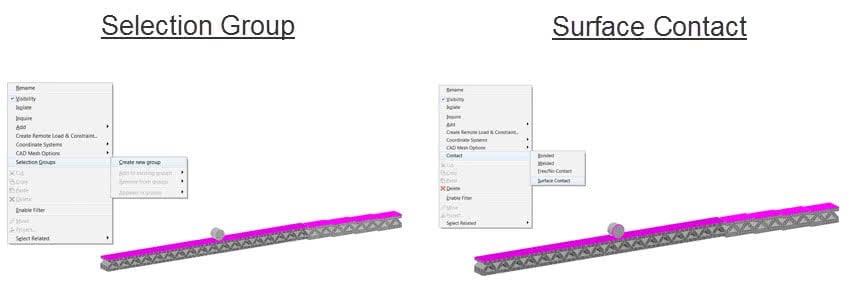
To help speed up the contact setup, we’ll define a selection group containing the top surface of each piece of the track. With them highlighted, right click and choose Selection Group: Create new group. Next, with the selection group highlighted, zoom in and highlight the outer surface of one of the rings on DK’s barrel, right click and choose Contact: Surface Contact. Repeat this for the other ring.
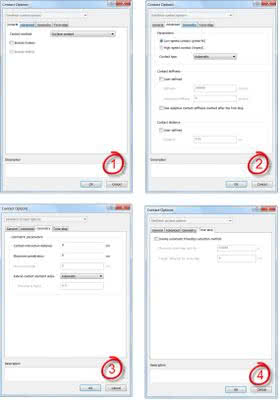
We can now go into the advanced parameters to make the surface contact more realistic by choosing which contact method to use or to include friction in the analysis. In addition, we could customize the contact parameters to speed up the analysis and reduce the number of contact elements created. To get there, right click on one of the contact pairs in the model tree and choose to edit it. Fortunately, for this analysis we don’t need to change any of these settings, but below are a number of the options available.
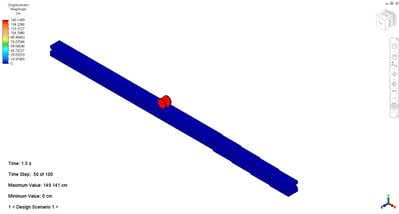
With just a few loads and boundary conditions, you should be all set to run your analysis and see the barrel go…barreling toward Mario! If you need some help with setting these up, or understanding the analysis parameters, check out this playlist on YouTube.
Did you miss the video and stumble on this blog post somehow else?!? Well make sure to check it out below, and see if you can beat my time! I’m a barrel dodging machine, so good luck!

(0)