We are pleased to announce 3 major updates to BIM 360 Assets! Updates include:
- Search and filter by standard and custom attributes
- Asset Project Configuration Export/Import
- Bulk delete assets
Search and filter by standard and custom attributes
Starting with new, powerful filter options, users can now easily find their assets based on any standard or custom attribute. Additionally, with a new assets search, you are now able to locate assets based on full or partial text.
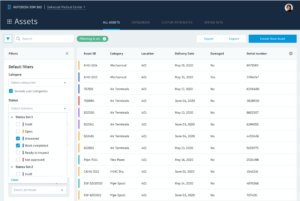
Search and filter assets by standard and custom attributes
Asset Project Configuration Export/Import
Standardizing asset tracking workflows across your projects makes it possible to extract more meaningful insights from the data you capture. We have just made it easier to export asset project configuration from one project and import it into other projects on your account. The following information is available as part of Assets Project Configuration Export:
- Asset Categories
- Status Sets, Colors and Category mappings
- Custom Attributes and Category mappings
First, configure asset categories, attributes, and status sets.
Once you’ve configured Assets on a project, navigate to the Import/Export tab of the Assets section of the Project Admin module.
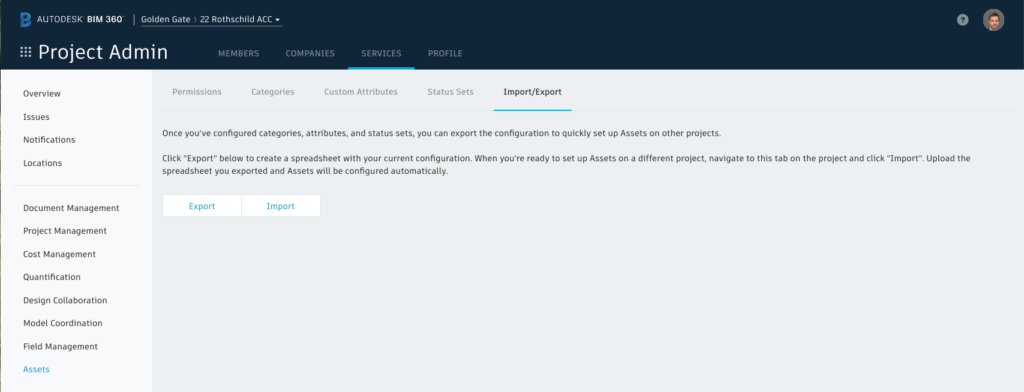
Assets Project Configuration Export/Import
Click Export, and a XLSX file will be prepared and emailed to you.
When you’re ready to begin using Assets on another project using this configuration, navigate to the same page in the new project. Click Import and upload the XLSX file. Now your Assets configuration has been applied to the current project.
Bulk delete assets
Today, you can perform bulk updates on assets through CSV Export/Edit/Import functionality. Now, it is also possible to mark assets for deletion during the same process. This allows project admins to cleanup unnecessary assets that no longer need to be tracked.
To mark assets for deletion, first ensure that you’re a project administrator.
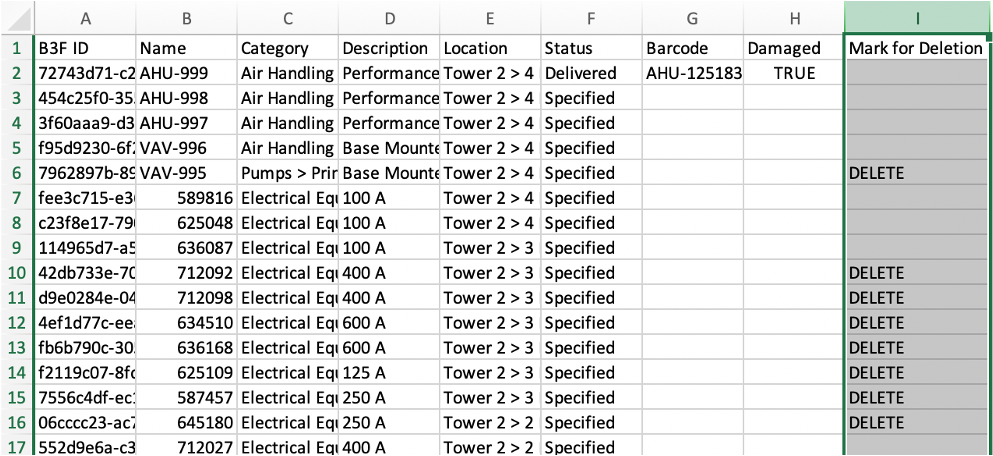
- After you export your assets report, open the .CSV file and add a new column on the right-hand side named “Mark for Deletion”
- Enter the value “Delete” for any asset that you would like deleted.
- Save the file and import it.
All assets marked “Delete” will be removed.
Bulk Delete Assets