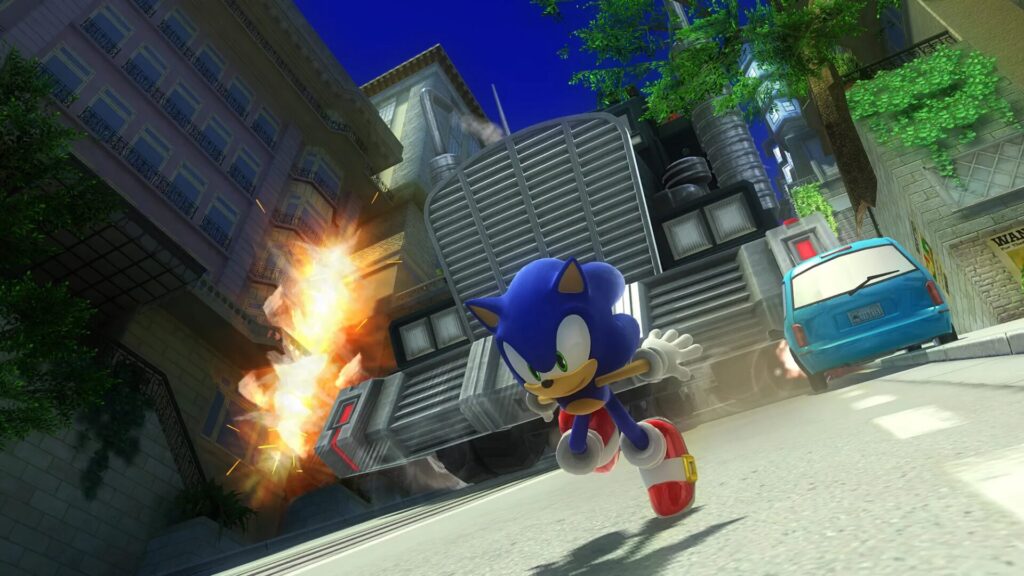
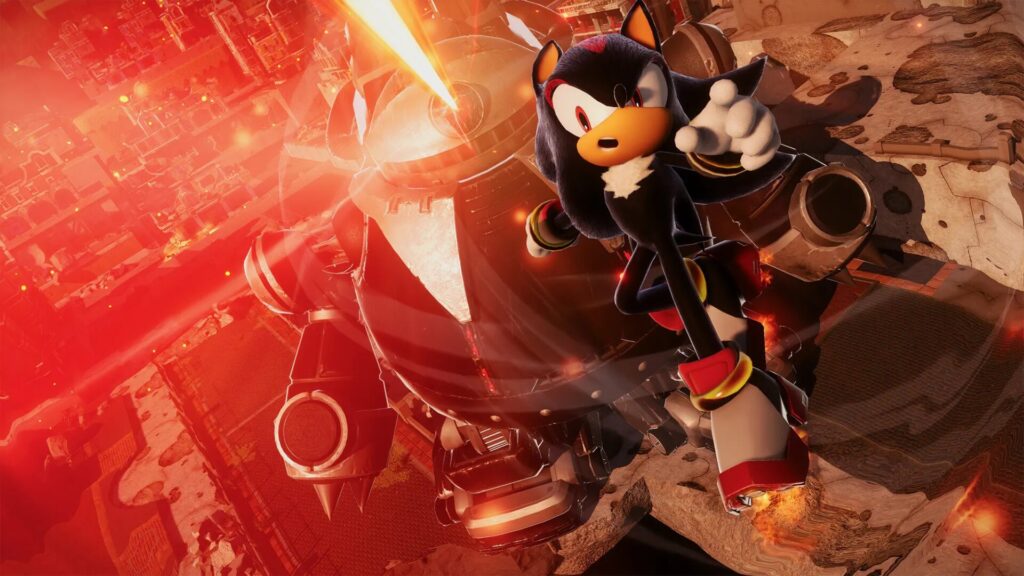
“Sonic X Shadow Generations” is the latest title (released October 2024) in SEGA’s signature “Sonic the Hedgehog” character franchise. It is a video game in which “Sonic Generations” (released in 2011) is remastered in high definition for current platforms, and the new “Shadow Generations” chronicle, featuring the popular Shadow the Hedgehog (“Shadow”) character, is included as a 2-in-1 package. The inclusion of the newly released Shadow alongside the classic 2D-era Sonic has been very well received. It sold more than 1 million copies worldwide on the first day of its release and 2 million copies in less than three months.
In this story, the developers at SEGA explain how they used Autodesk Maya and related tools for character modeling, motion creation, and event scene production. It is just a glimpse of their production atmosphere, but readers will enjoy the advanced technology and ingenuity behind the direction and movement of these fascinating characters.


Scripting to support efficient character creation
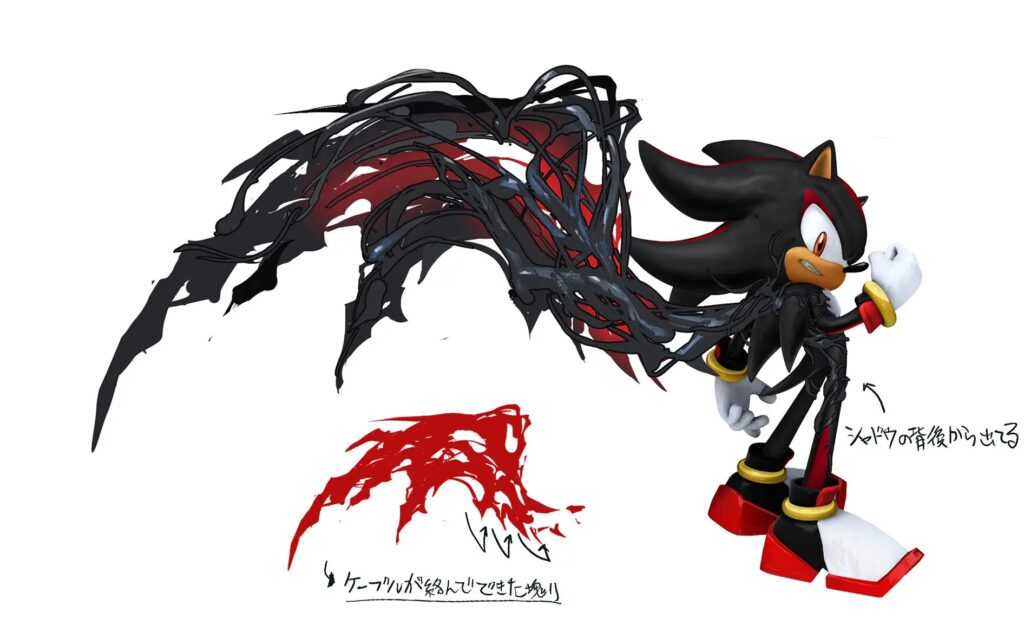
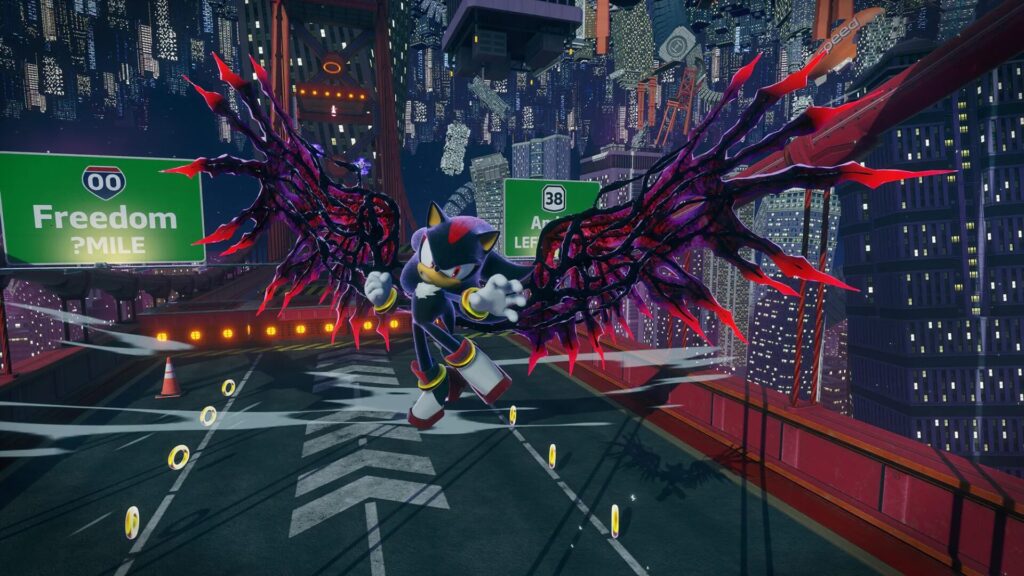
To begin, the character creation team brought ideas to the table and worked on the character design with a dark hero motif. Shadow, the protagonist of “Shadow Generations”, has a power called DoomPower that allows him to shape-shift, including growing wings.
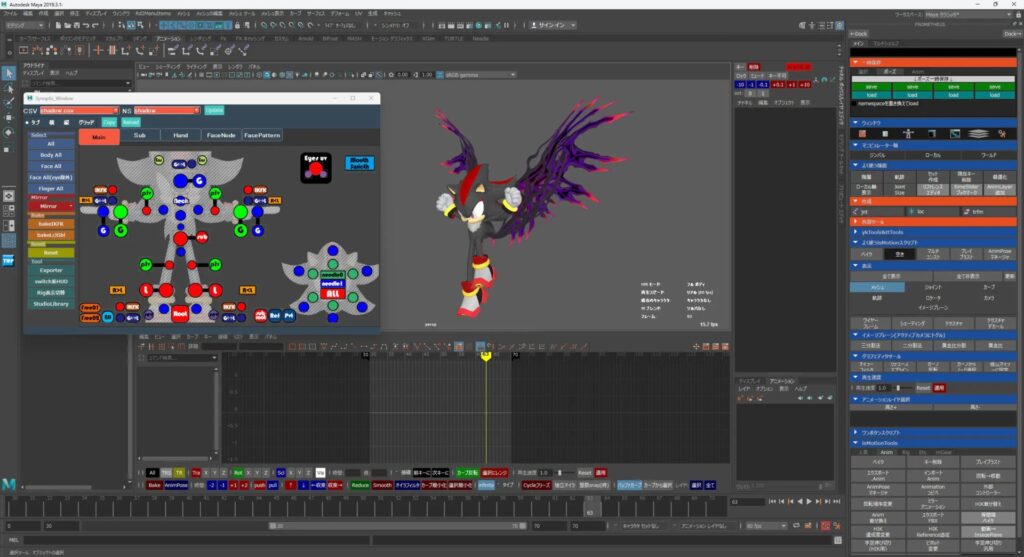
Shadow’s facial expression rigging has parameters set according to his emotion, and one can visually see how well it blends one emotion with another. Maya allows you to create UIs for linking attributes using such driven keys and expressions with a bit of knowledge.
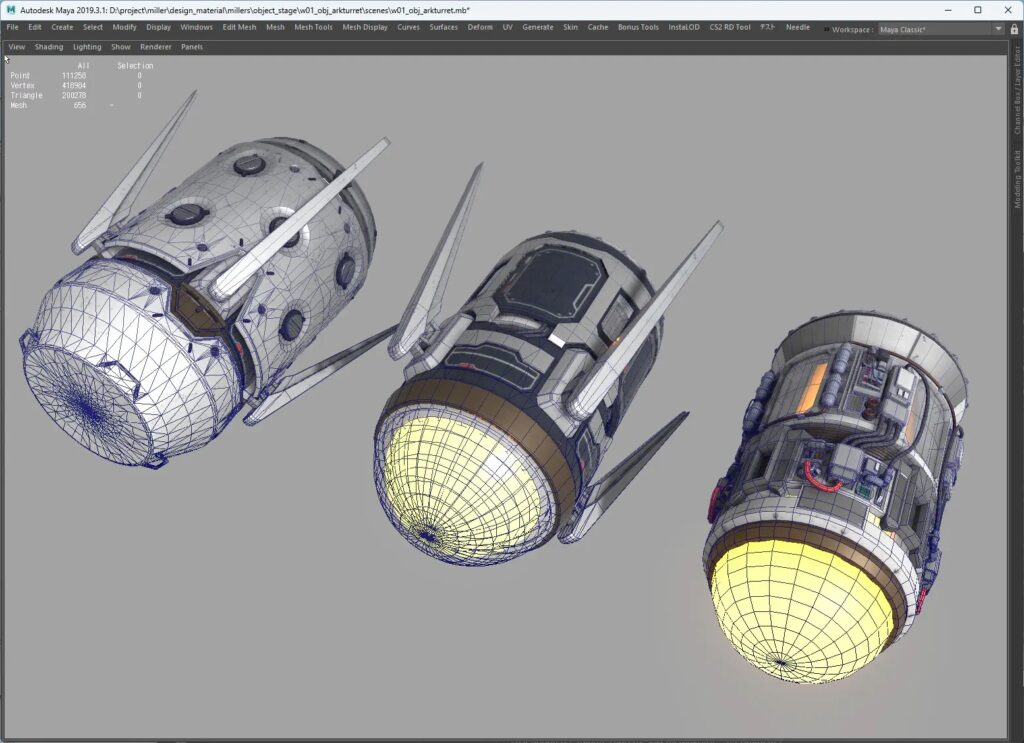
The in-house tool “NeedleViewer” allows you to adjust modeling while previewing on the viewport in Maya as if on a real machine. By capturing a model used in the game and loading it into Maya, it is possible to reproduce the same environment and edit it in a state close to the final output.
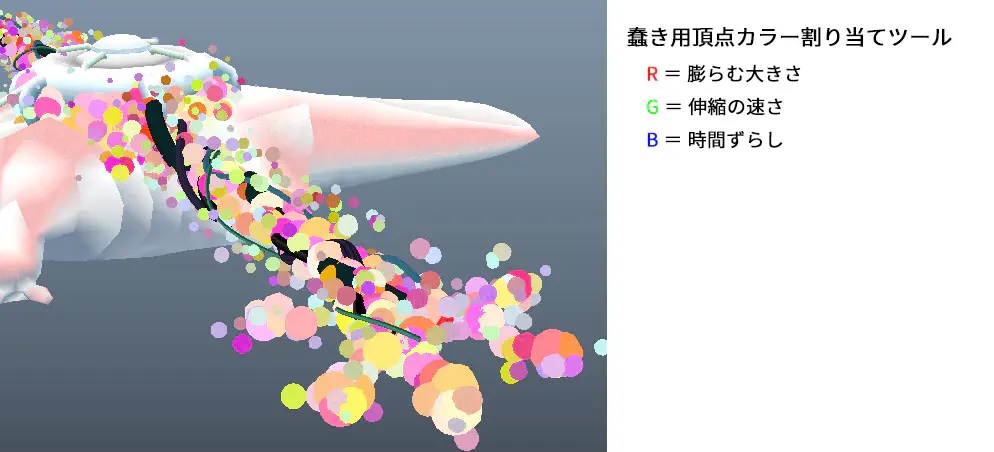
Next, a dedicated shader to randomly represent wriggling spheres was created. This figure above shows Biolizard, a boss character, and the spheres are morphed randomly with a single button push by setting the channels as R = size of expansion, G = speed of expansion/contraction, and B = time shift, and by putting a random script number in Maya. It is a useful script for manipulating such a large number of objects.
“The spheres themselves are the same model, so their vertex indices are also fixed. It’s a simple command that picks up an appropriate vertex index and applies a random number color to each shell selection,” says Mr. Matsuura.

Workflow and tool customization in motion direction
Throughout the development of the “Sonic” series, in-house TAs (technical artists) and animators who are knowledgeable about scripting have been continuously customizing Maya’s animation-related tools. Work efficiency has been significantly improved through, in particular, UI improvements and display switching functions of the Graph Editor, numerical input support as in Softimage, and automation of curve operations (smoothing, key convergence/deletion, etc.). Besides these, there is a launcher that loads tools around animation which can be launched with the motion tool systems already loaded, and in the home environment, it is easy to access the tools by dropping them locally for launching.
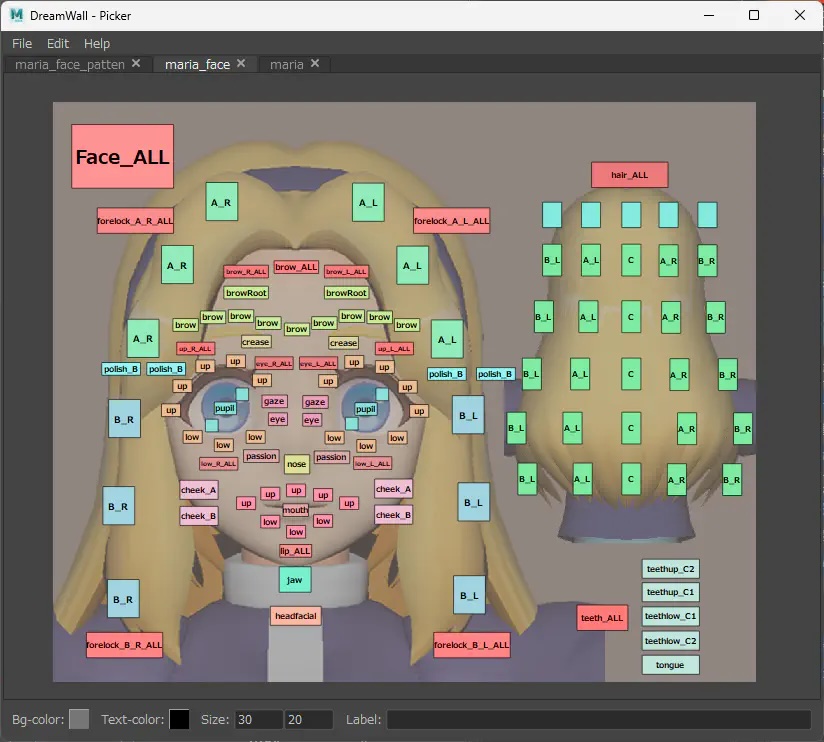
As for Shadow’s rig design, elements from Sonic Frontiers (2022) were borrowed. The scale and mobility of the limbs and elbows have been improved, allowing for impactful exaggeration when punching. In addition, for facial expression control, a mechanism has been introduced that makes it easier to load the registered poses from the picker and dynamically adjusts the direction of the mouth to match the camera direction (shader control on actual machines).
The UI design created using Qt Designer allows animators to operate the picker intuitively. General-purpose functions such as IK/FK switching, mirroring, and global switching functions are also integrated, contributing to raise the level of work efficiency.
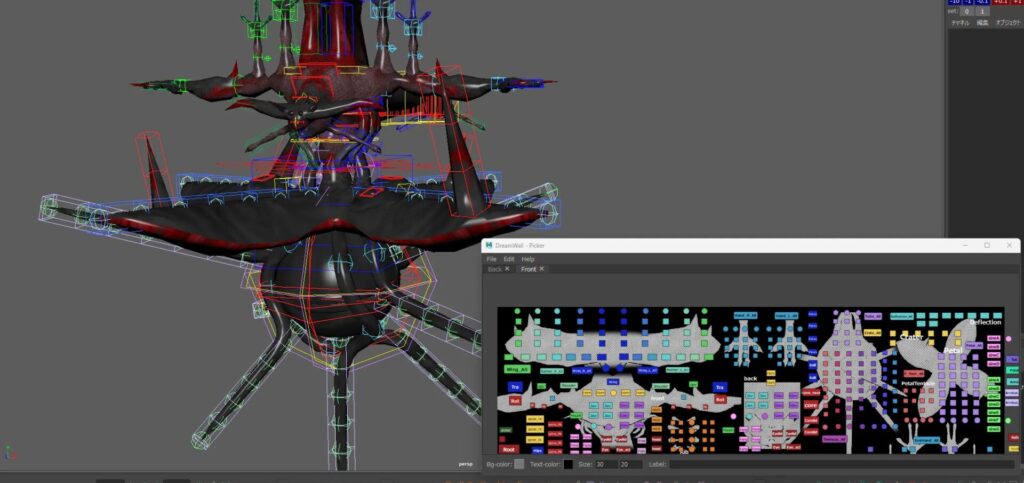
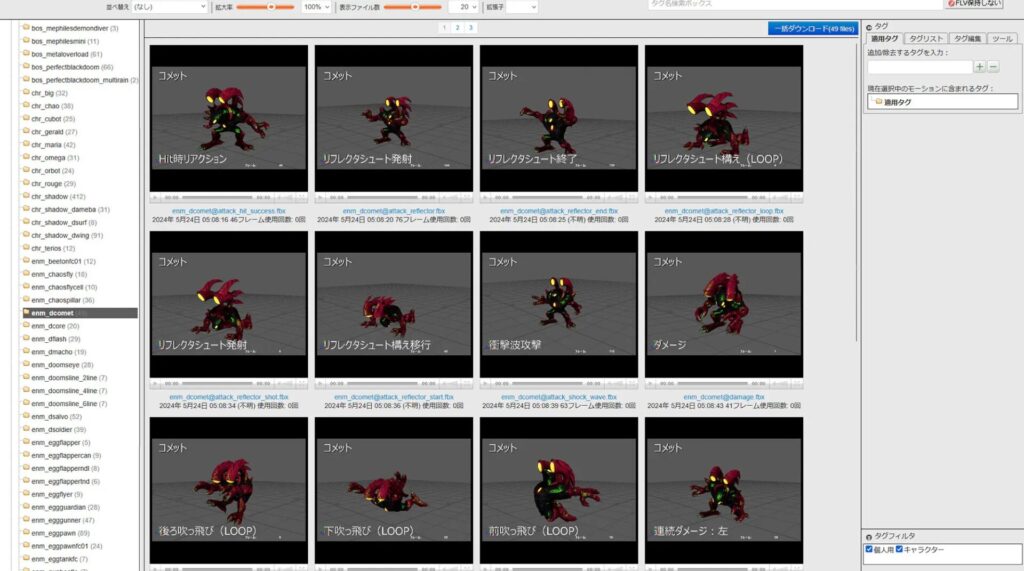
For rigs other than the main characters, the modular rigging tool “mGear” is used. This enables rig support for enemy characters in various shapes other than humanoid, and even a team of animators without specialized riggers can automatically generate rigs with guides drawn. Combined control of spline IK and FK is also installed as standard feature, making it easy to rig even tentacle-type enemy characters that require a lot of rigs.

DreamWall is used for the picker. One can create a controller for shaking objects by linking it with “mGear”, so the rig is loaded and attached to the character, and the shaking objects are simulated in Maya, baked, and output is produced in Maya. This made it possible to efficiently perform animation for shaking objects that were complicated to control, such as hair.
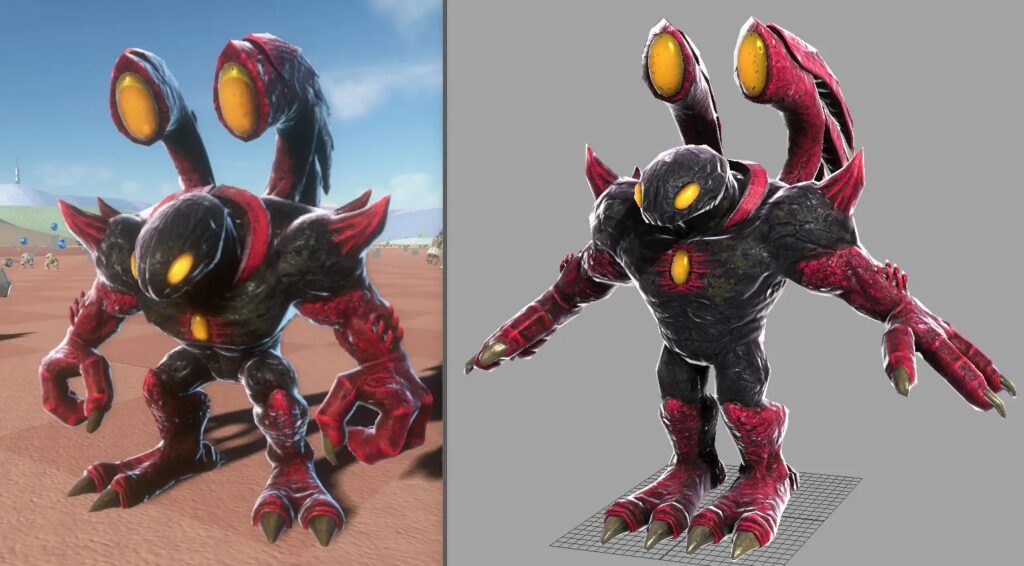
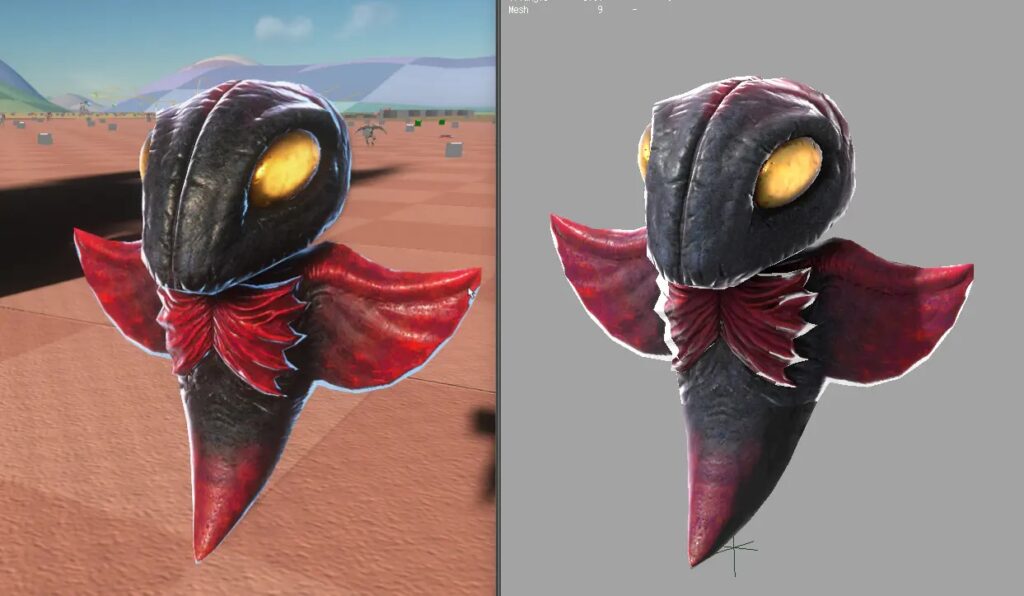
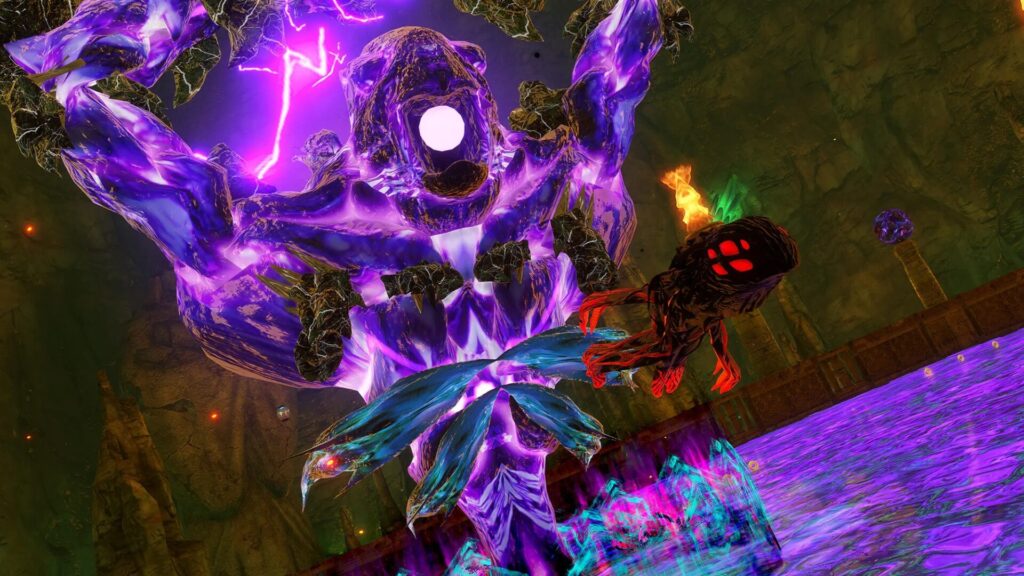
The distinctive staging of this product is found in DistortedSpace and DoomPower. The former was built and verified for expression using both Unreal Engine and Houdini. The enemies with DoomPower are creatures with a soft-bodied texture, and the animation is designed with soft and supple movements in mind, while the powerful action is expressed using exaggerated scaling.
The motion team also created some in-game cutscenes without definite storyboards, and many of them were left to the discretion of the motion creators. Layouts were instructed with text at the planning phase, while the specific designs of camera work and direction were resolved on site. In addition, to ensure a seamless connection with the in-game staging, the motion team devised ways to enhance the sense of immersion by working with the event team.
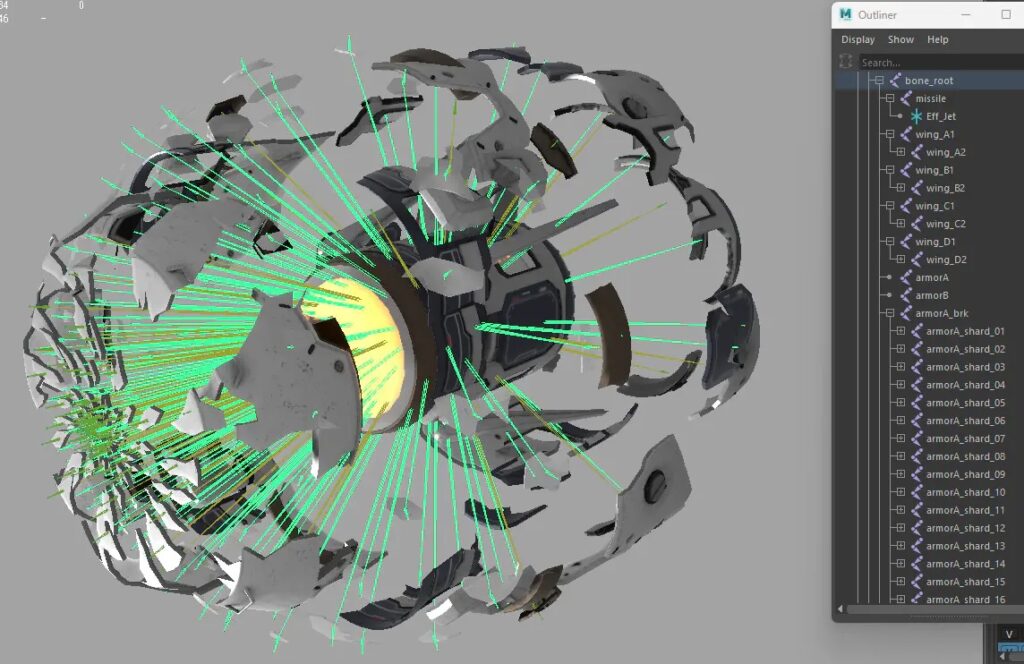
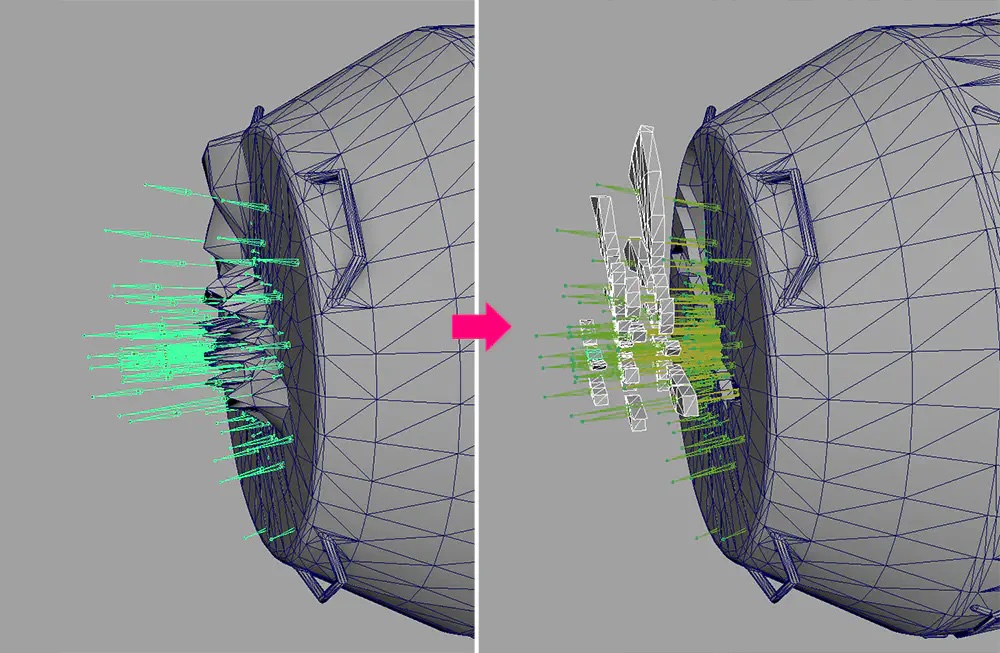
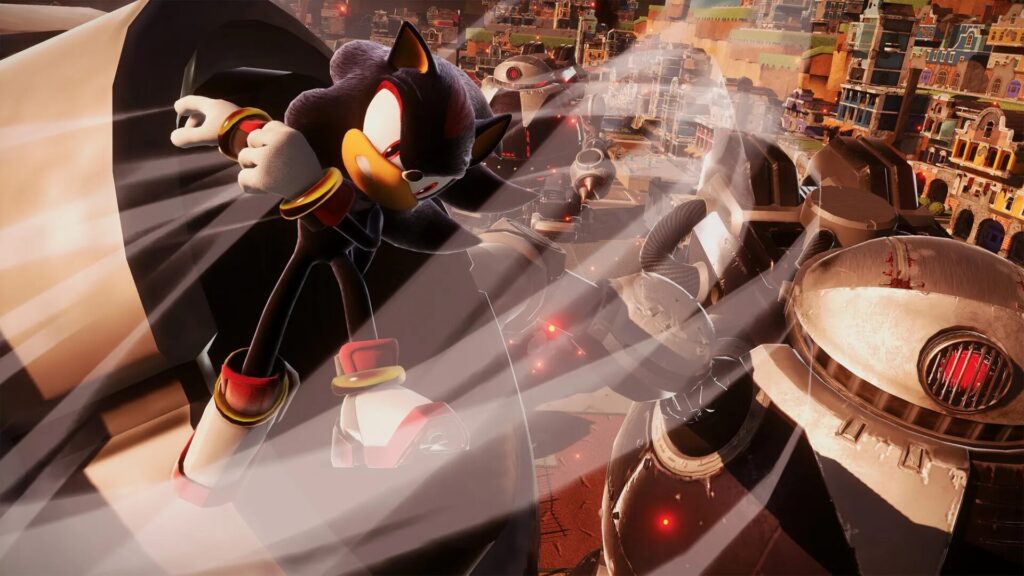
For example, in the missile destruction scene, one of Shadow’s special abilities, “Time Stop,” is shown attractively: Shadow sweeps through the stationary floating debris, kicks the missile in the end, and when the world’s slow motion unravels, the power is released at once and blows it away. In the Sonic series, the emphasis is on speed and acrobatic movements, so the culture of hand-made movements has taken root. In addition to the techniques inherited from predecessors, the silhouettes and poses of the characters are shared and inherited by sharing the coolness unique to the series through motion libraries and reference materials.
Production of in-game event “Staging with DistortedSpace”
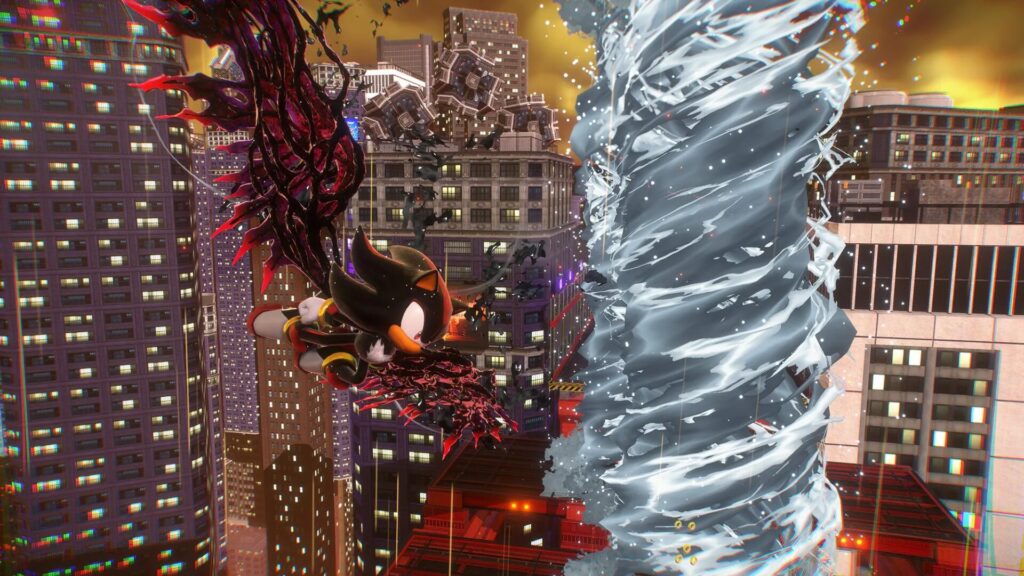
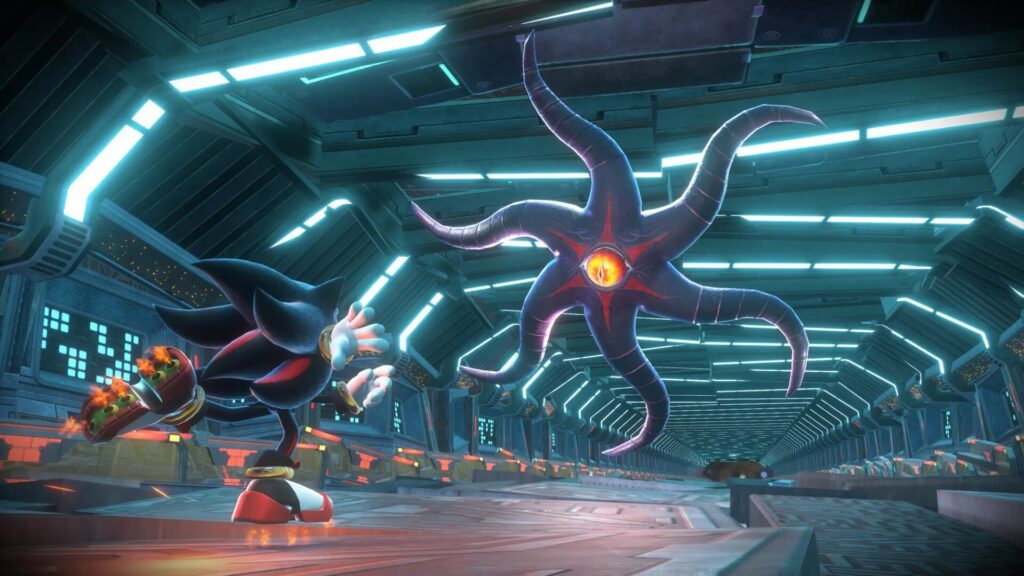
One of the features of this game’s in-game event is the “Staging with DistortedSpace.” When Shadow arrives at a world ruled by his nemesis, Black Doom, he is forced to enter a space where heaven and earth are turned upside down and the laws of physics are disordered. The aim was to seamlessly transition to the cutscene without blackout and enter the stage without disturbing the immersion of the game, so that the player could play without losing the sense of immersion. This type of staging was activated in three places, and while surprising with its impactful visuals, there was also an element of storytelling, and the length of the staging had to be kept to about 15 to 25 seconds so as not to spoil the pacing of the game. Under a number of such conditions, directing the video was a challenge for the staff as well.
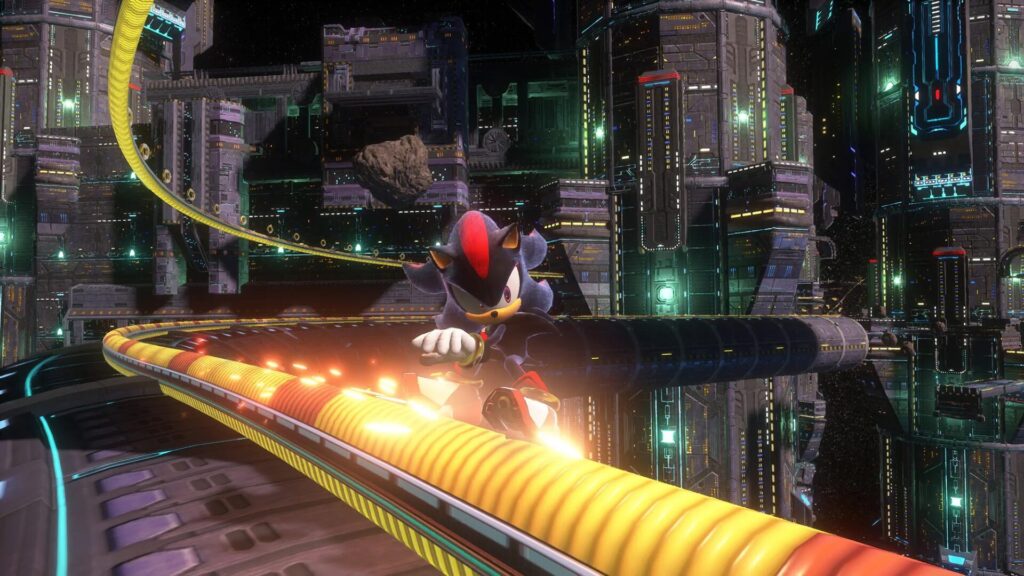
“First of all, we started by exploring what DistortedSpace is and defining it within the team. In order to create the same cool and aggressive visuals as before, we all came up with ideas and brought out the characteristics of each of the three places ‘Arc’, ‘Rail Canyon’, and ‘Urban Area’,” says Mr. Shibuya.
“Ark” is the first “Staging with DistortedSpace”, and the camera work suppresses movement so that the information about the stage changes is conveyed to the user in an easy-to-understand manner. If you suddenly make the cut here, you will disrupt the player’s immersion, so the camera work is set the same as in Play mode. From there, the passage breaks down to reveal a kaleidoscopic world, and Shadow is thrown into the air. Shadow himself doesn’t know what happened and a close-up shows his expression as he is tossed around, and the staging ends with a playable mode from the final diving scene. “I think that by falling slowly, it became an effective bridge for the player to recognize the world that had suddenly changed,” says Mr. Shibuya.
“We were ordered to make the pictures more and more flashy as we go to the second half, so we did a quick handover of the animation-like camera work,” says Mr. Shibuya.
So far, we have seen the visual presentation of the in-game events, but of course, there are also cinematic scenes as in the past. “Sonic Generations” is cartoon style, with dialogue exchanged in rapid succession and the camera basically fixed, but in contrast, “Shadow Generations” is conscious of a cinematic direction and uses realistic camera work, such as detailed gestures and camera shakes that depict emotions. Mr. Shibuya explained its background as follows: “Shadow is a character who is traumatized by his birth. I included the performance of the conflict of being eroded by evil and facing one’s own destiny. In addition, the heroine Maria, who makes her appearance this time, is like a family member to Shadow, and it was also important to depict her emotions.”
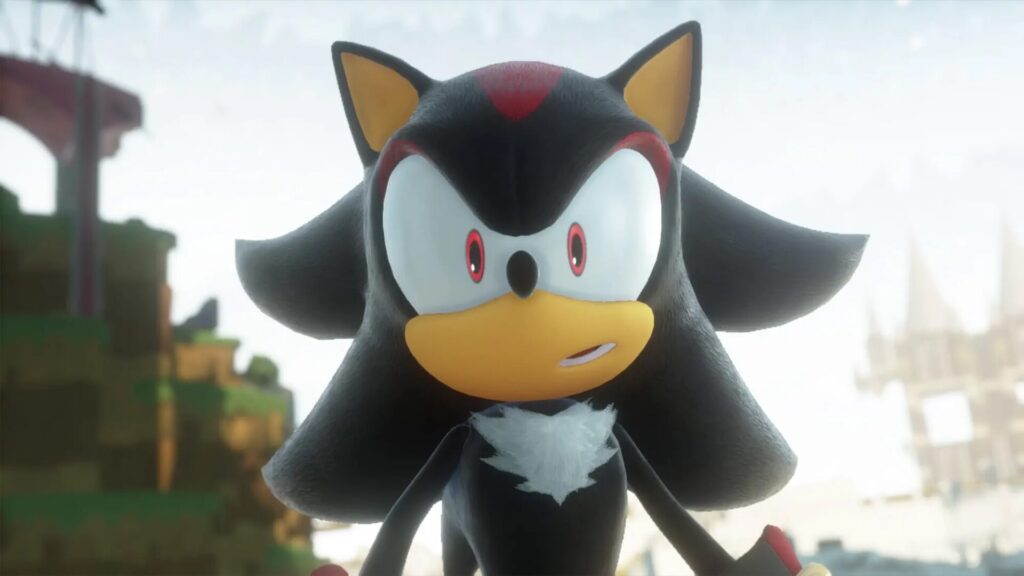
In cutscene production, the first step is to read the scenario and discuss the direction, and then create 2D/3D flow diagrams like storyboards. After that, the animatics and animation processes were carried out in Maya by a partner company. The goal for acting was to show Shadow’s emotional struggles and his interaction with Maria. Shadow doesn’t talk much, doesn’t make exaggerated emotional expressions or laugh, so his behavior was delicate. In particular, facial expressions are important for conveying emotions and thoughts, and they are drawn expressively with eyebrows and eyelids. Originally, Sonic characters have eyes that occupy more than half of their faces, so that leaves a big impression. Rather than a mechanical movement that raises and lowers the eyelids like a shutter, raising and lowering the eyebrows and the area between the eyebrows creates soft movements in a conscious way. In addition, instead of ending with preset poses, they refined the movement according to the intensity of the emotions in each scene and became conscious of a design that gave direction without making symmetrical poses.
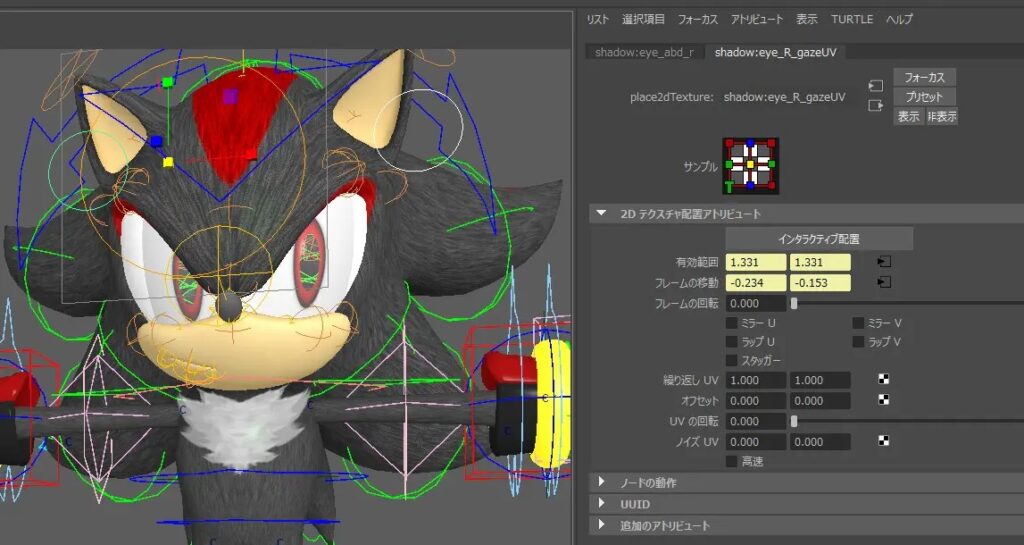
In “Sonic Frontiers”, the scale of the pupils could not be changed, but in “Sonic X Shadow Generations”, the scale of the pupils can be changed.
It is used when attacked by DoomPower or when receiving a strong shock. The eye control is not a method of inserting bones, but a method of moving/enlarging the texture of the eyes by UV scrolling.
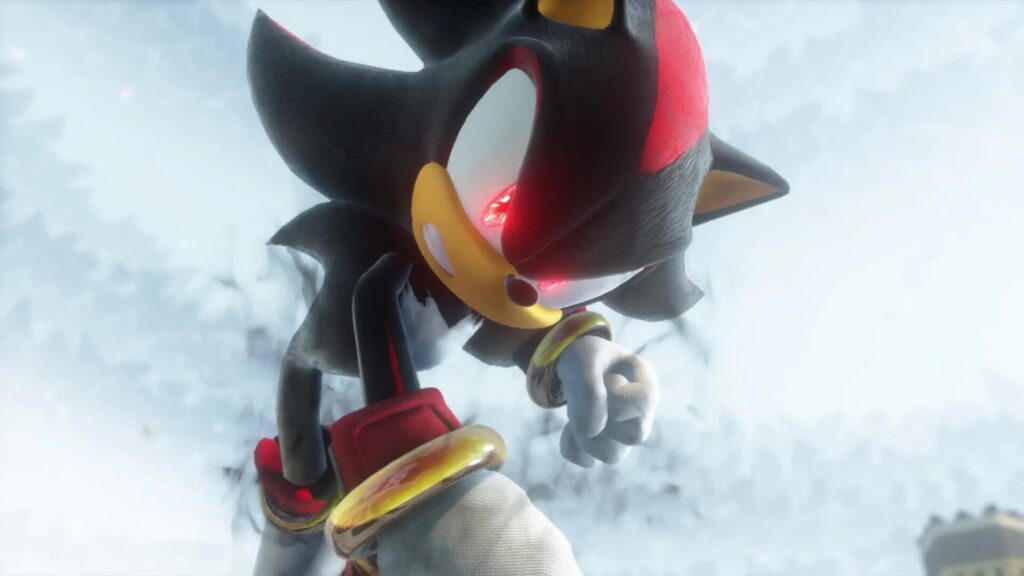
When Shadow activates his DoomPower, his eyes glow red to express the image of him gradually falling into darkness. If there is a node in the pupil, it is easy to attach the effect, but since there is no bone in the pupil and the texture of the eye attached to the spherical surface is controlled by the UV offset, it is difficult for artists to obtain the pupil coordinates from there. Therefore, we asked technical artists to create a tool that tracks the position and scale of the pupil moved by UV and outputs it to an external locator. An effect is attached to this node to make the eyes glow.
In addition to this, there are many other ingenious points, such as powerful emotional expression with fingers and body, high-speed action, camera work, and layout based on film theory, so please imagine the artist’s intentions from the completed animation.
Remaster and Beyond: Proactive Development of Deform
Upon remastering “Sonic Generations”, the development team explored various R&D activities under the motto “Create character expressions that have never been seen before” prior to the start of the project to push forward the modernization of expression. An example of this is bone-independent Deform expression.
This is an original vertex shader that has the same Deform both in Maya and the game engines. It can be applied on top of Deform by the usual bones, and can be applied to expressions such as stretching and squashing effects and deforming the entire character in a swirl shape.
By applying the primitive controller of Sphere to the mesh, strength, area of influence, and Deform type such as “wave” could be specified. First, the TA created a Shader for Maya and UE5, and after the artists went through animation tests to experiment with the expressions, the programmers were asked to implement it in an in-house game engine.
By building a prototype environment with artists and TAs, they were able to freely experiment with expressions with a sense of speed.
“Maya is characterized by its high degree of customization and the ability to create a variety of visuals that are artist-driven, and I realized the depth of the product,” says Mr. Koichi Shibuya.
Scenes with high-speed flight that involve afterimages can also be expressed more dynamically with this Shader. “I tried to express the agony when the power of inner evil is activated or the gelatinous impression, and I felt a good response for practical use,” says Mr. Keiichi Matate.
The development of the Deform shader technology is explained up to this point, but in the end, it is not included in “Sonic X Shadow Generations”. That’s because “Sonic Generations” and “Shadow Generations” have different game engines (the former is SEGA’s own Hedgehog Engine 1 and the latter is Hedgehog Engine 2). Another reason was that users wanted HD that was true to the original. Although it was not possible to implement it on gaming machines this time, it is believed that such work, such as preliminary research and searching for expression methods, will surely lead to future output. We already got a glimpse of the technology that makes us look forward to the next work.

User Experience of Maya
Finally, we asked the respective artists about their user experience of Maya.
Mr. Matsuura, who plays an active role at the forefront as Lead Character Artist in the Design section, has been a quarter-century Maya user since his student days.
“The advantage of Maya is that we can do everything from modeling to rigging, animation, and rendering in one software. I think it’s a good introduction to try it first, have a broad grasp of the processes, and then find out what you want to specialize in,” he gave advice to beginners.
He continued, “The great thing about Maya is that the operations are logged as MEL scripts, so you can easily copy and paste them when repeating the same task. I feel that it is a tool that can be used like a macro and is very easy to introduce scripts.”
Mr. Goda, the Lead Animator in the Animation section, said, “Of course, it has basic and easy-to-operate functions for starting with 3D, but a major advantage is its ease of developing tools in MEL and Python, allowing customization for projects and teams. In this work as well, around the animation, we are using tools and customizations that specialize in the anime work that we are creating within the department. One of the attractions is that it has a large number of users and it is easy to find information such as tips.”
Mr. Shibuya, the Lead Cutscene Artist of the Event section, pointed out that the reference function can be used stably. “It’s natural to continue the production without a go-live model, so it’s very helpful to be able to replace it later. With the Sine Expression tool, it was relatively easy to experiment with complex movements, and by inserting Sine expressions on debris and rails in the passage, it was easy to adopt a trial-and-error approach on different movements with different variations.”
In conclusion, Mr. Matate said, “When I perform art direction, I transcribe it in 3D and create a rendered image after checking the design of the machines as well. Maya has a long history with a wealth of materials and support schemes, so I hope it will continue to be the standard DCC tool in the years to come.”

Written by Akiyoshi Hizume
Edited by SEGA and Autodesk
Start using Maya today to create games like Sonic X Shadow Generations.