In its latest open-world AAA title, Dragon’s Dogma 2, Capcom’s programmers and artists expanded on its collection of in-house game development tools to make the massive RPG more visually stunning than ever. The team found an intersection between the scale of an open-world game, the expectations of modern game graphics, and the challenges of optimized processing through the integration of Autodesk modeling and animation tools with Capcom’s own game engine, RE ENGINE.
Unleash your creativity with Autodesk’s game development solutions. Achieve stunning visuals, intricate character designs, and immersive environments with our cutting-edge tools.
Translated from Japanese. Read the original article.

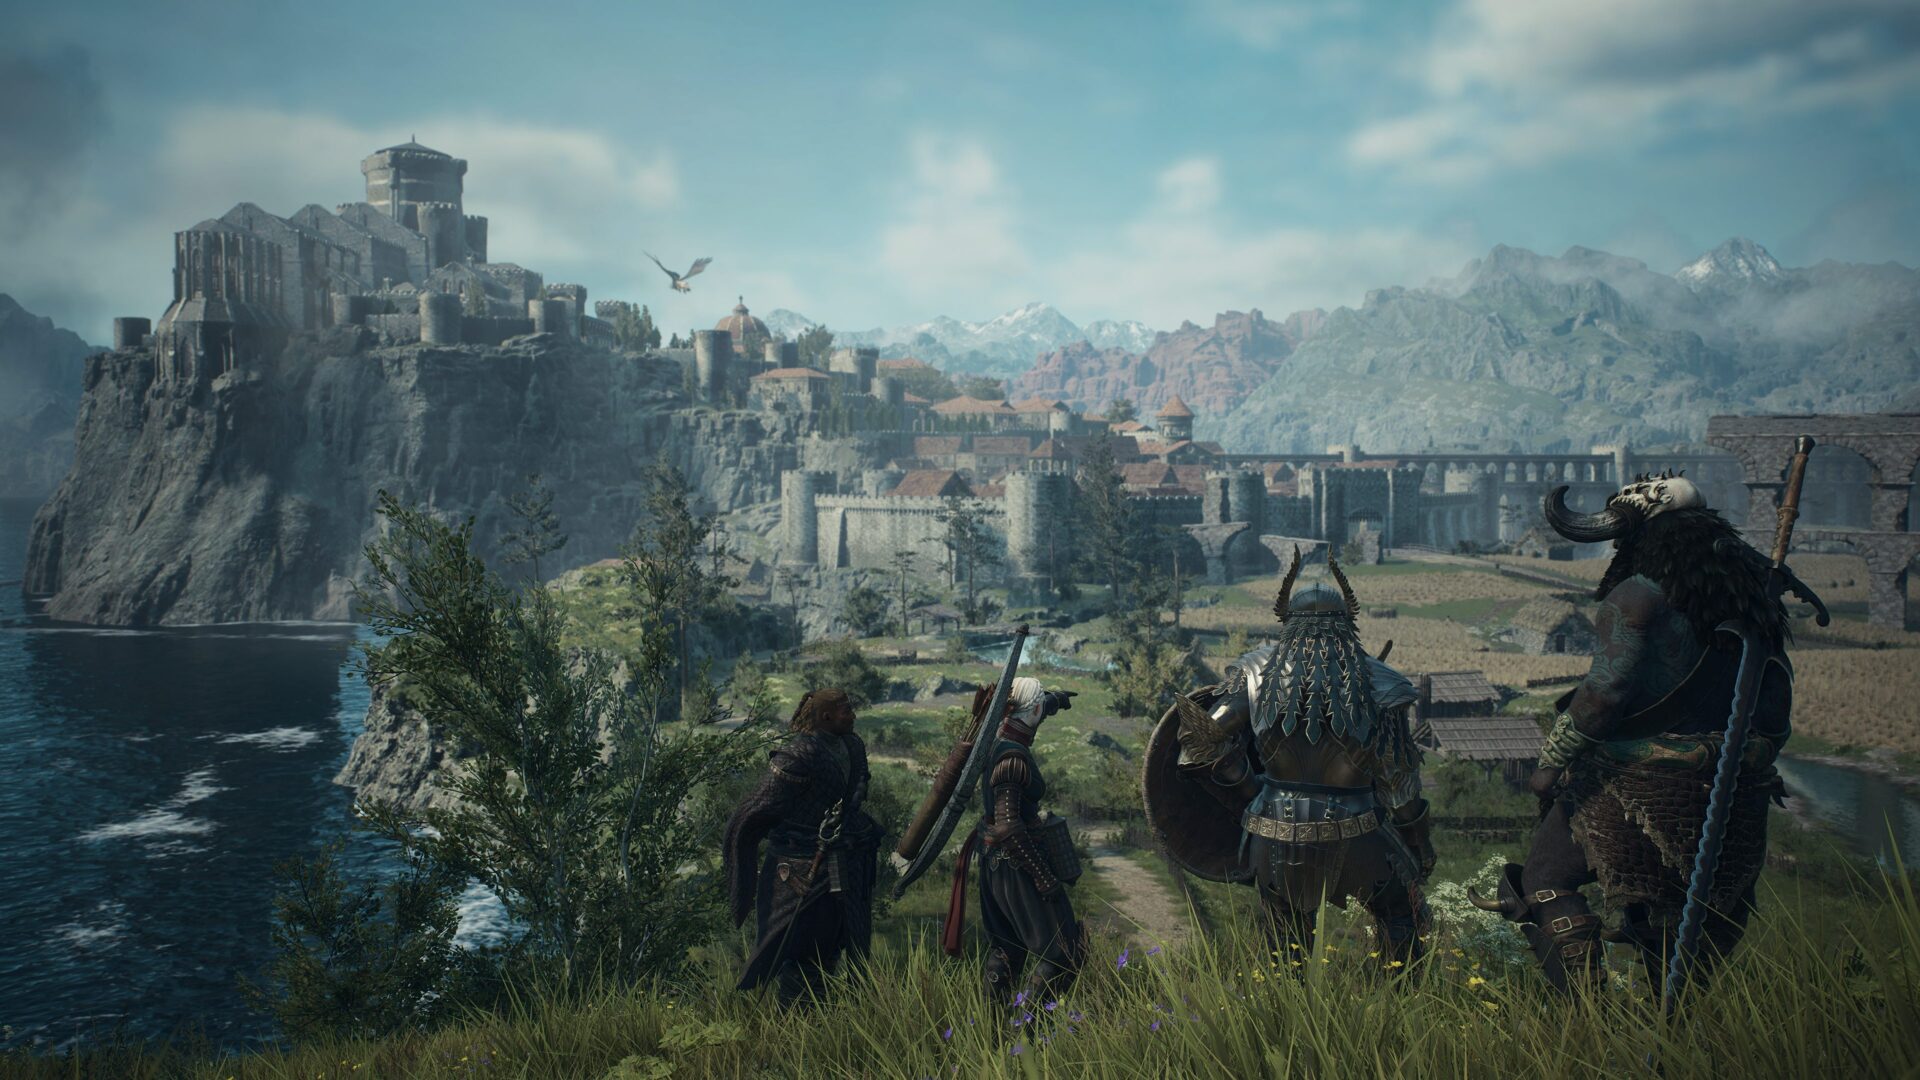
Released on March 22, 2024, Dragon’s Dogma 2 is a AAA video game title by Capcom described as “an open-world action game with a high degree of freedom and an unparalleled sense of adventure.”
The game is the long-awaited sequel to Dragon’s Dogma, which was released in 2012 as Capcom’s first open-world action RPG, and it was developed using Capcom’s in-house game engine RE ENGINE.
RE ENGINE was first introduced in 2017’s Resident Evil 7, and it’s been used as the primary tool in other major Capcom titles. Dragon’s Dogma 2 marks the first time it’s being used in an open-world game.
In this article, several designers shed light on the challenges they experienced throughout the process—and how they overcame them by integrating enhanced digital content creation tools with RE ENGINE’s own tools.
Watch the Dragon’s Dogma 2 trailer
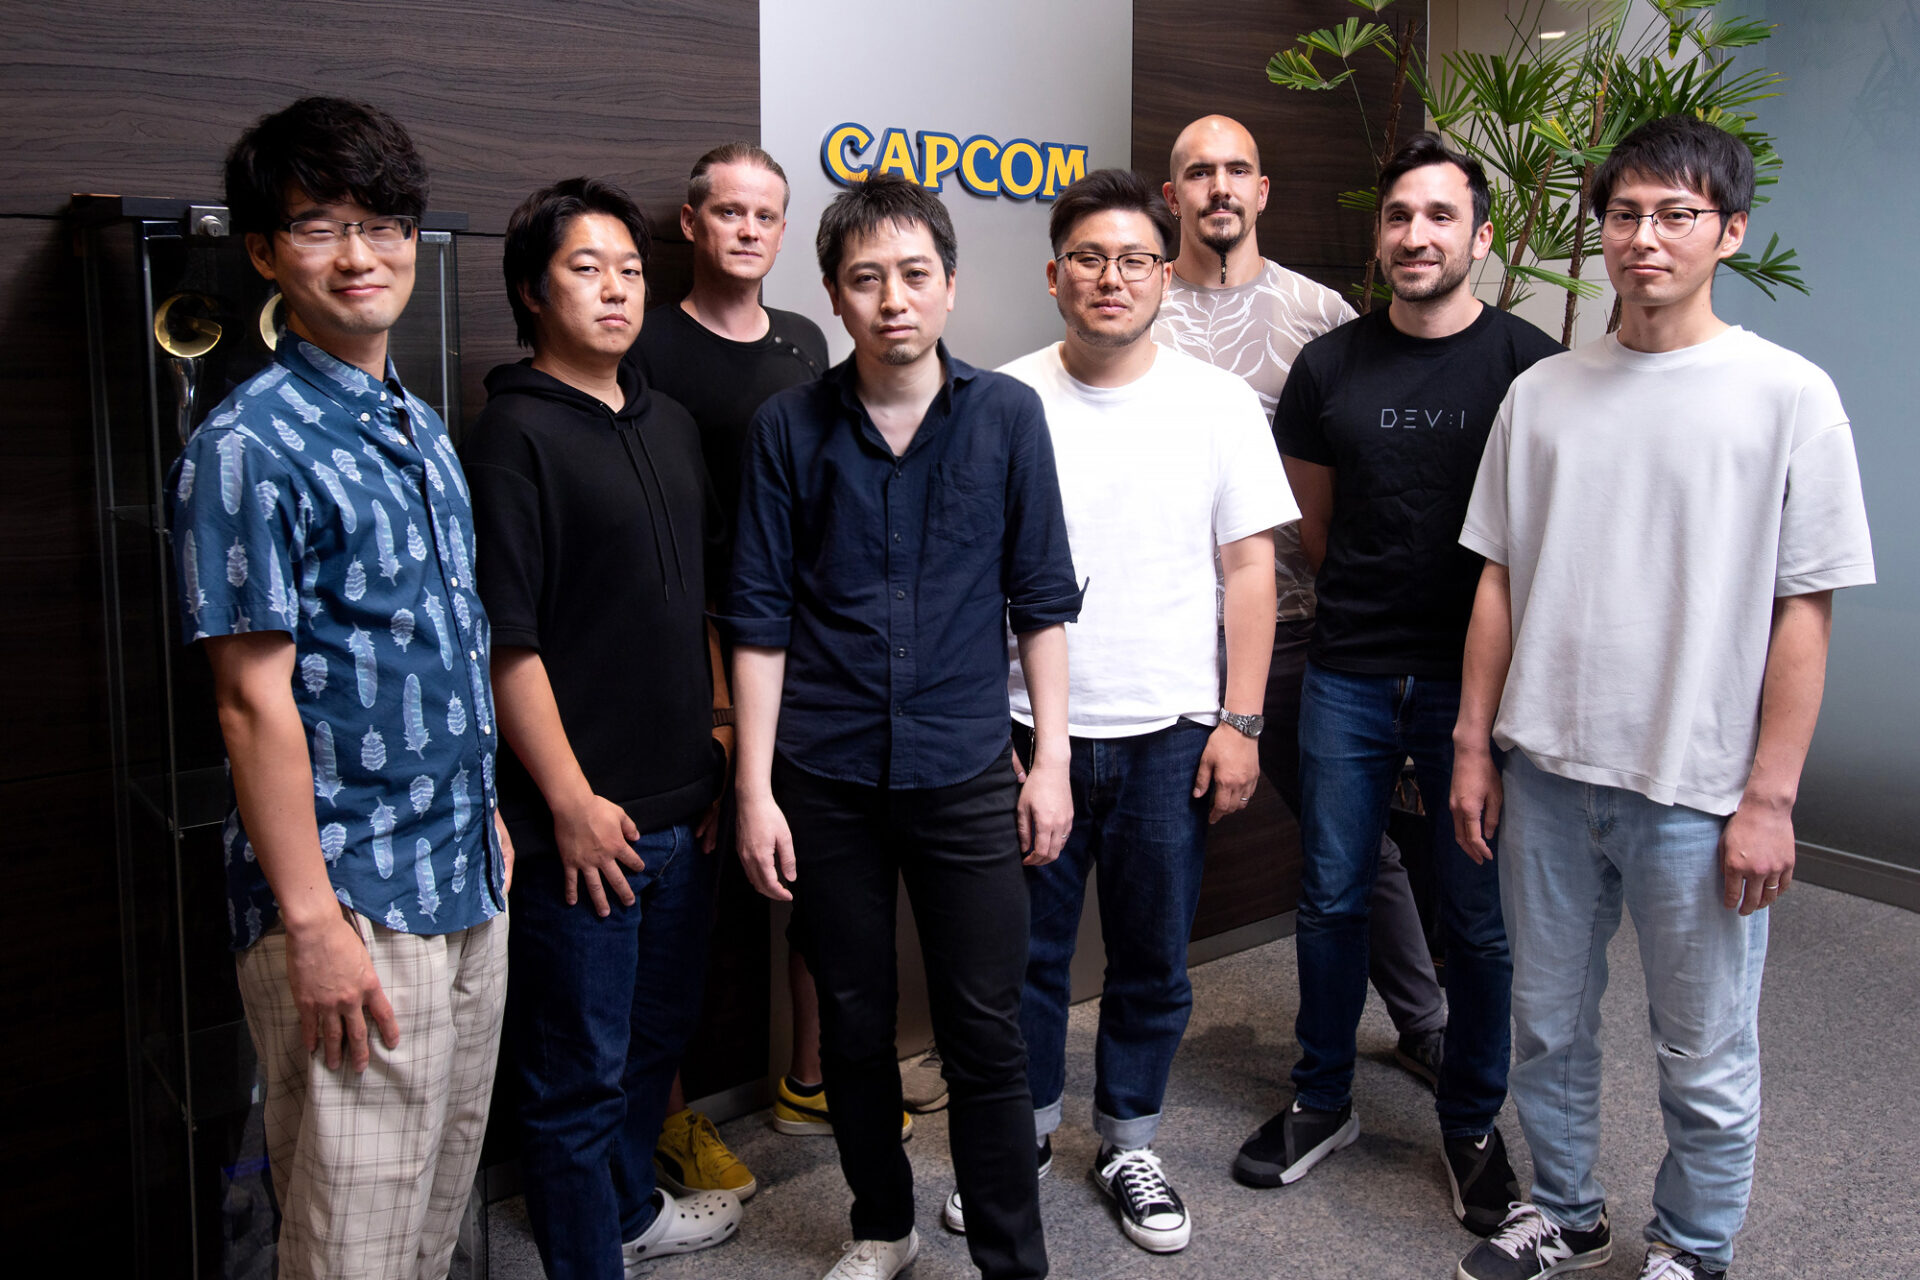
Members of Osaka Capcom who were interviewed:
Mr. Yoshiaki Hirabayashi, Producer *Photo not shown
Mr. Bradley Saunders, Technical Art Director
Mr. Hirofumi Aihara, Lead Lighting Artist
Mr. Petr Zapotocky, Rigging Technical Director
Mr. Masaki Nagata, Main Programmer
Mr. Masayuki Maeda, Lead Animator
Mr. Norihiro Kameyama, Lead Enemy Artist
Mr. Miguel Alonso Hernandez, Lead Environment Artist
Mr. Ryota Unzai, Technical Artist
The engine that grows with each project
As Capcom’s developers utilize its in-house game engine RE ENGINE across its titles, every new technique and technology learned in developing a game is accumulated to broaden the scope of development for future projects.
“RE ENGINE is like a collective of intelligence that grows with each title,” producer Yoshiaki Hirabayashi said.
For the development of Dragon’s Dogma 2, efficiency and ingenuity were key. Generally, starting from the middle to late stages of a game’s prototyping until the early stages of the proper game’s development, technical aspects and game design run in parallel. For this project, there was a risk that this parallel work process would inhibit the pace of development.
The team focused on the technical side of the game for about a year after the prototype. After solidifying it, they started the game’s overall development process. At that point, RE ENGINE had the foundation for the team to work on the open-world game, with tools for ground formations, enemy management, and dungeon creation.
“For this title, it was a necessary process, because it was important for us to multiply elements and systems instead of letting them add up,” Hirabayashi said.
A better look at the technology made their “multiplicative” approach to the game design possible, the creators explained.
Game-wide character generation with one versatile tool
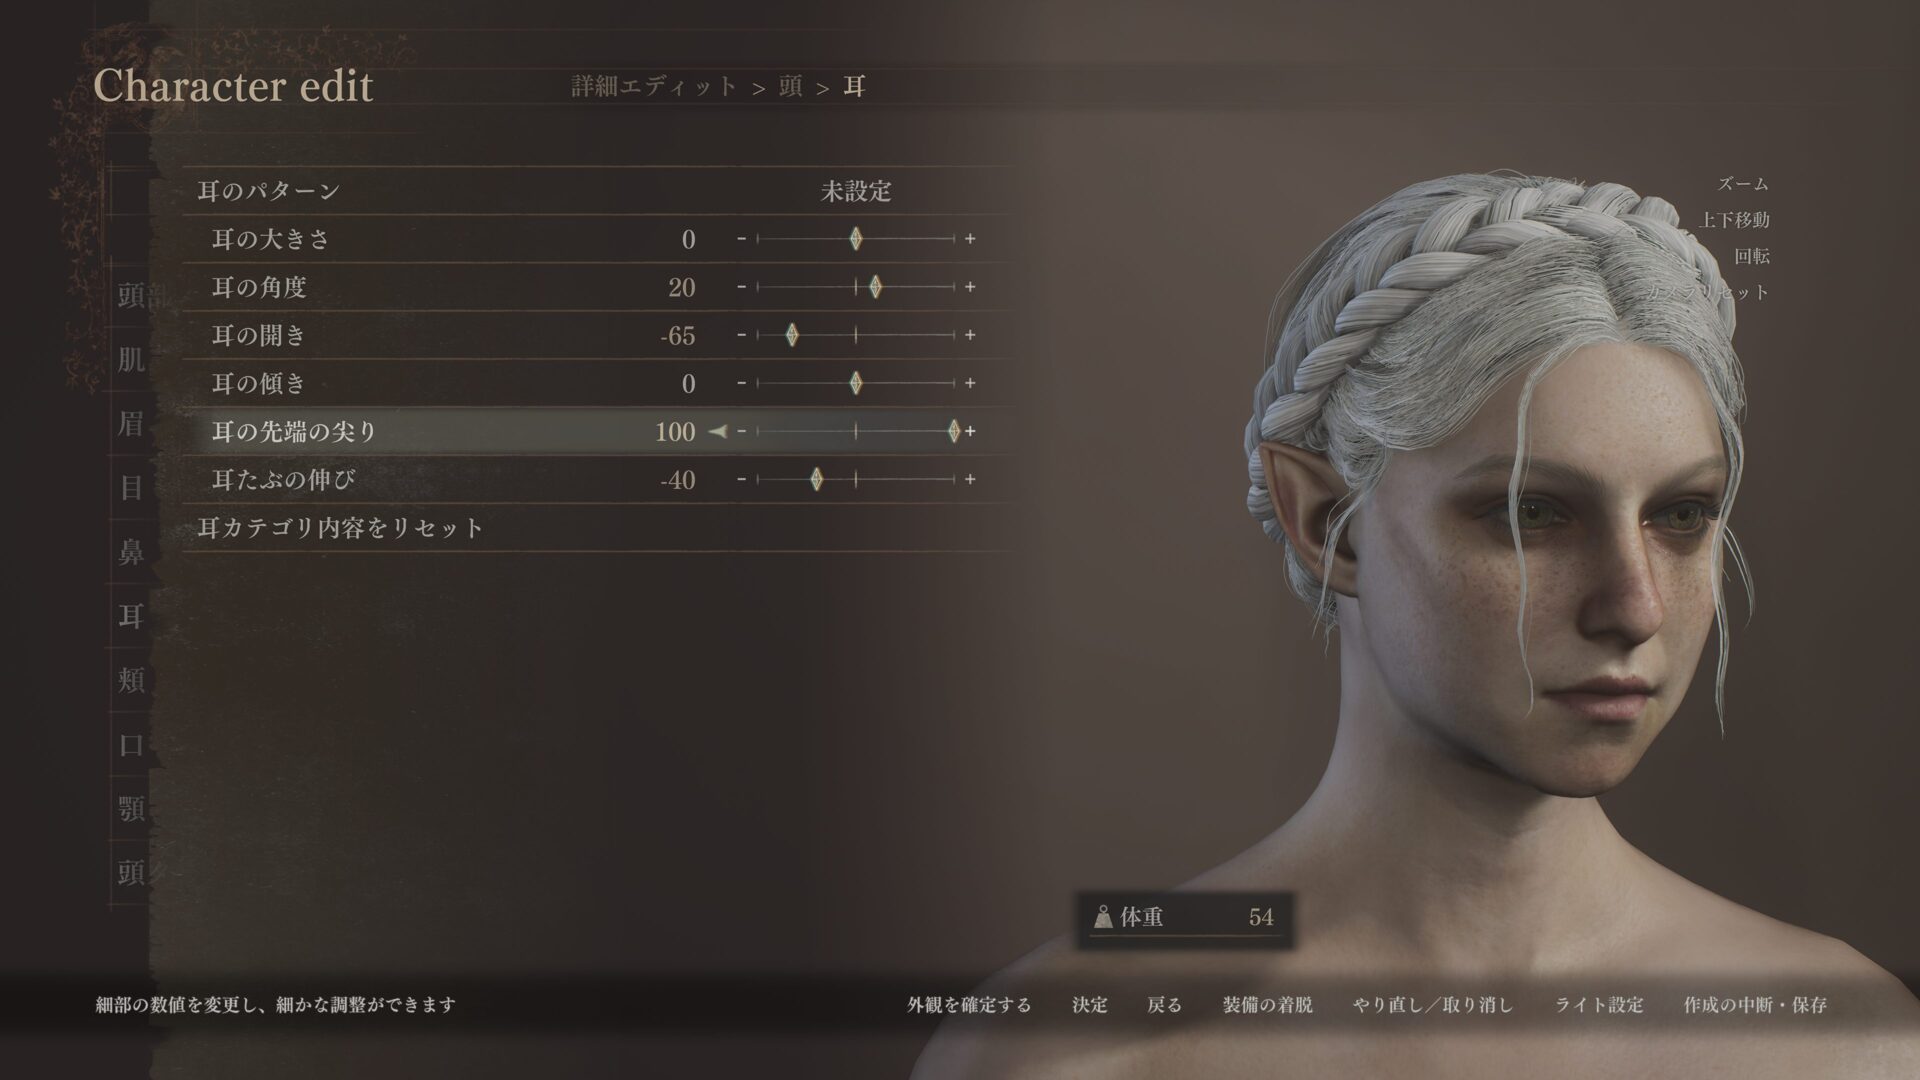
One major feature of Dragon’s Dogma 2 is an expansive character creation tool. In addition to selecting basic attributes such as height, facial features, and body shape, players can also fine-tune faces, hairstyles, and skin tones to create their own unique characters within the massive world.
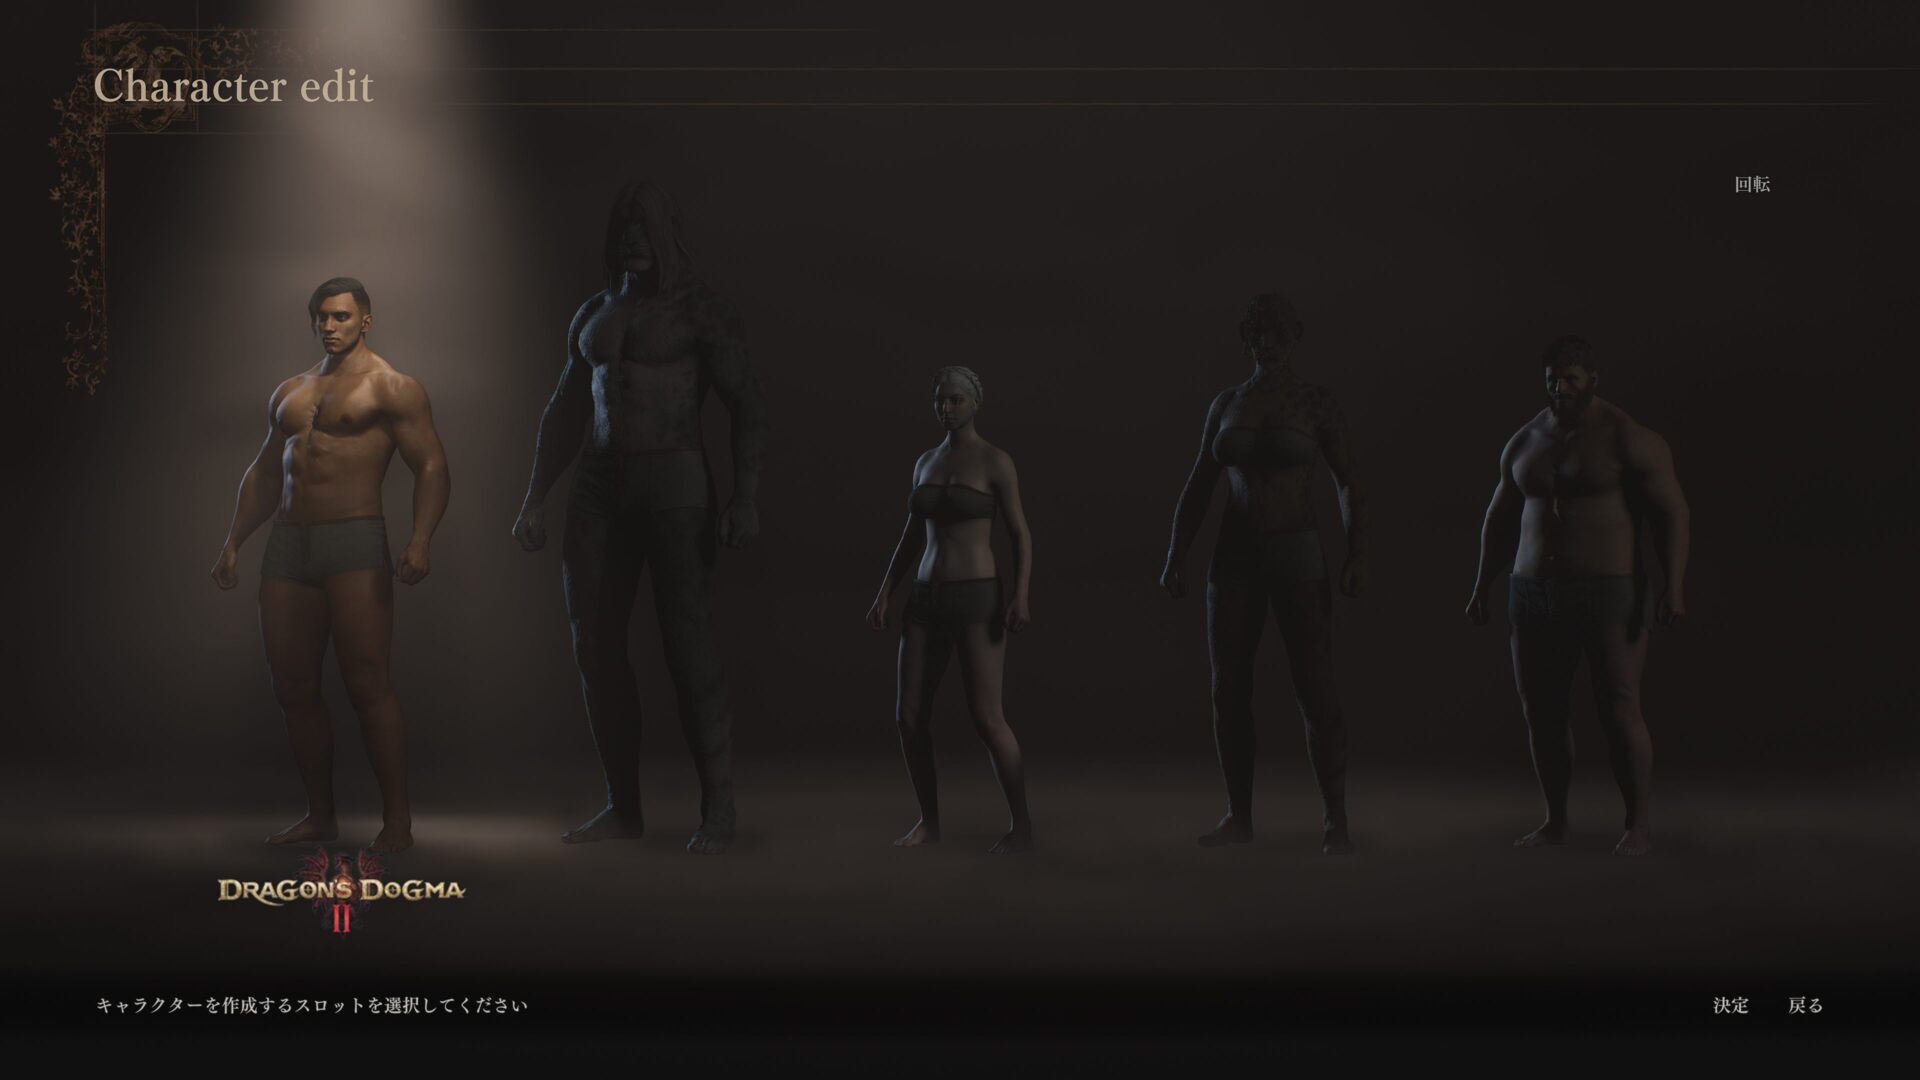
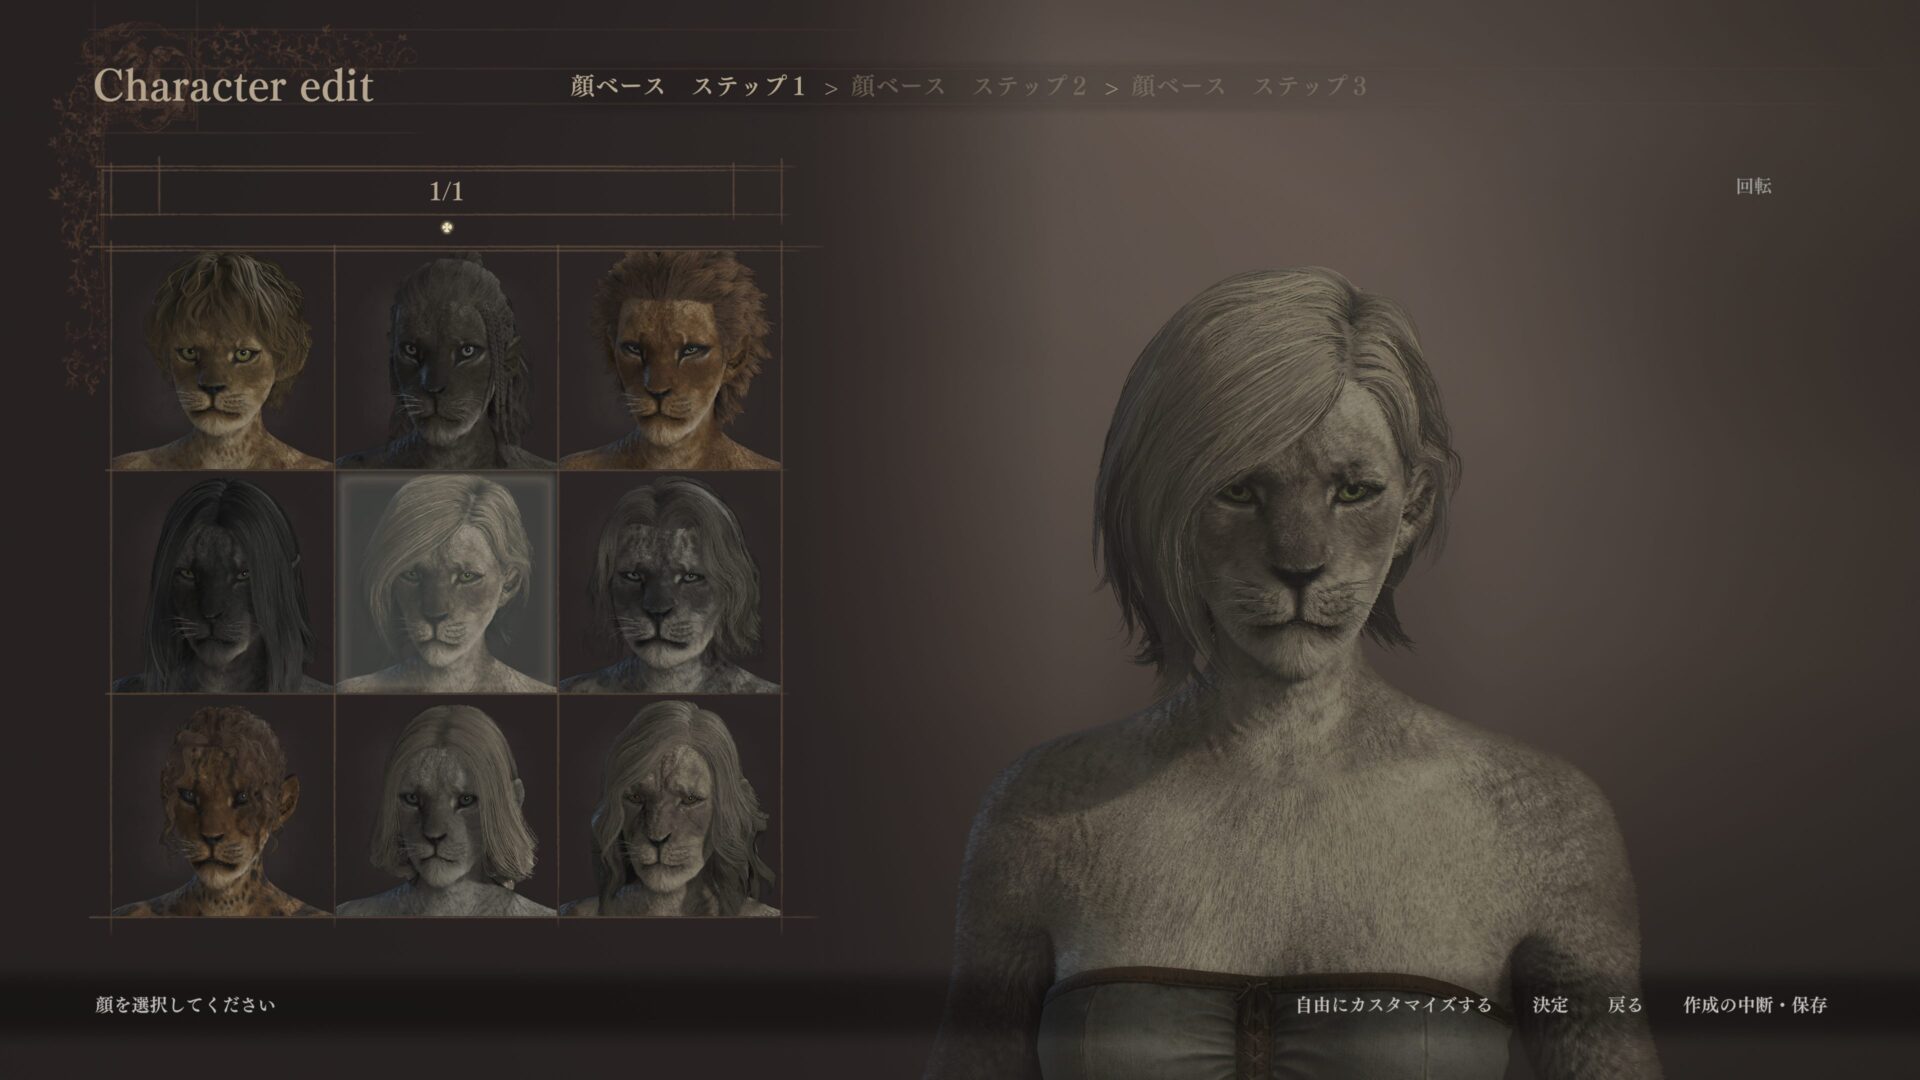
Dragon’s Dogma 2 features over 1,000 characters, including various NPCs such as travelers, merchants, and soldiers across races such as beastren and elves. These are built from the same character editing tools as the player’s character, allowing the player to interact with NPCs who have the same quality of appearance as them in their adventures.
The player can also create their own party member NPC—called a “Pawn”—and summon up to two other players’ main pawns as “Hired Pawns”, allowing a party of up to four people.
These pawns can be lent and borrowed from other players online, so it’s very important to have a rich character editor that allows players to show the personality of their main pawn. The depth and multifunctionality of the character customization system also required an easy-to-use interface.
The system was designed by Technical Art Director Bradley Saunders, Rigging Technical Director Petr Zapotocky (in charge of facial and body editing), and Masaki Nagata, the main programmer. They used Autodesk Maya for body and facial editing.

For the face editing, the team scanned the heads of about 80 people in order to create variations on the base. They are all built in the same topology, so the blend shapes are built in one set. Players can alter joints in each part of the face.
“We’ve implemented a technology that allows us to change the blend shape and reflect it in the drawing mesh,” Bradley said.

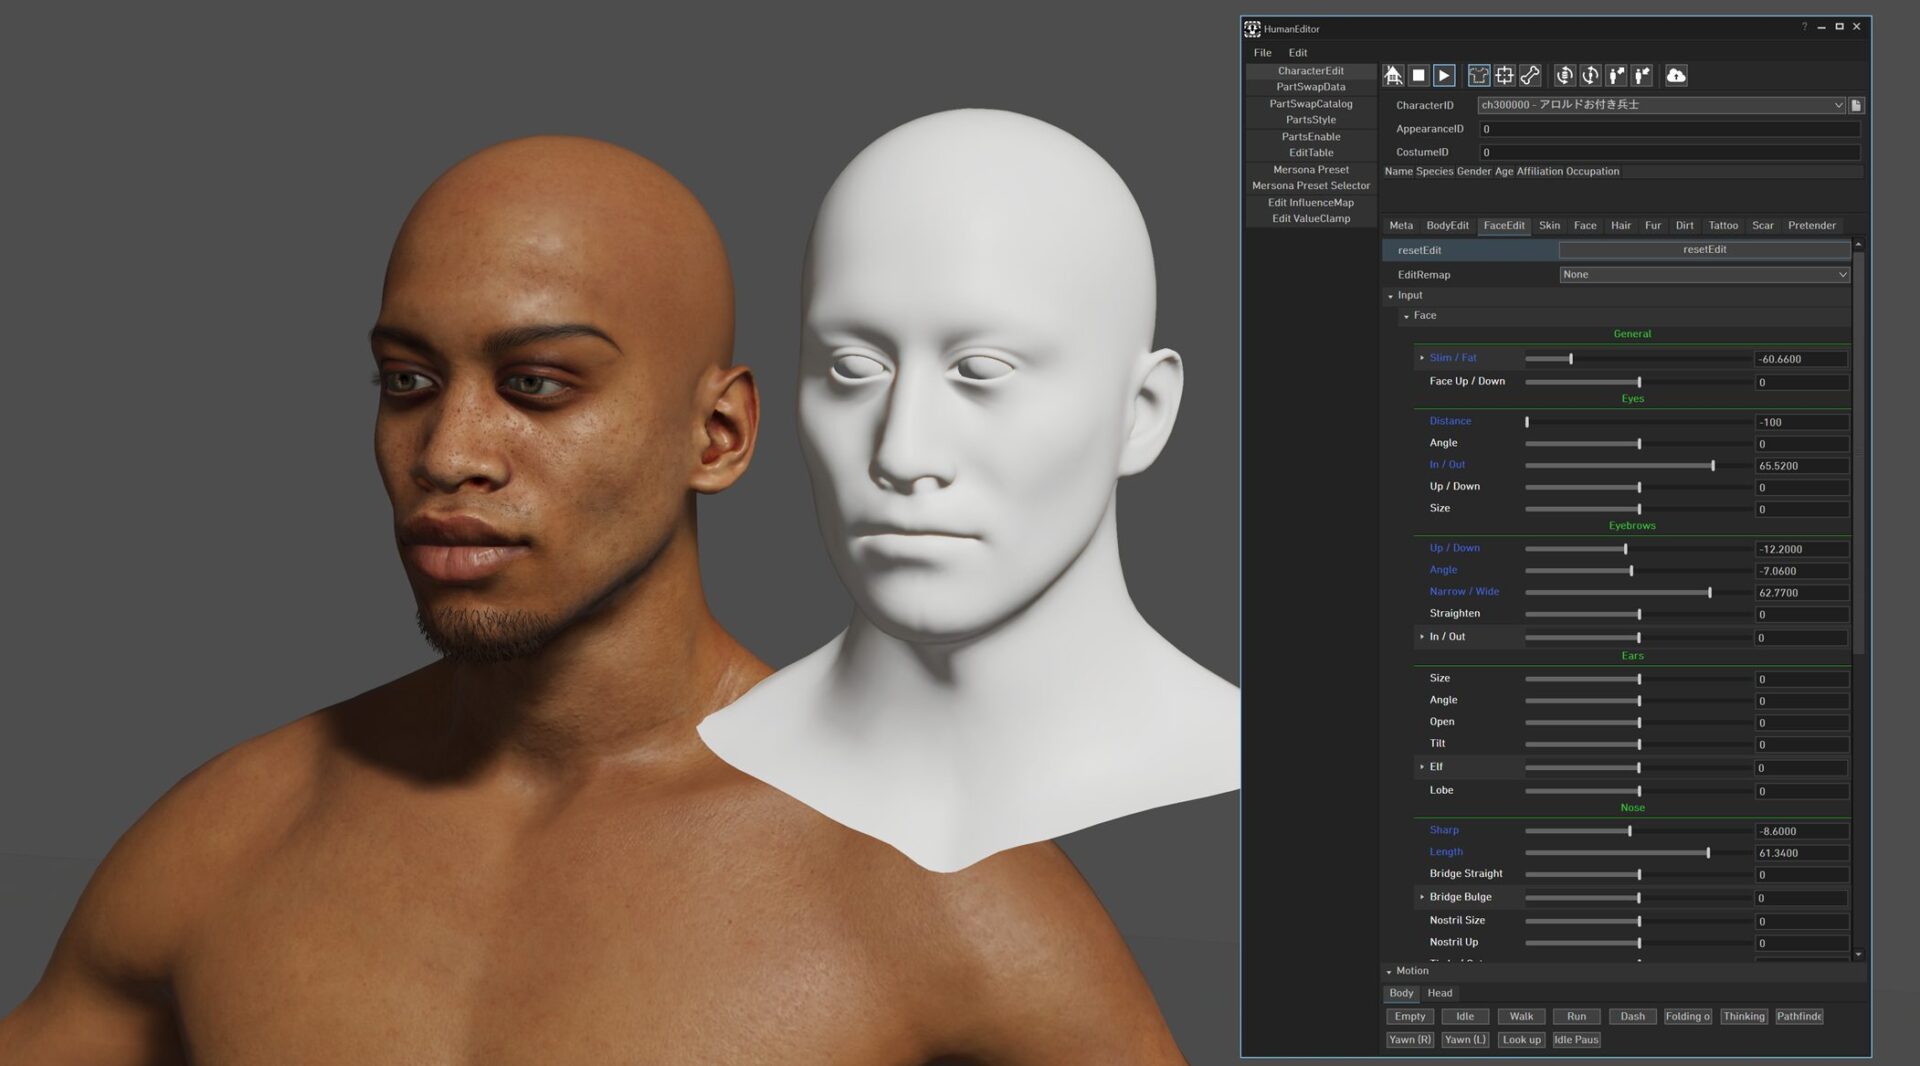
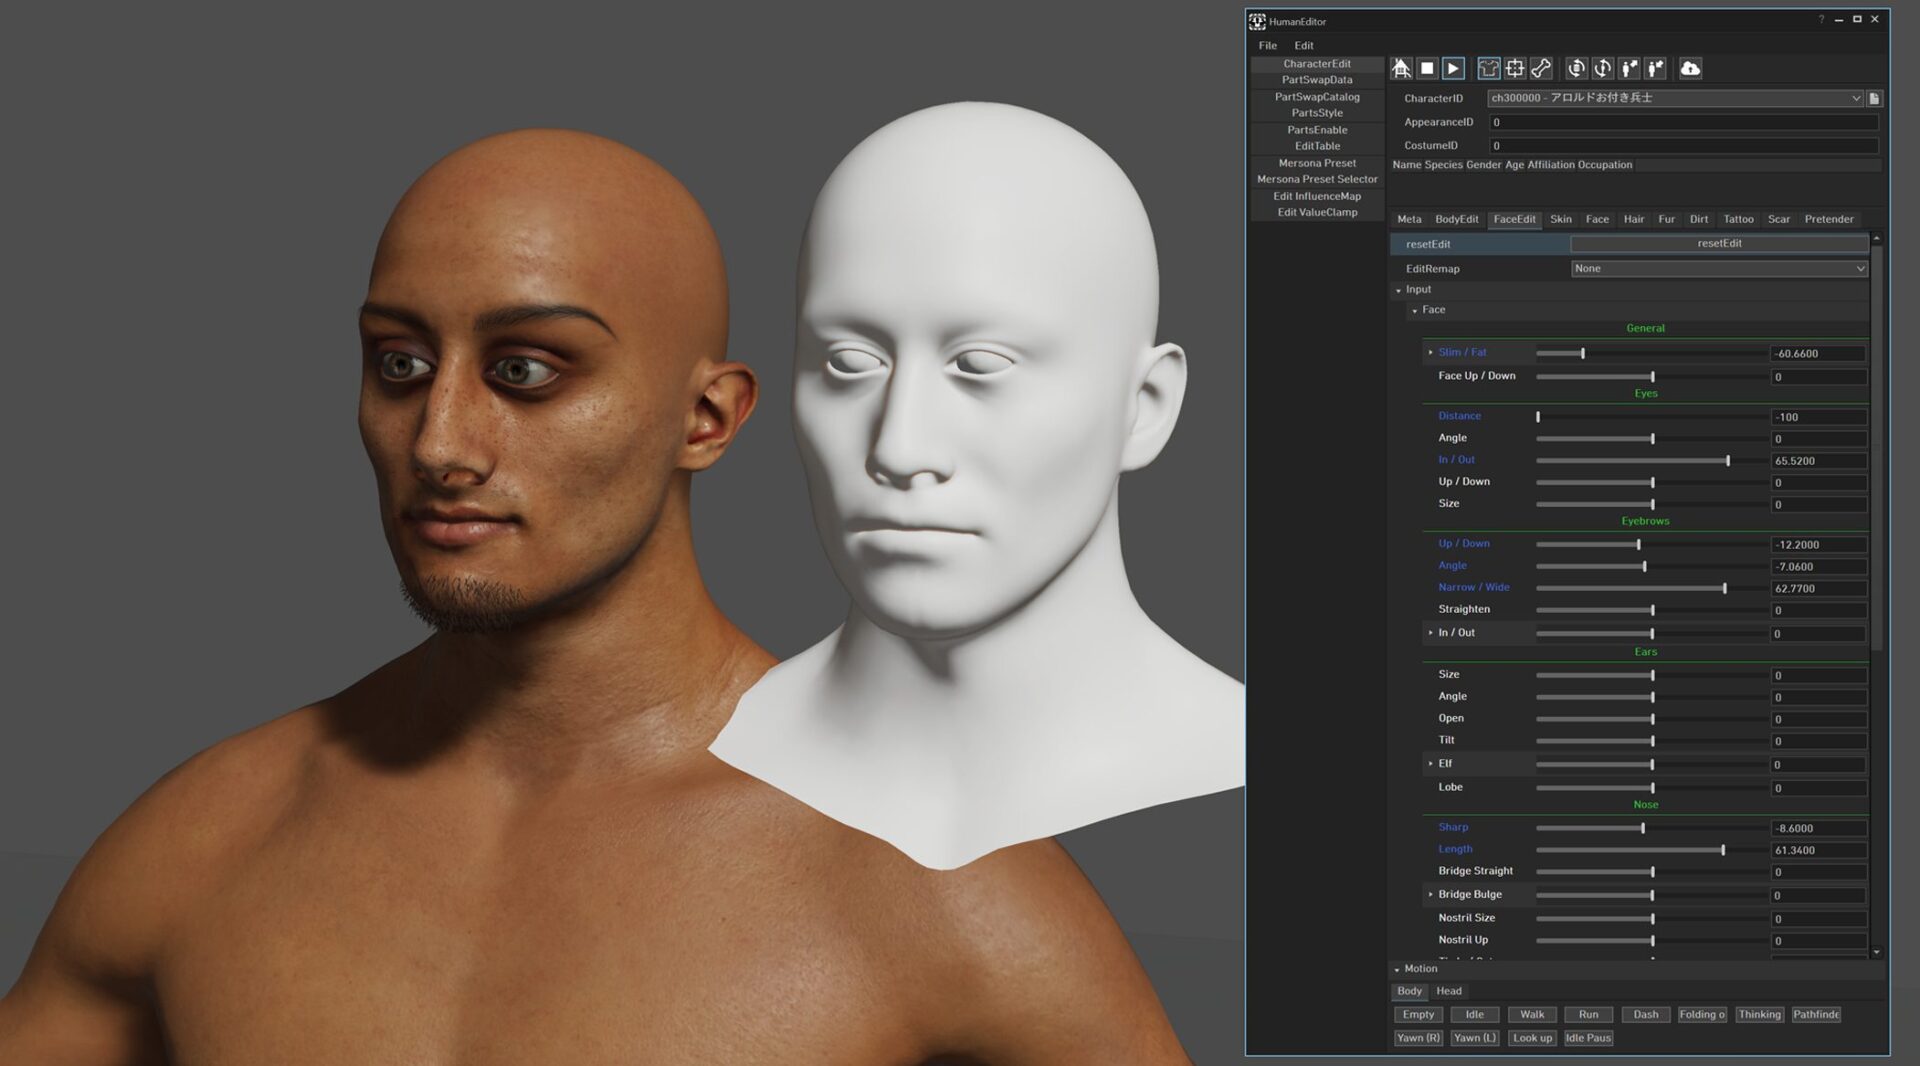
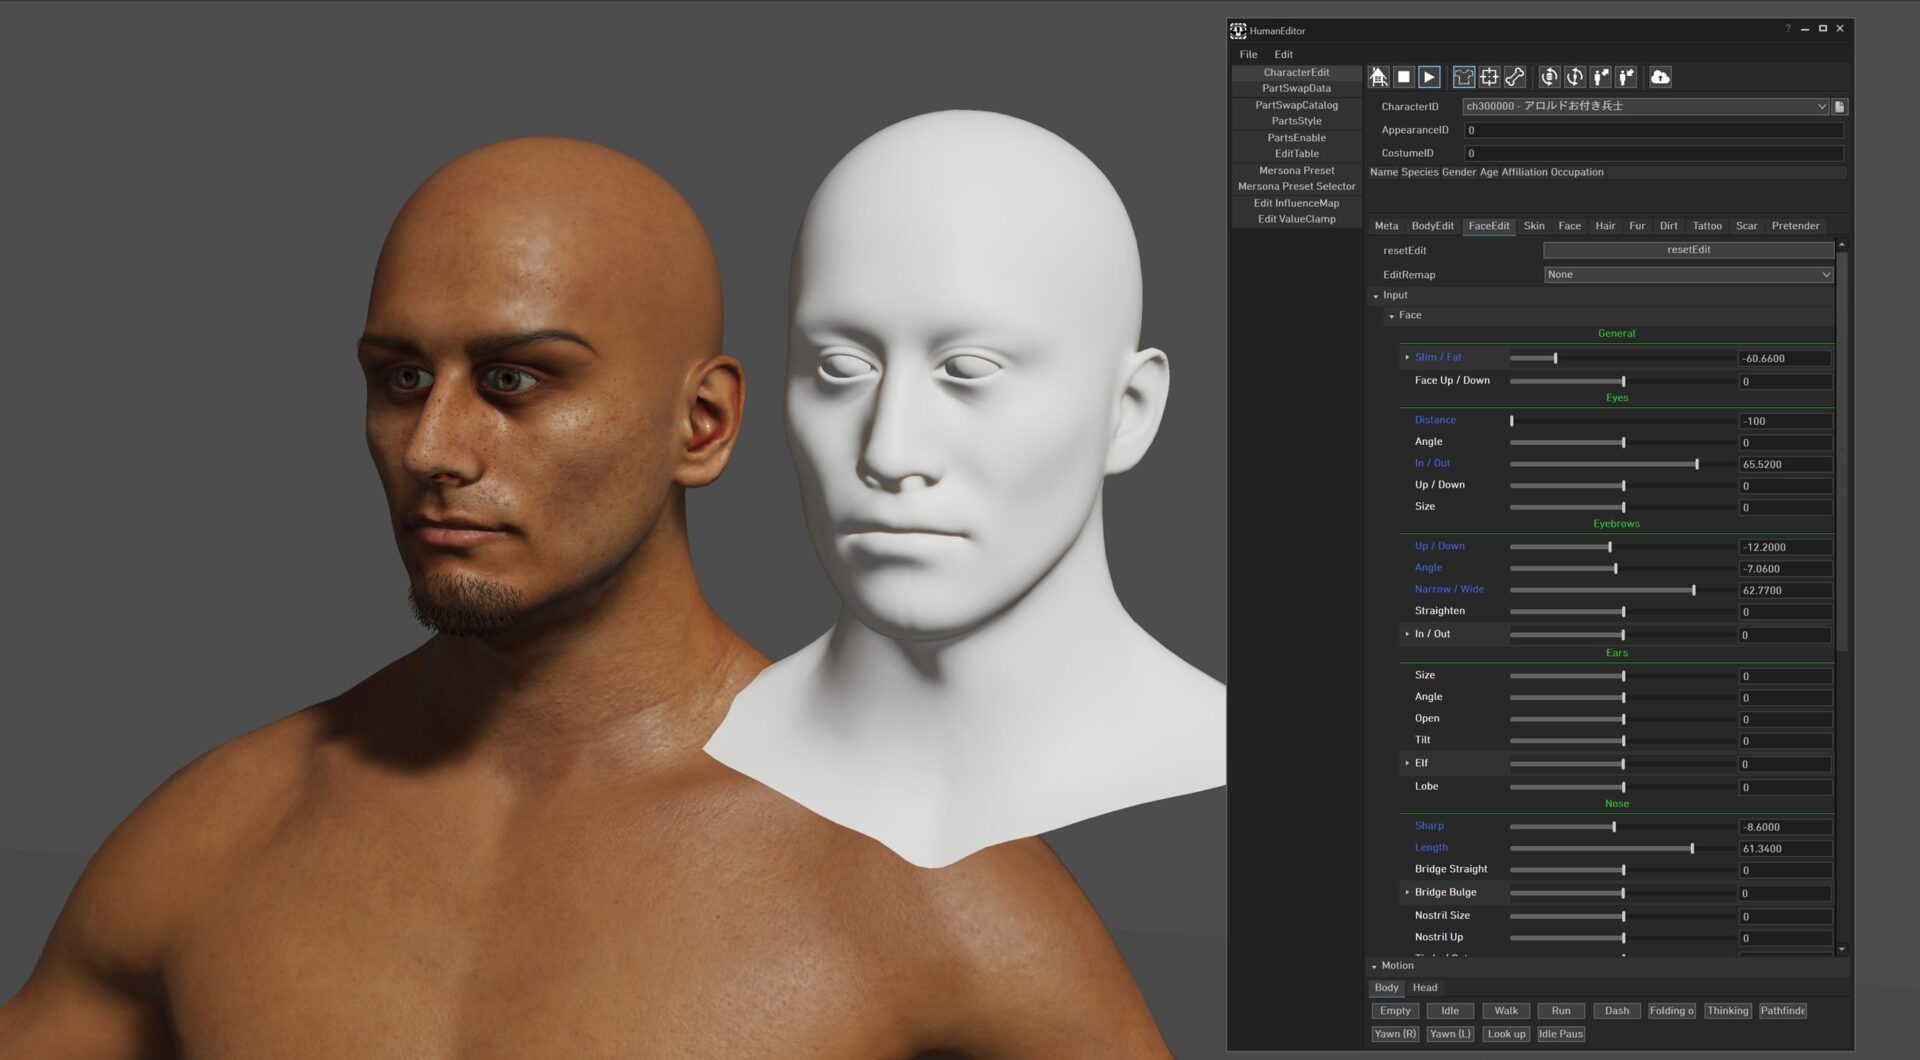
The difference between the base head deformed by the slider + joint is reflected in the drawing head mesh.
For the beard, eyebrows, and helmet, the team didn’t want to use the exact same system. They instead implemented Maya’s wrap deformer into the engine.
The team created the beard, eyebrows, and helm parts of each face as separate assets, and they decided in advance which types of faces did or didn’t need these parts.
After placing each part of the hair card on the face, they changed the parts with the wrap deformer on the engine and froze them at the right time for the scaling of the face. They then removed the wrap deformer, and processed the skin bind. By including this process during the face editing process, they could avoid using a deformer system that required additional processing.
Plus, to convey different textures in the engine, they used a gradient map of the wrap deformer in Maya. Within the engine, the gradient map was converted as a vertex color, and the textures were conveyed using different vertex colors, varying for hard textures like a helm and soft textures like certain hair types.
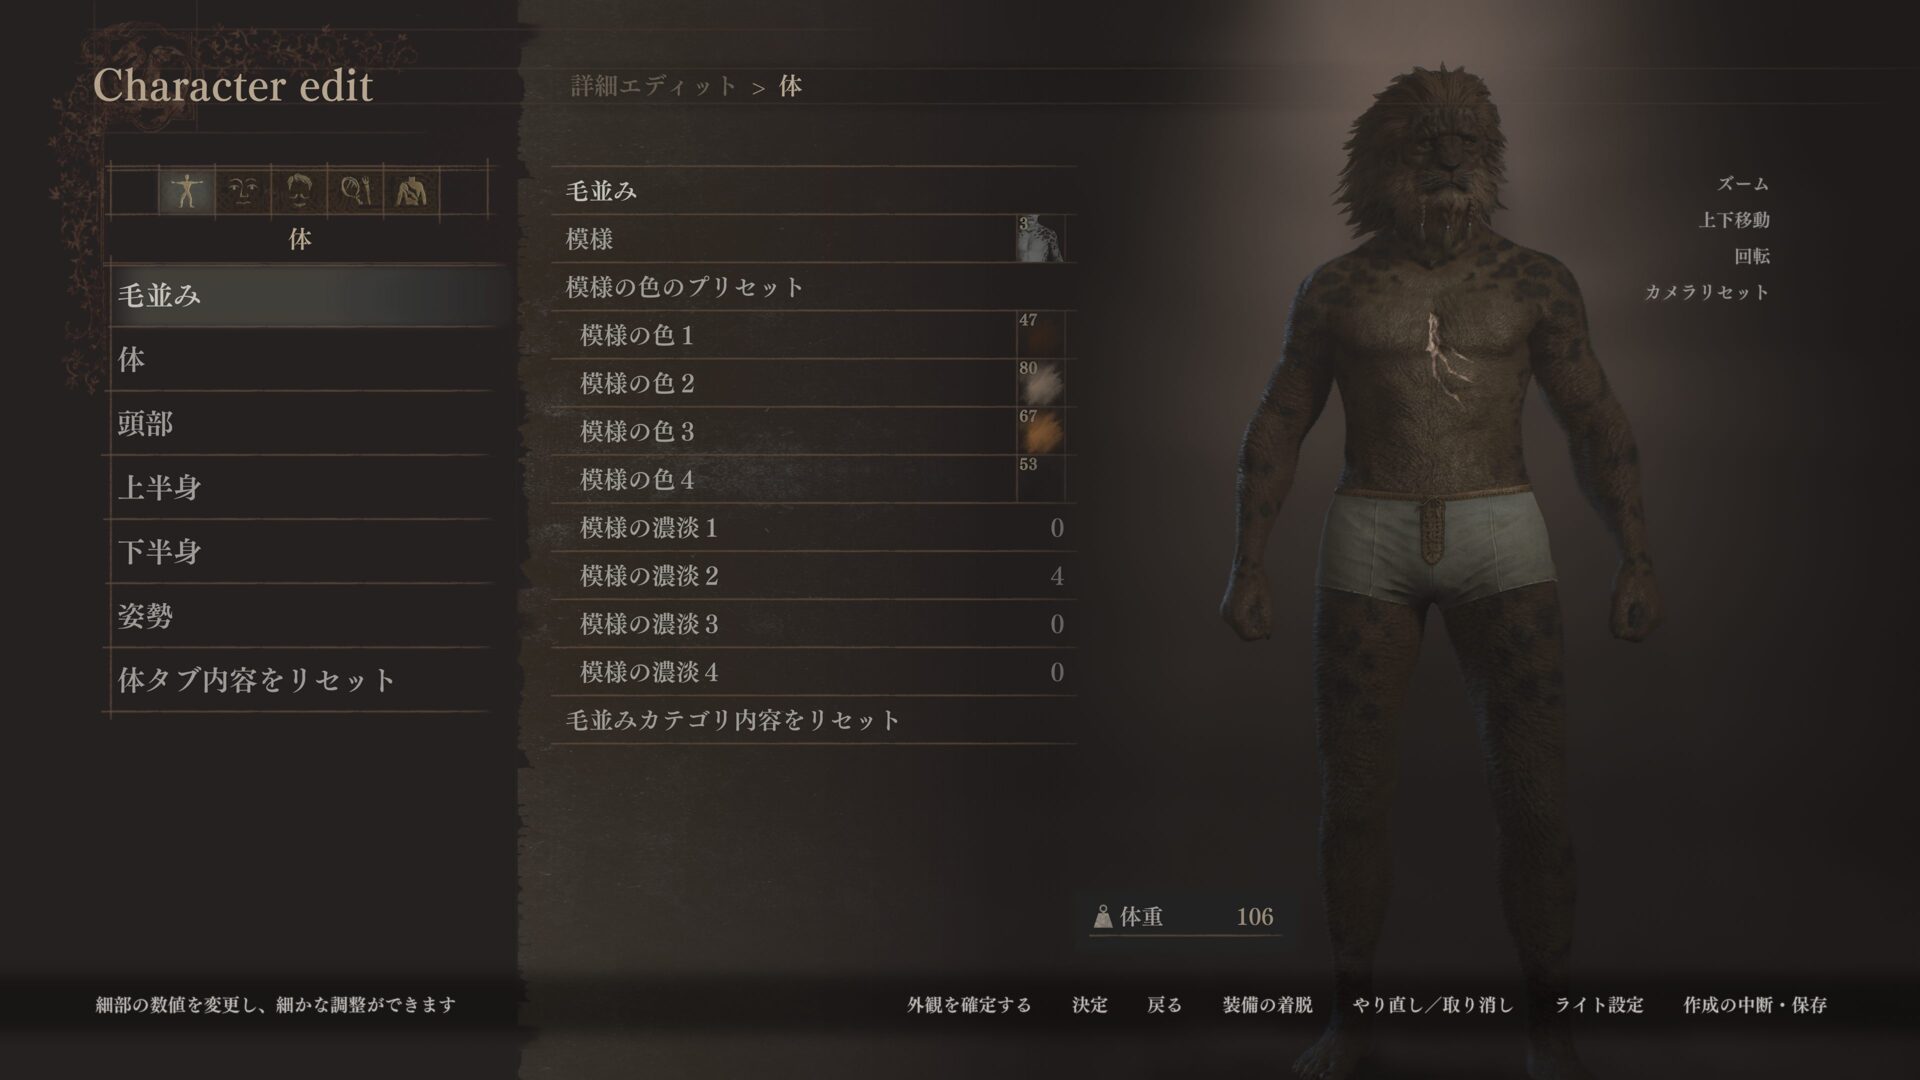
As for the equipment, a universal mesh was initially the goal, but due to the positional conflict one was prepared for beastren and another humans, both male and female.
The beastren have furry bodies, so it was necessary to create them as a separate equipment mesh from the humans. Although the equipment was a unified equipment type in the game, the designers had to use a different mesh in order to hide the fur. It took some effort, but it was handled with a mask shader.
In addition, every part of each set had variations prepared for when players switch equipment. Taking into account whether certain parts were necessary or not for certain characters, the number of equipment variations prepped was close to 300.
“It was a very difficult order, but Maya’s wrap deformer was great, so we used that as a reference to create an equivalent deformer on RE ENGINE,” Bradley said.
For body editing, the team implemented a system in Maya to alter the body edit slider and joints. Since the sliders can be moved freely, it’s numerically possible for these tools to create unrealistic characters (such as a huge head and an ultra-thin body), so the team set up dependencies and limits between the sliders.
This gives the player a realistic range of characters, as well as making the editor easier to use altogether. The custom-calibrated editor outputs the slider setting and system from Maya to RE ENGINE, and the body edit is reflected on RE ENGINE. Plus, on RE ENGINE, a developer can use the same sliders as in Maya.
Streamlining models and animations for myriad encounters
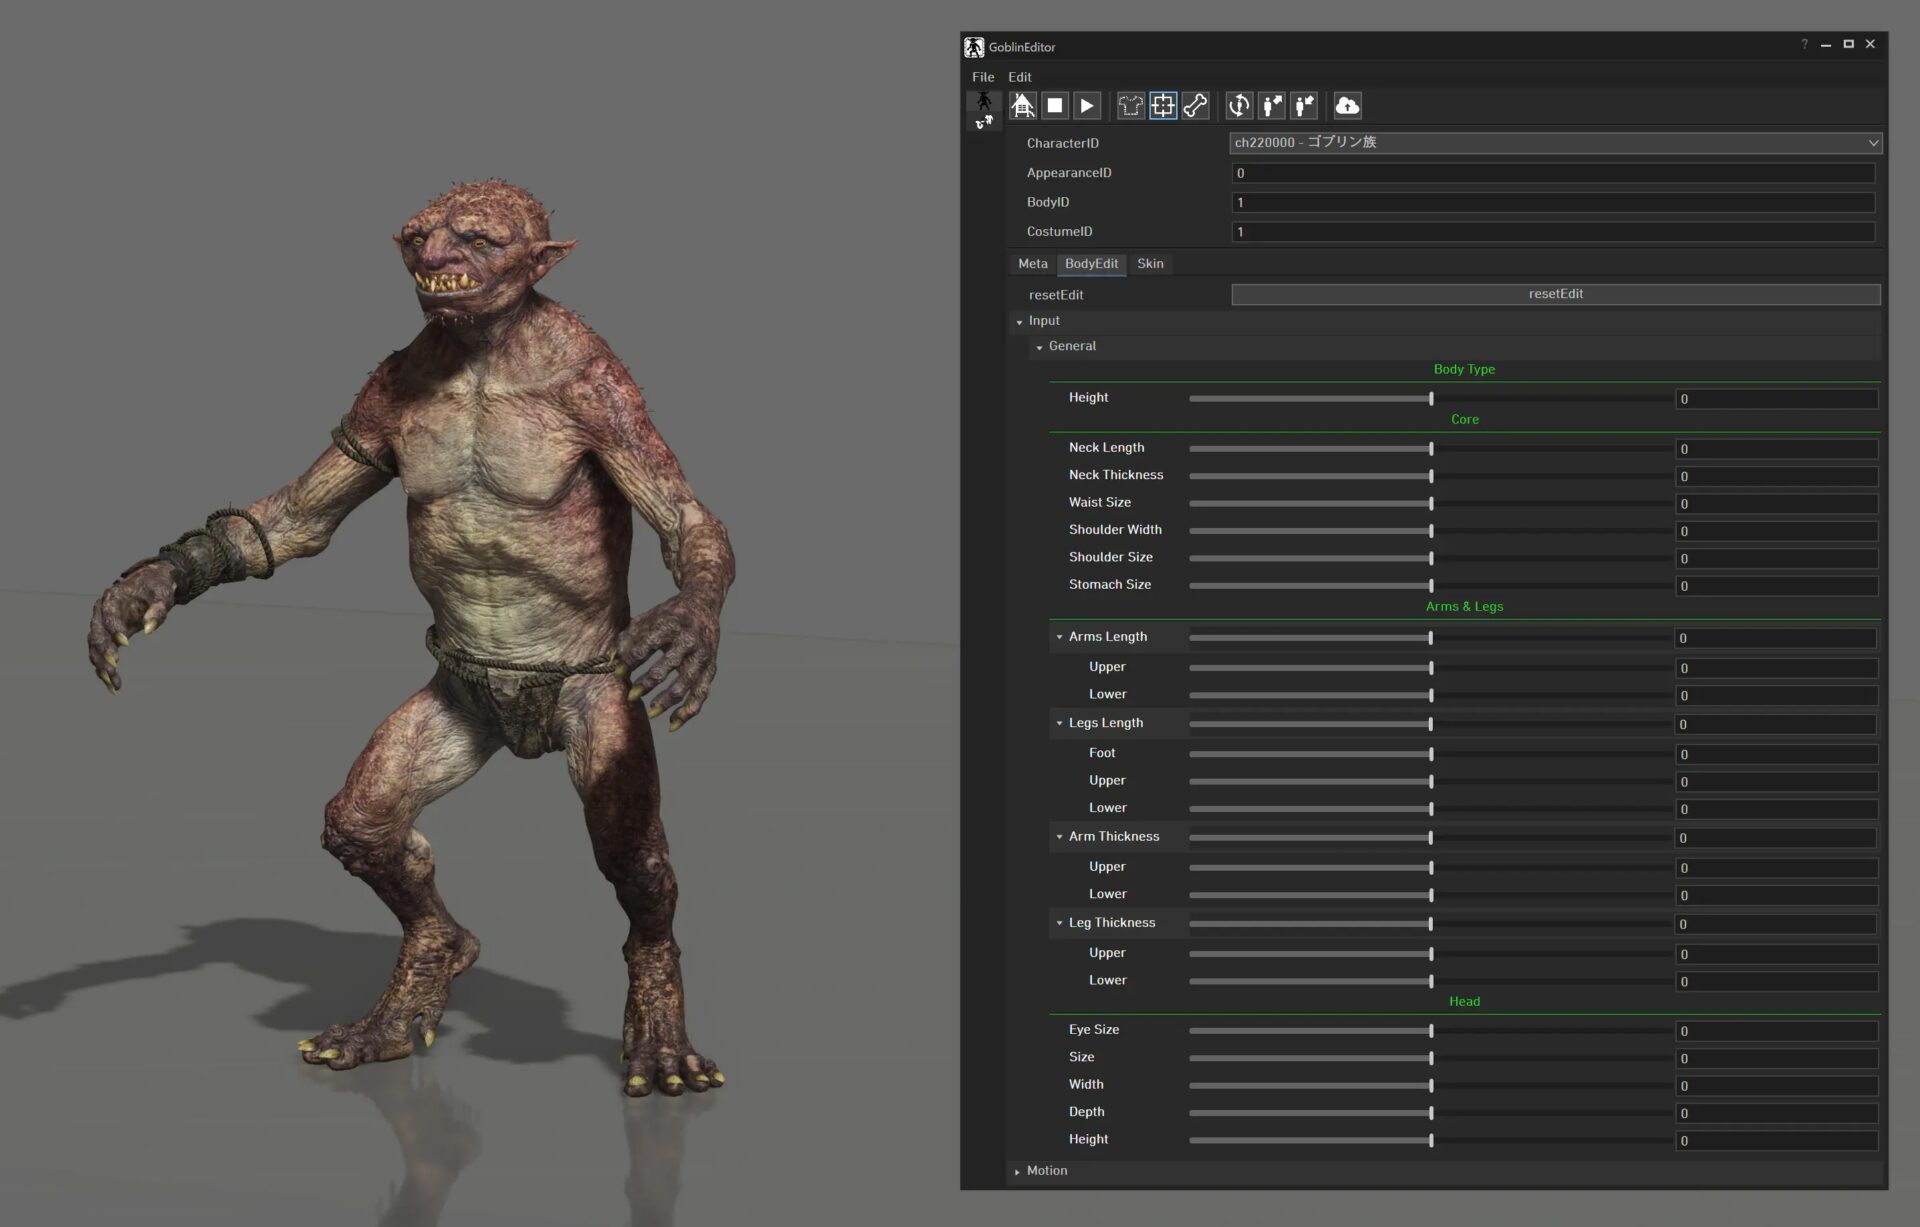
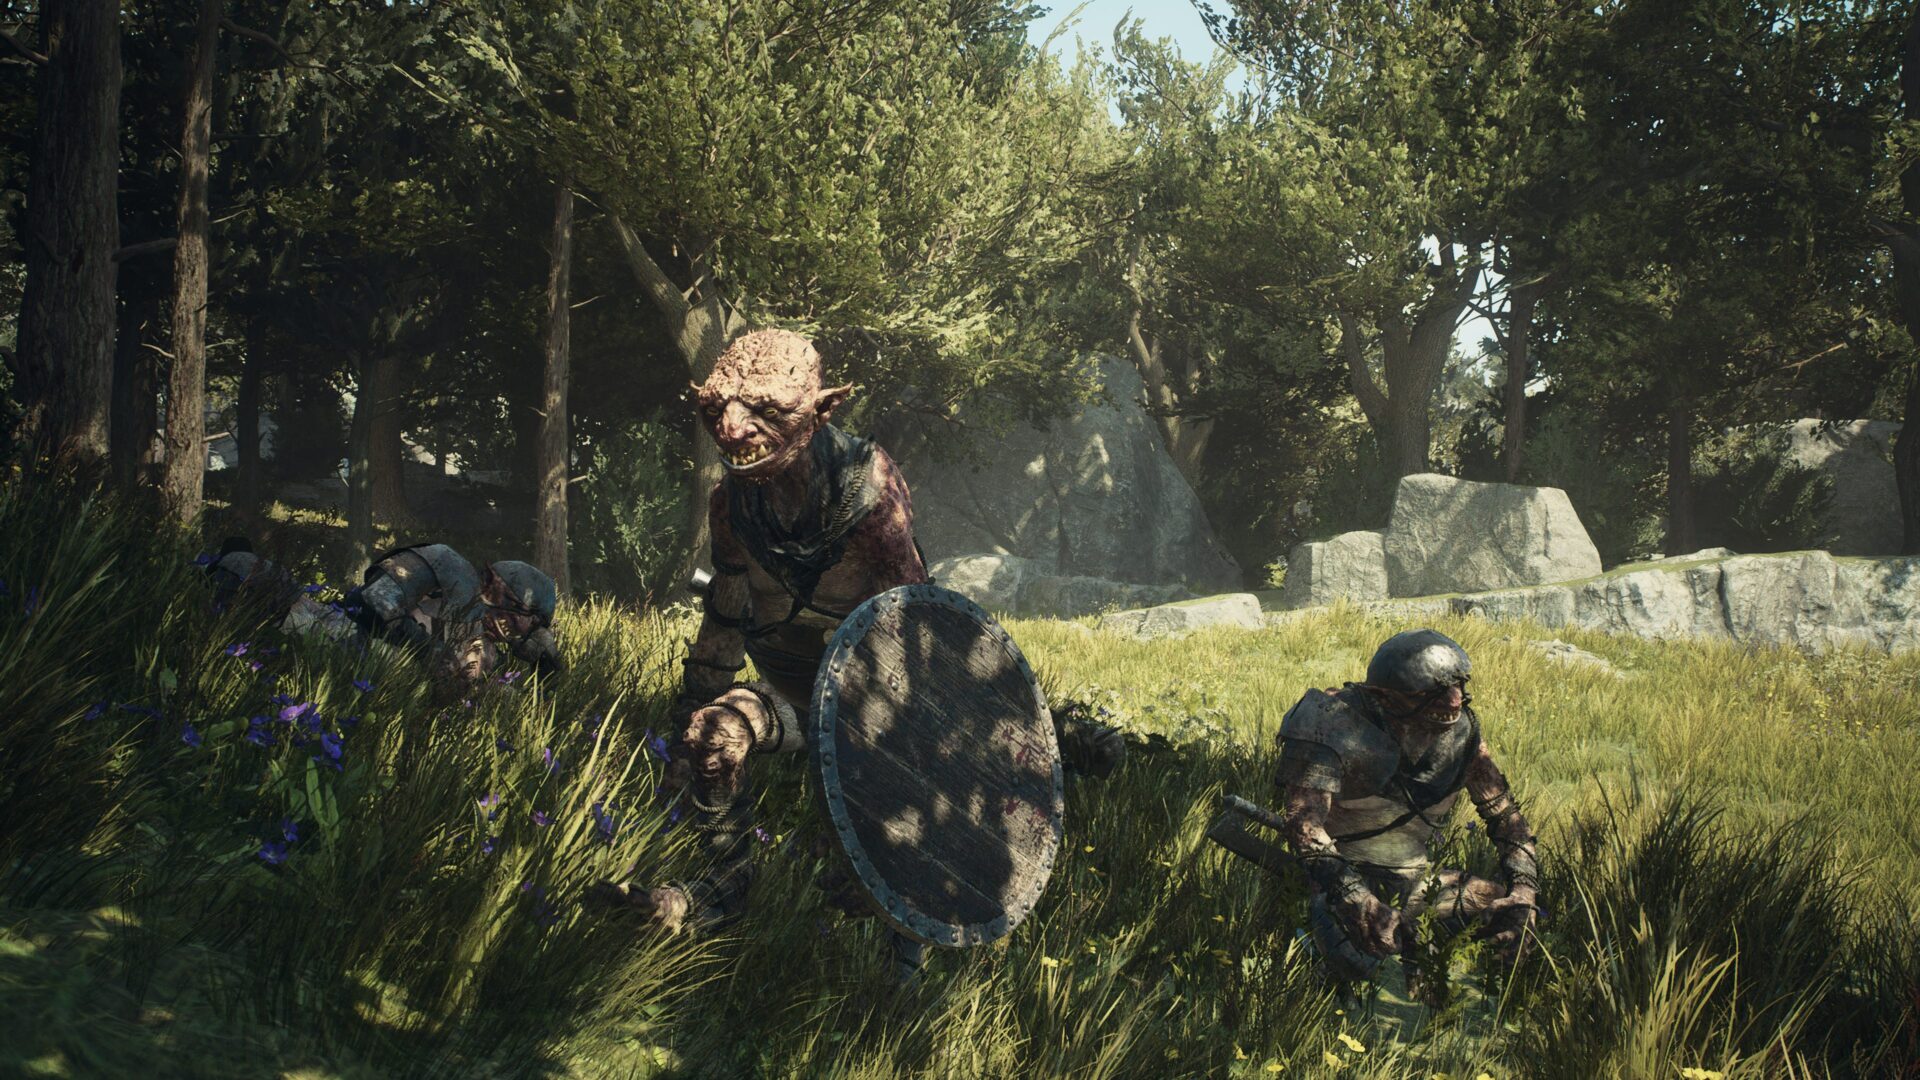
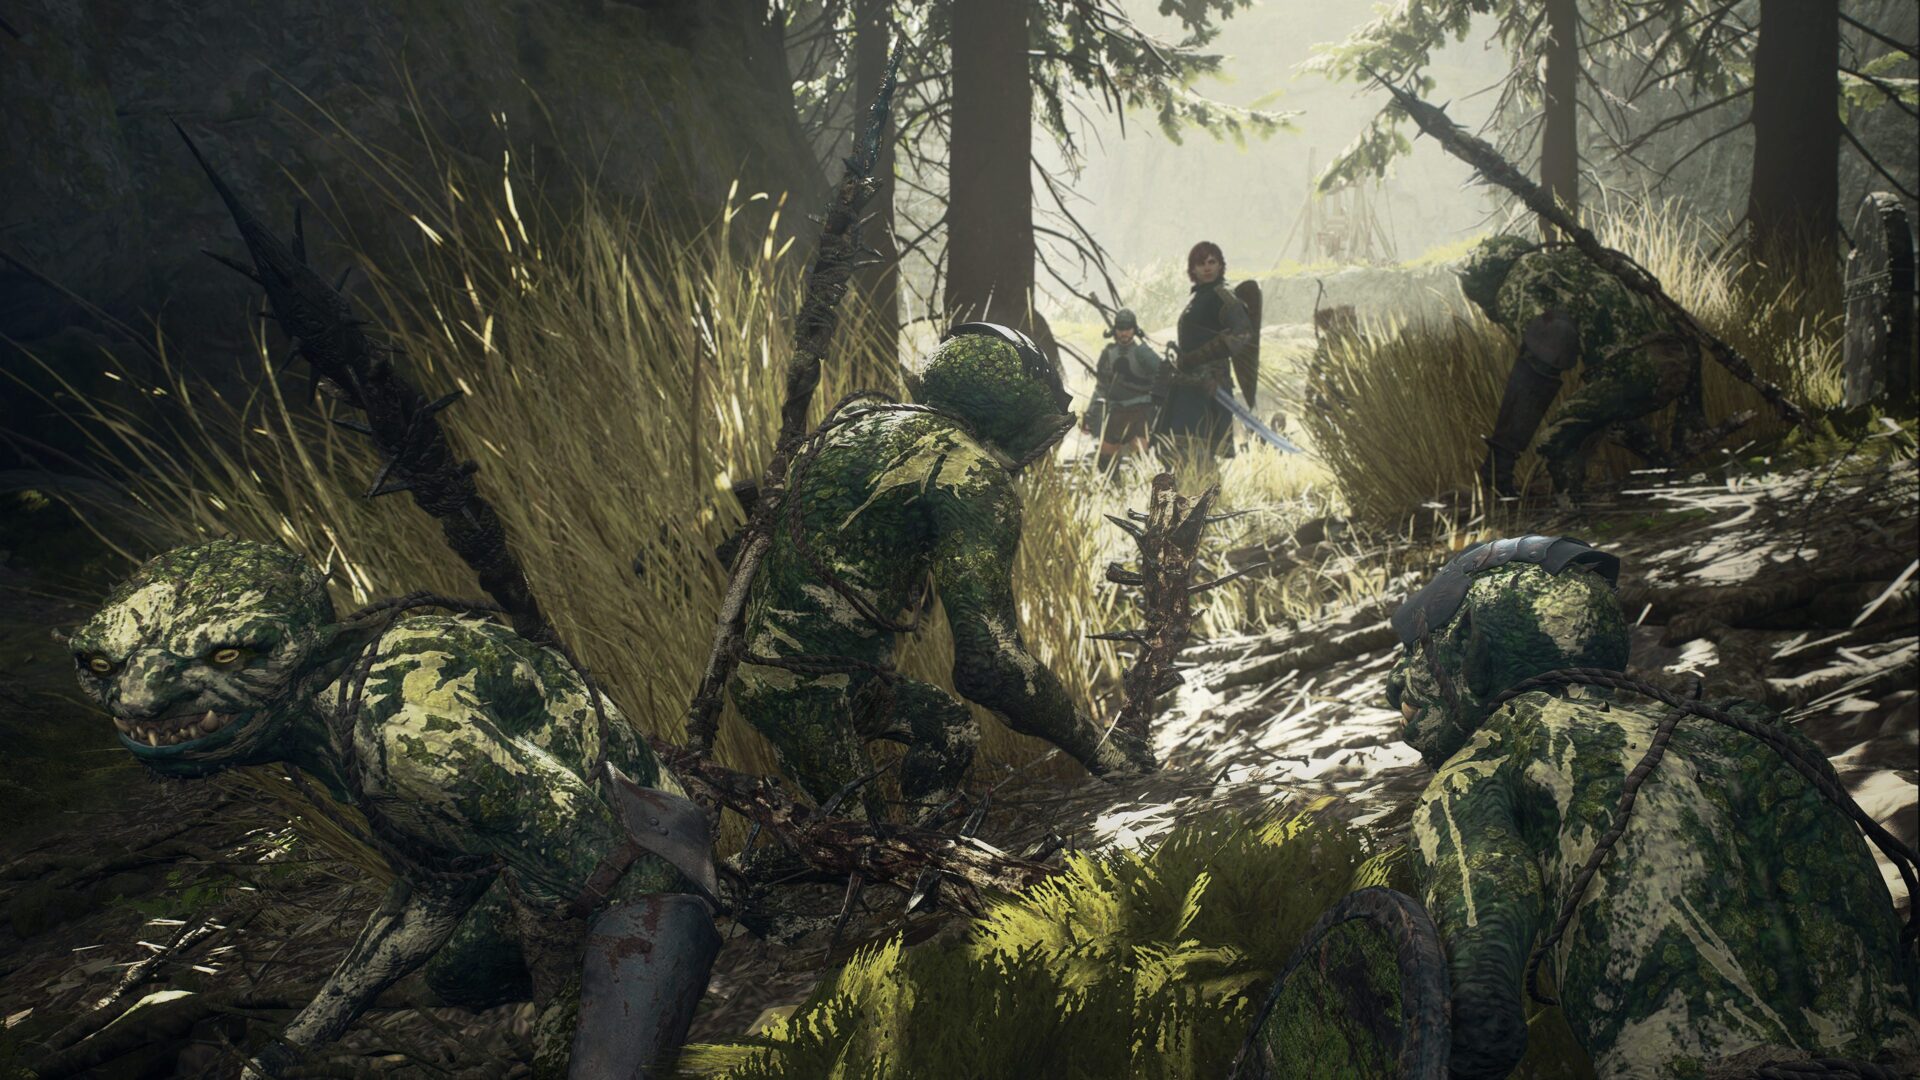
There’s an editor named the “Goblin Editor.” This is a tool that adjusts the body and limbs of the goblin monsters that appear throughout the game.
It’s a simplified and lightweight version based on the player character editing system mentioned above.

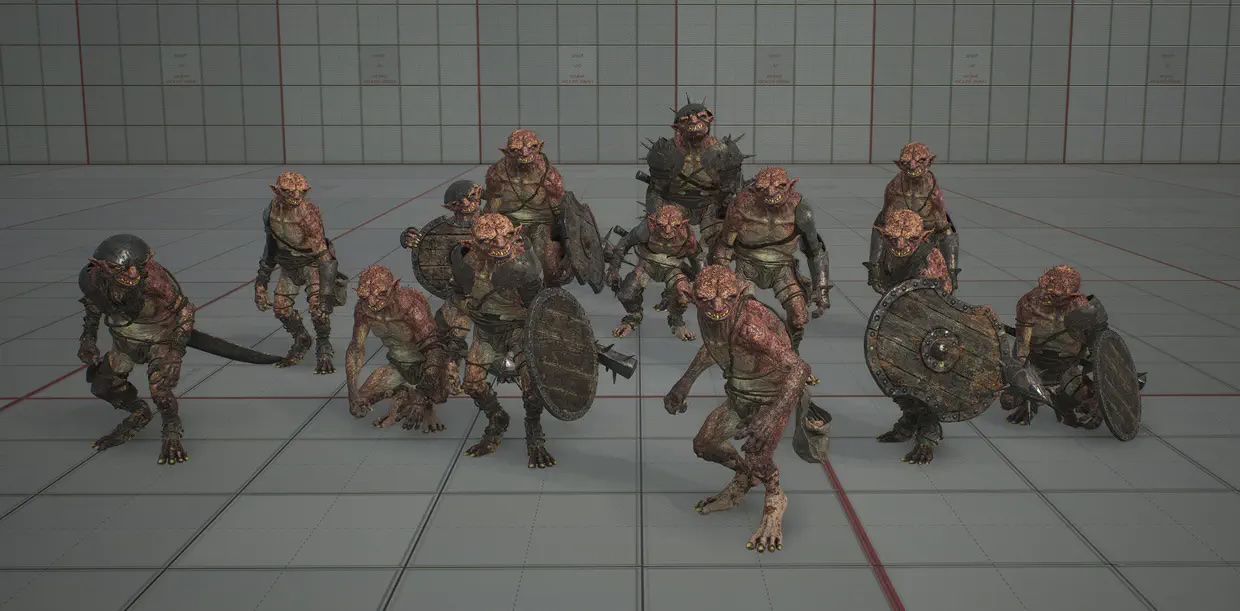
The team aimed to convey individual differences as much as possible among multiple monsters. This body shape change tool was created to formulate goblins that the player encounters and who act in groups, with a particular eye to individual differences.
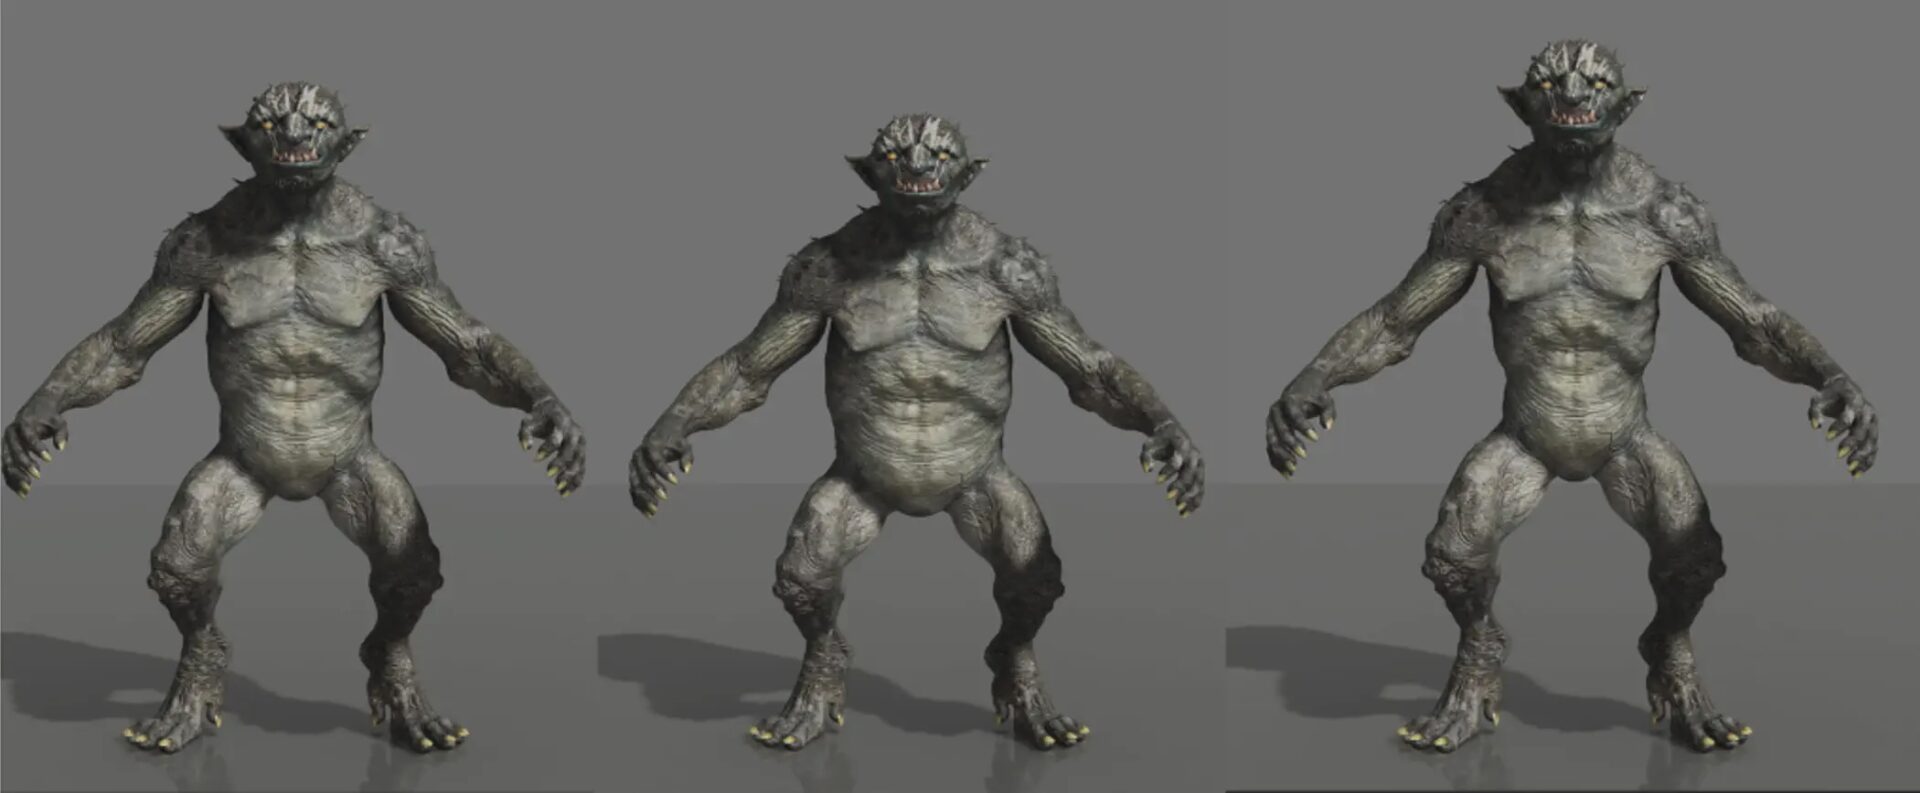
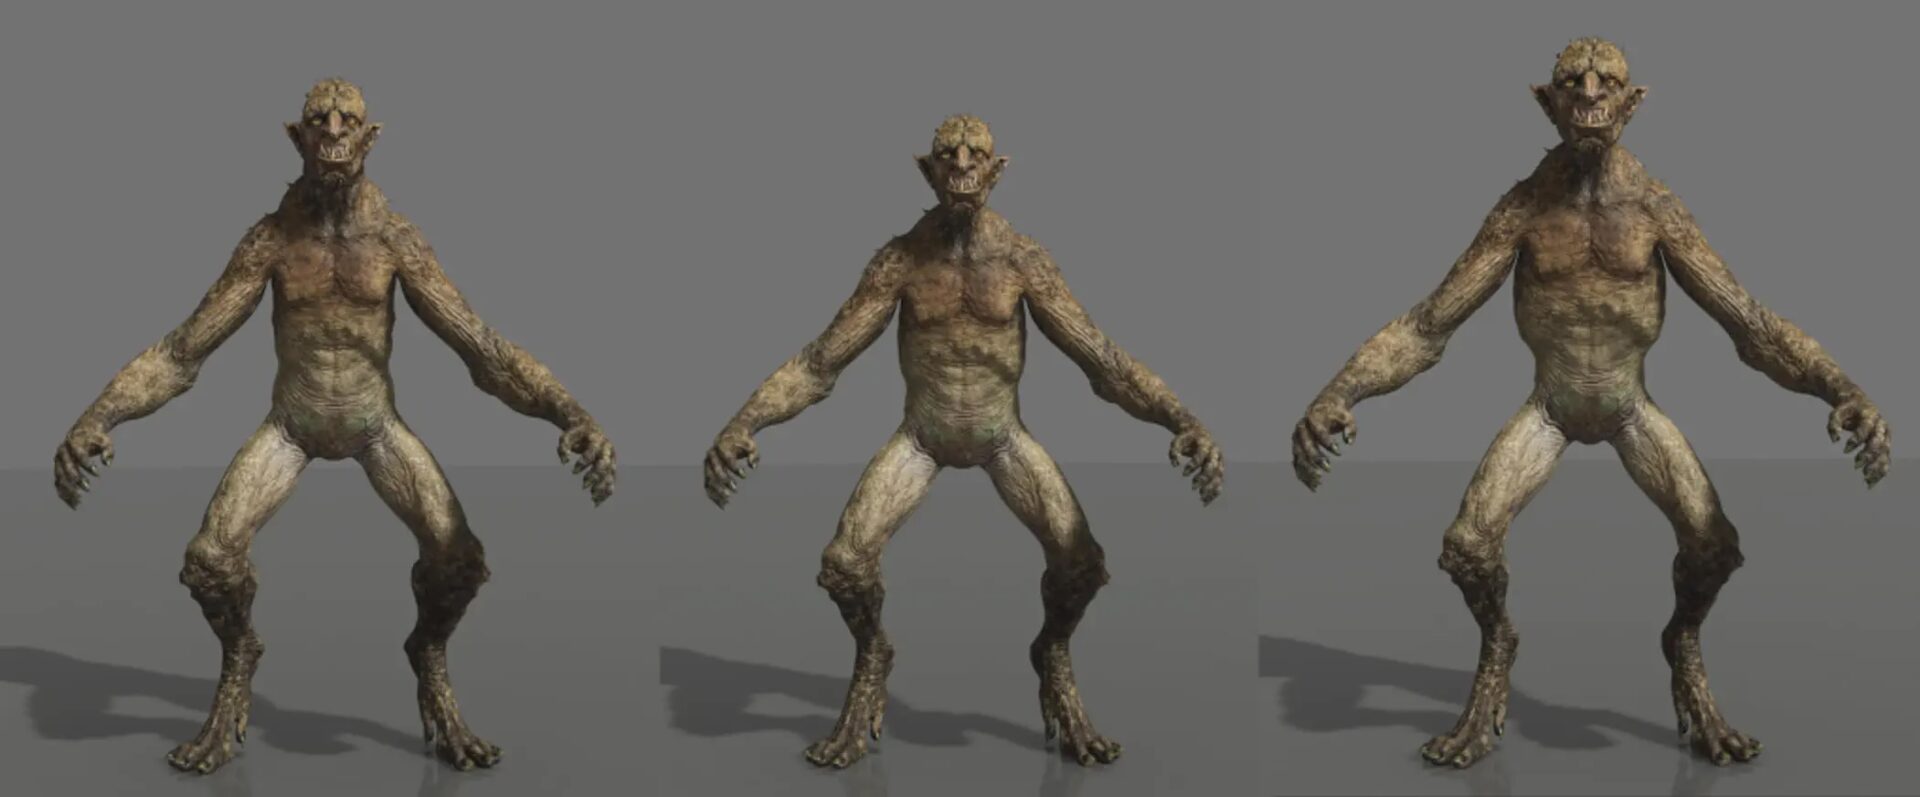
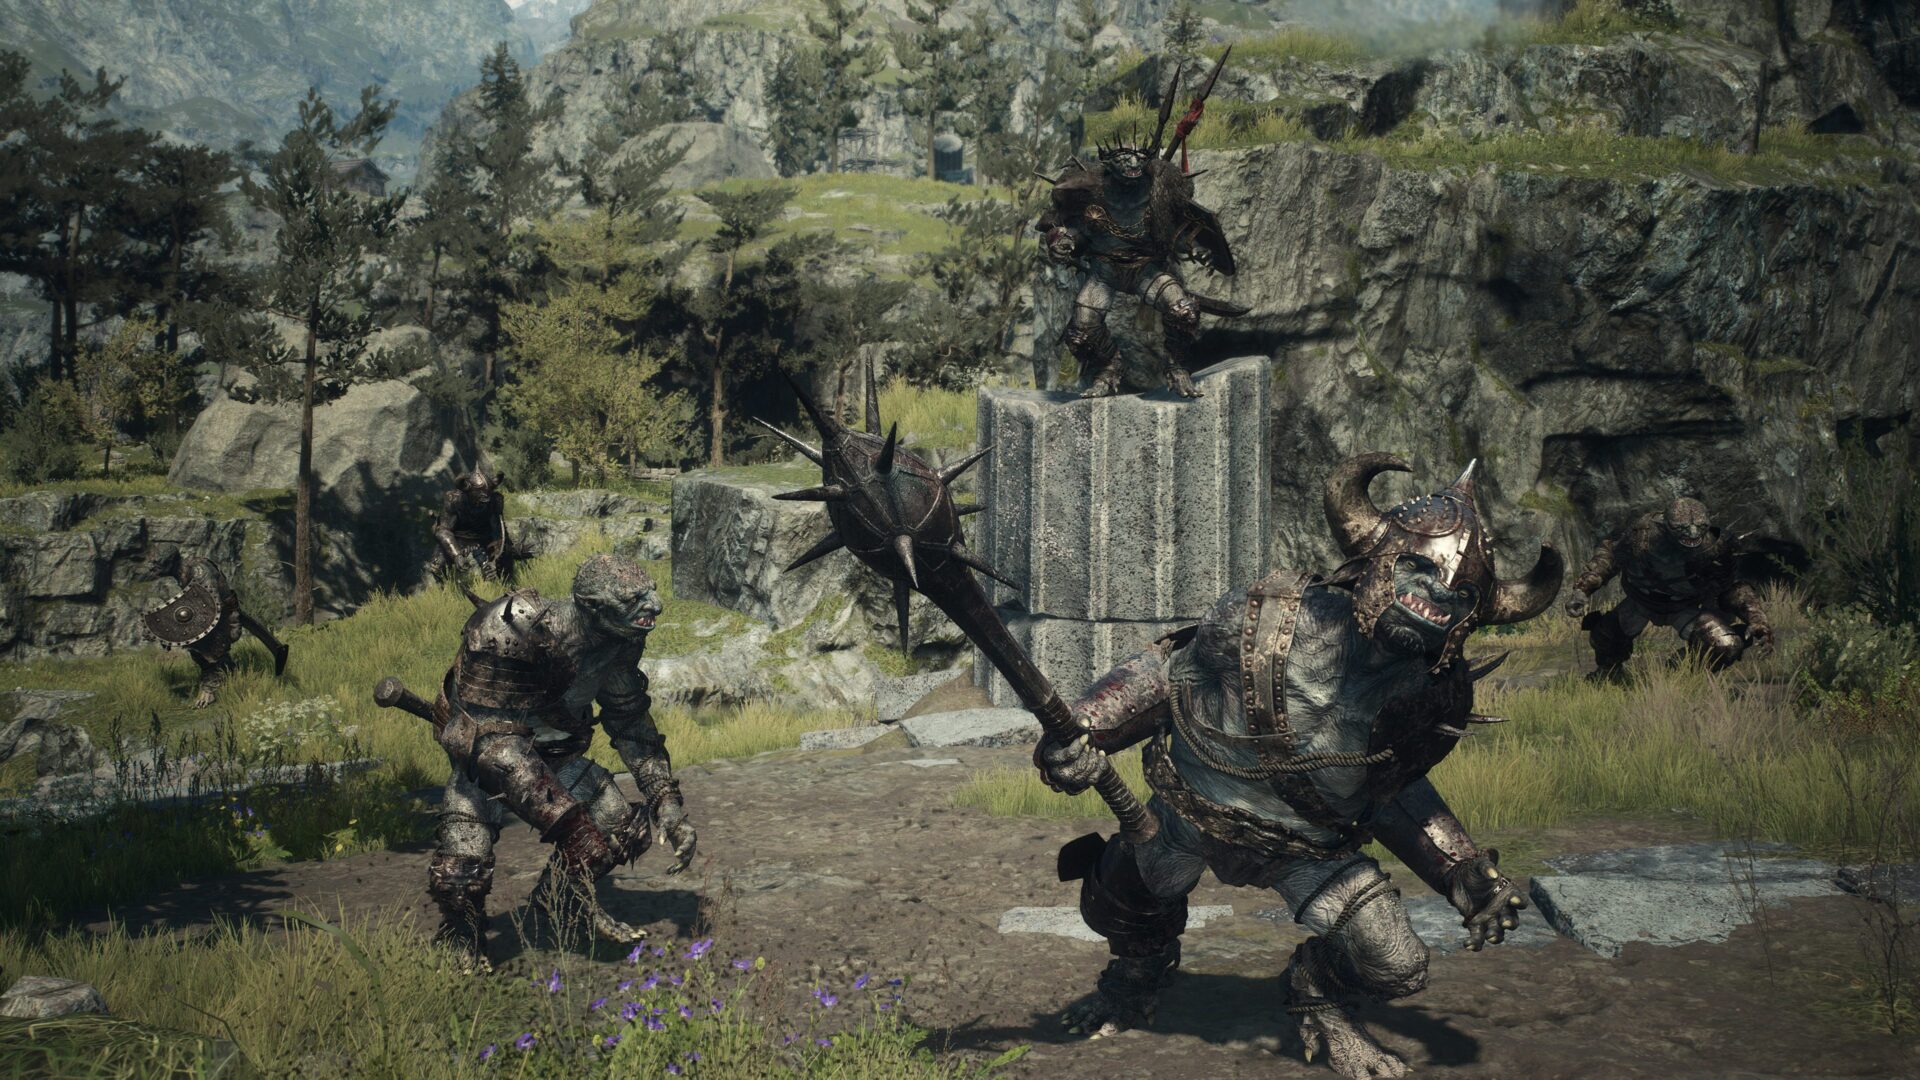
In addition to the original goblin species, subspecies with different basic body types, such as hobgoblins, were also generated with this tool. These traits with the additions of mud stains, equipment, and weapons were all randomly combined to represent a group of goblins.

Apart from creating these body variations, the development team utilized what they called “characterization” to add variations to these characters’ postures and movements. The process changes the characters’ stance in ways that add diversity to base motion animations.


“In Maya, it’s similar to an animation layer,” Lead Animation Artist Masayuki Maeda explained.
It adapts to the motion when it’s played back, changes the character’s silhouette, and scales the motion’s rotation value and the IK transform value of the feet to make the behavior larger, giving the movement characterization.”
The silhouette of the character adapts to the animation being played, and by scaling the rotation value of these motions and the IK transform value of the feet, you can make more distinct movements.”
For instance, by adding an offset value to the base walking movement from the developer side, the normal walking motion can change to something perceived as more “feminine.”
However, if there’s too much added to the rotation value of an already-large base movement, it’ll cause the animation to break. The team added a mechanism to disable the “characterization” if the value reaches a set tolerance limit.
Players can change the “posture” value on the character editor to tap into these “characteristics.” Plus, the “characterization” process can apply generic human characters’ motion animations to NPCs, posing in ways like “carrying swagger” or hunching over.
The “characterization” process makes it possible for various characters to convey these poses without having to create motion capture or motion variations for each character. Also, by retargeting a monster and making adjustments, it’s possible to give the appearance of a limping undead character.
In short, “characterization” has the power to easily create and apply many variations of the same motion without having to adjust it for every model.
Custom tools for background designers, by background designers

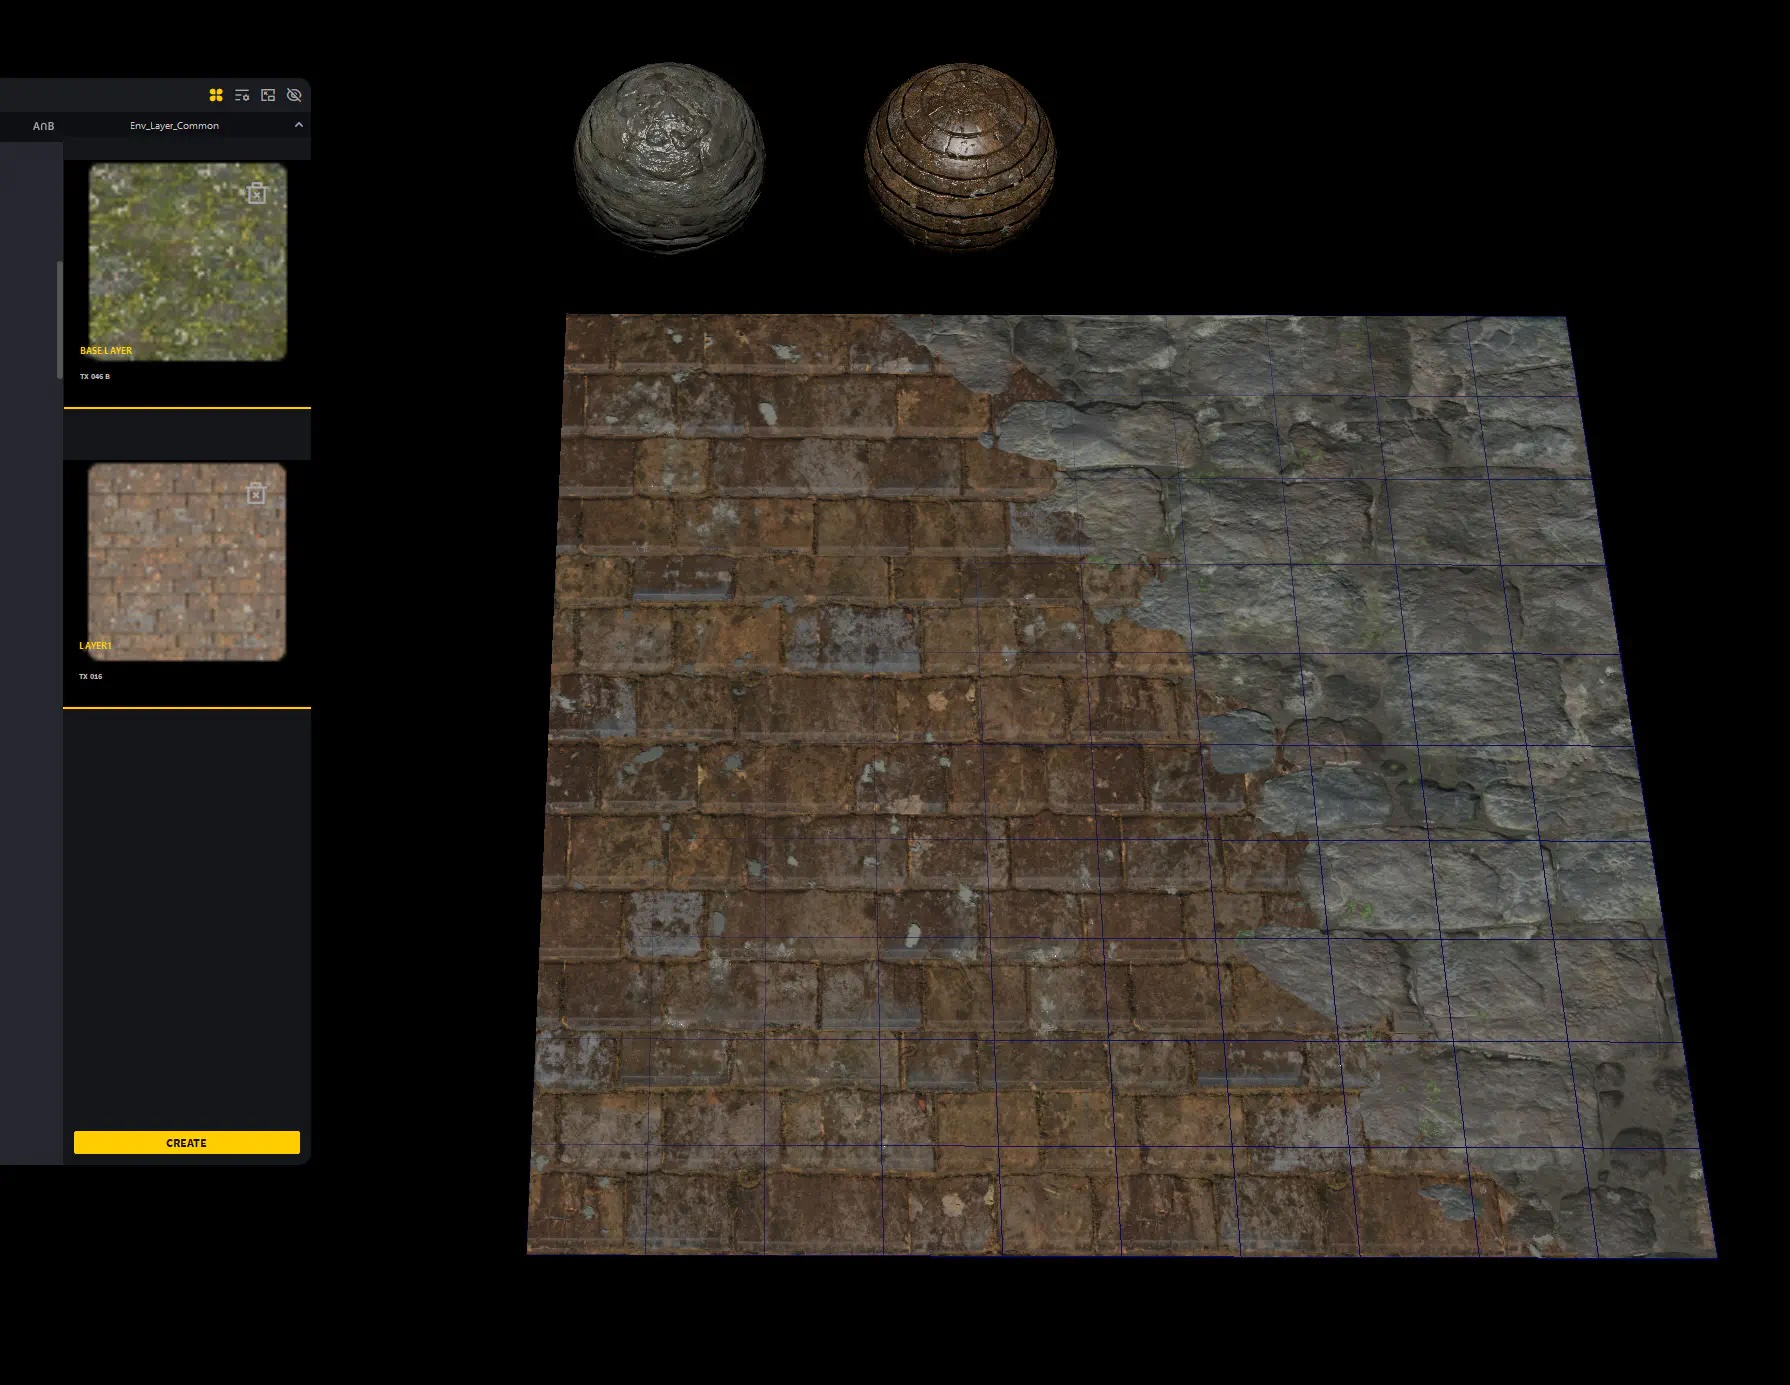
The “Material Assign Tool” was made for reproducing RE ENGINE materials in Maya, and it proved to be a major asset in the environmental design process.
In the conventional texture workflow, due to the differences between artists’ handiwork, artistic styling is often not uniform and is difficult to distinguish, making this process prone to re-dos and loss during development.
Ryota Unzai is a technical artist who developed the Material Assign Tool by customizing another existing tool, explaining, “Originally, I was an environment artist, so I wanted to make it easier to manage materials.”

The Material Assign Tool makes it easy to find a desired material from a selection tree and thumbnails categorized according to its intended purpose.
In addition, the material selected on the GUI can be applied to a specified mesh with the push of a button. When a user exports a mesh with a material applied through this tool, the shader and material parameter asset are automatically applied in RE ENGINE.
“We make it possible to see how any material looks in Maya, especially for materials that are difficult to create from scratch, such as vertex colors or layer materials, so that we can customize and adjust Maya’s Stingray PBS game shaders,” Unzai explained.
With Material Assign Tool, it’s possible to decompose meshes according to material, validate prior scene specifications, automatically apply correct materials, and adapt the same material to existing ones.
Creators can also inspect and auto-correct the material names and configurations in the scene, even for older assets, so that prop artists can intuitively adapt and work with the materials they want to use without creating irregular materials.
Another important feature is the Dungeon Editor tool. There are a lot of dungeons in Dragon’s Dogma 2, and it would be very expensive to manually create all the rooms and passages, so they were separated into grids and reassembled to connect them.
Each part of the dungeon has an anchor point to connect them, and from there, they can be combined like a toy train track.

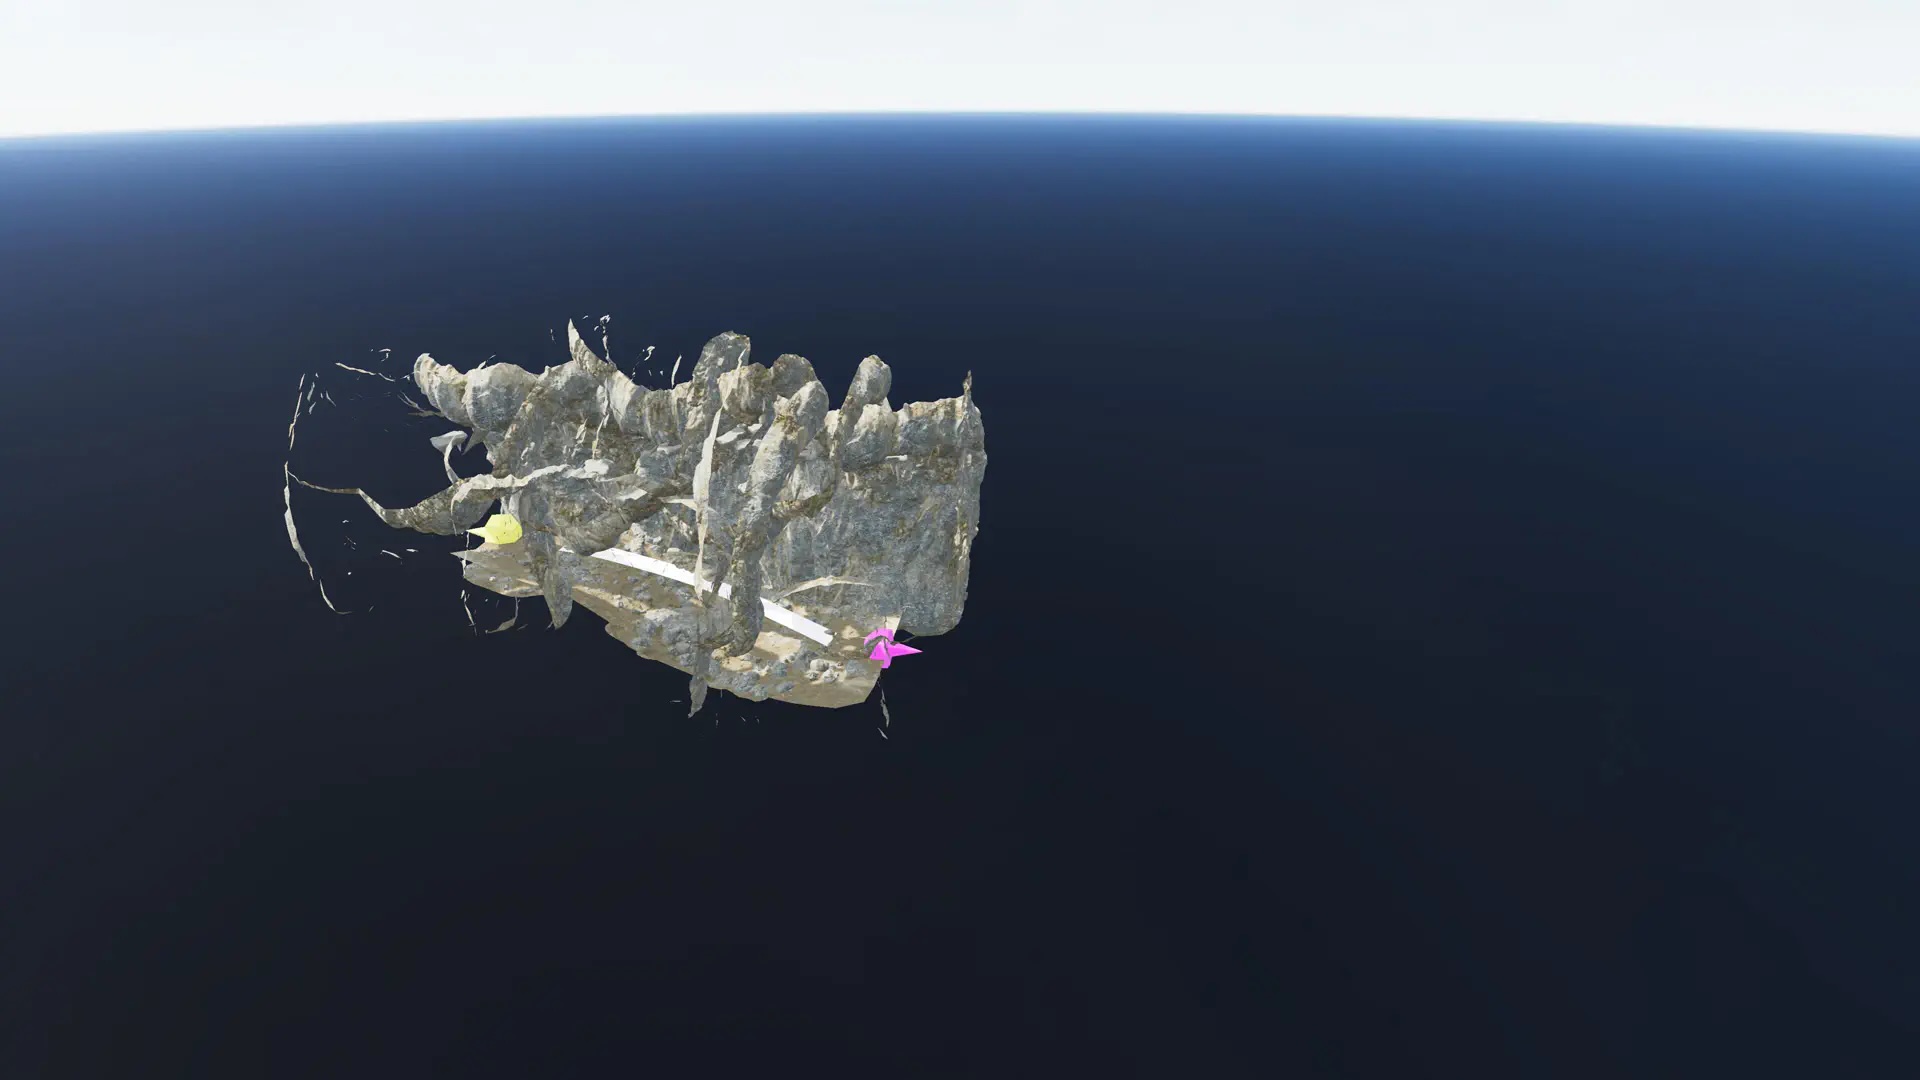
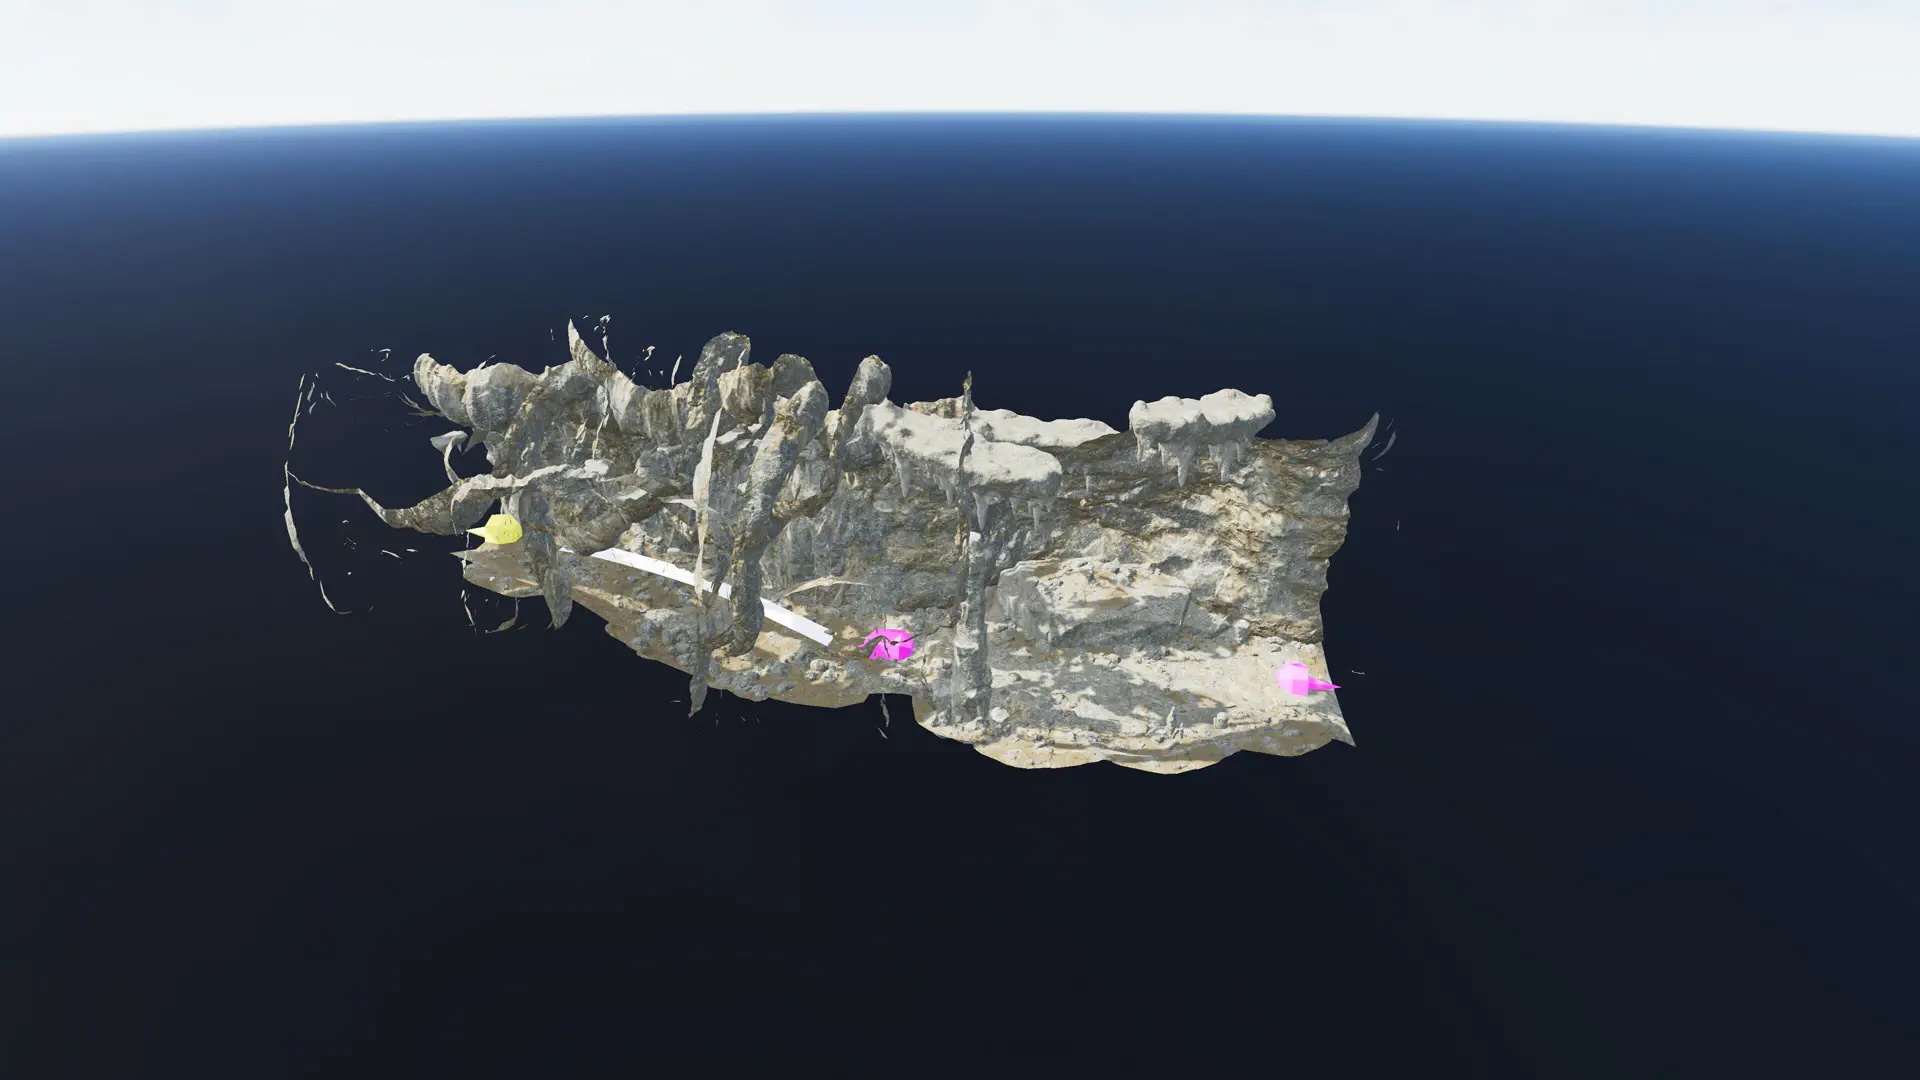
The outer mesh, ground mesh, and collisions are first placed together, then detailed further by hand. Then, to prevent the many combinations of dungeon modules from becoming monotonous to players, sub-parts are created in Maya and reassembled on the RE ENGINE.


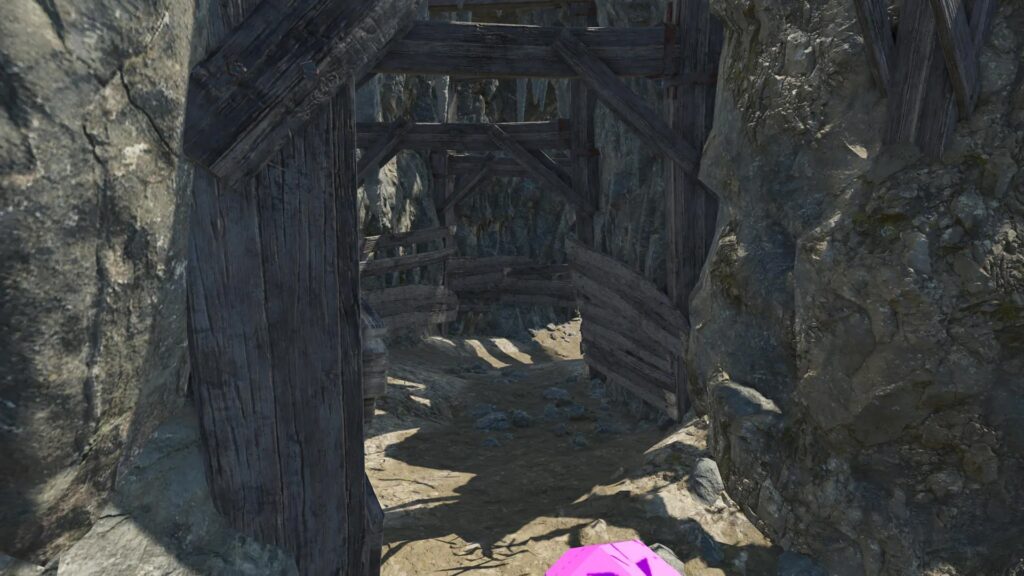
An example of the placement of subparts. Even if the original passage is the same, depending on the subparts, it’ll look different from other dungeons to the player.
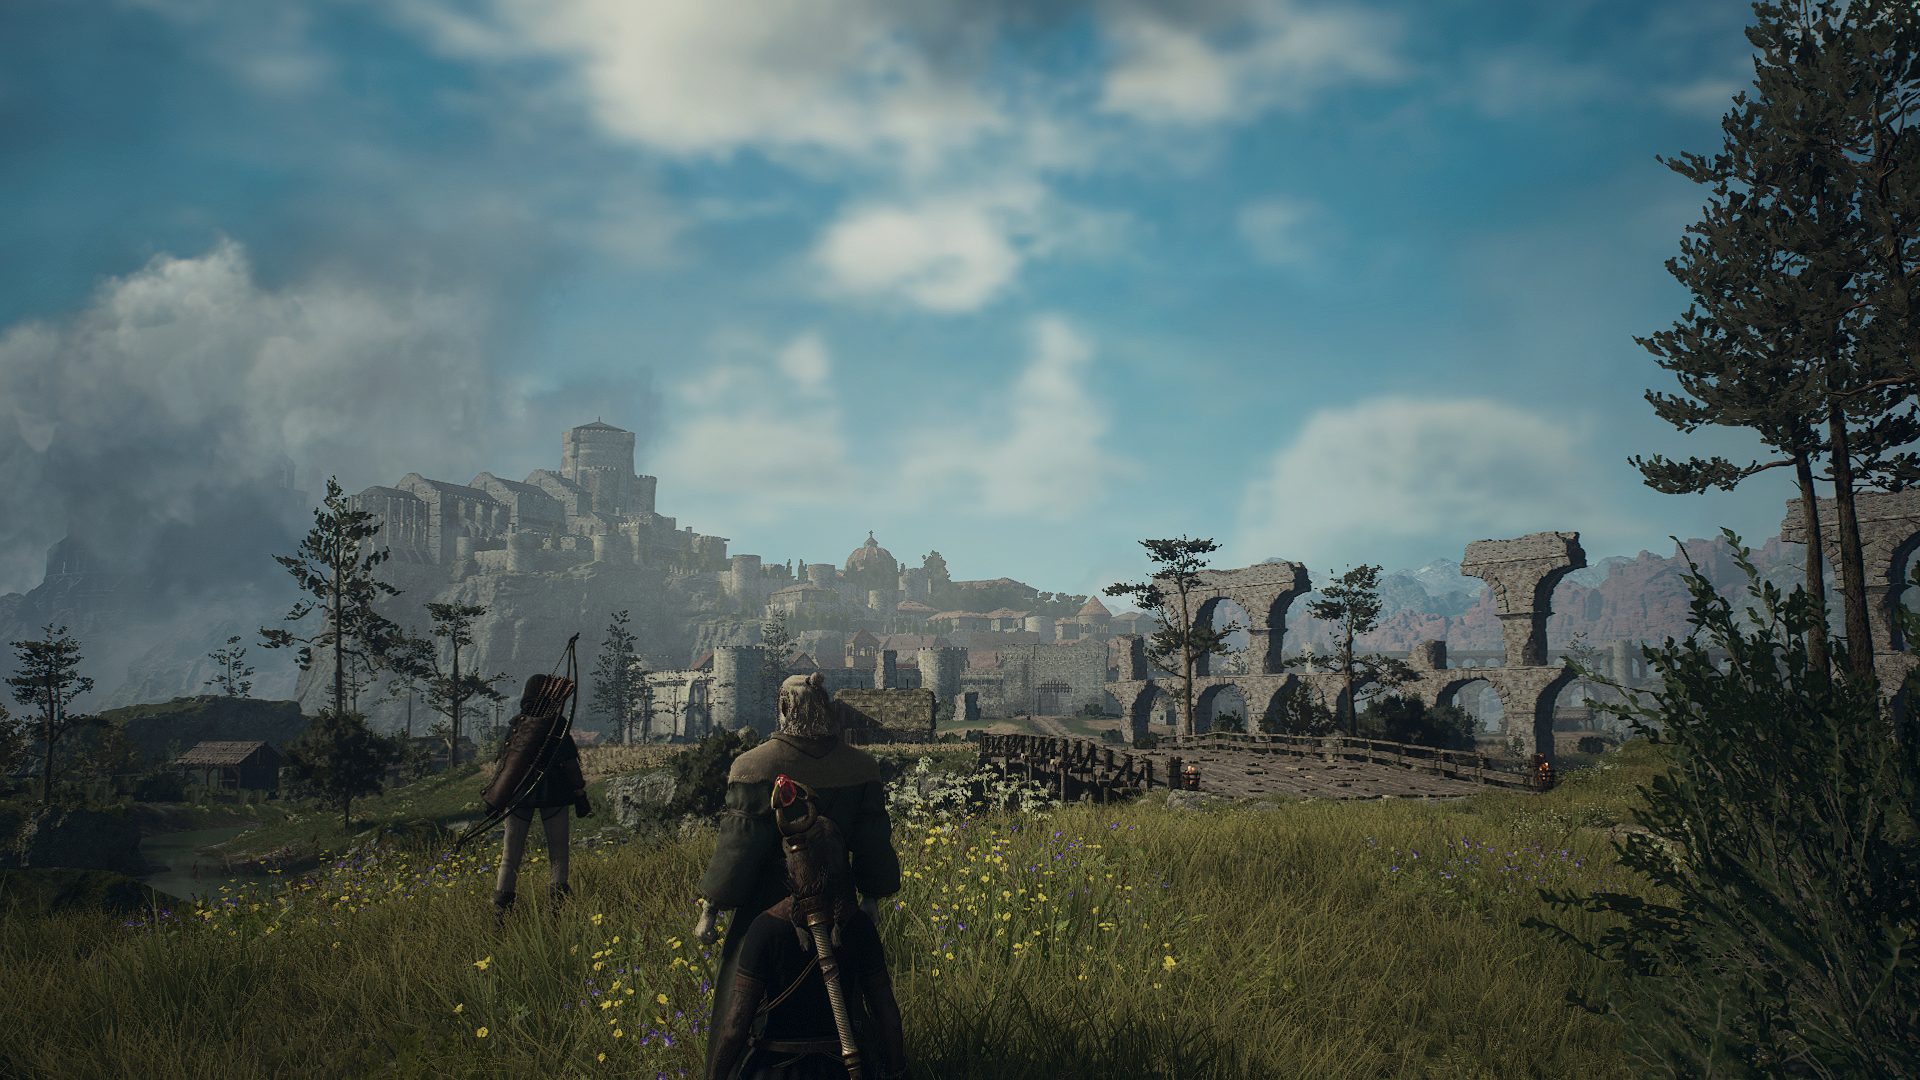
Dragon’s Dogma 2 also features many buildings, and it would be a huge effort to prepare each individually, so parts are also combined to make them.
There are about 7,000 types of assets for buildings on RE ENGINE. The base resolution of the textures is 2K, but it’s adjustable to match the hardware for each platform.
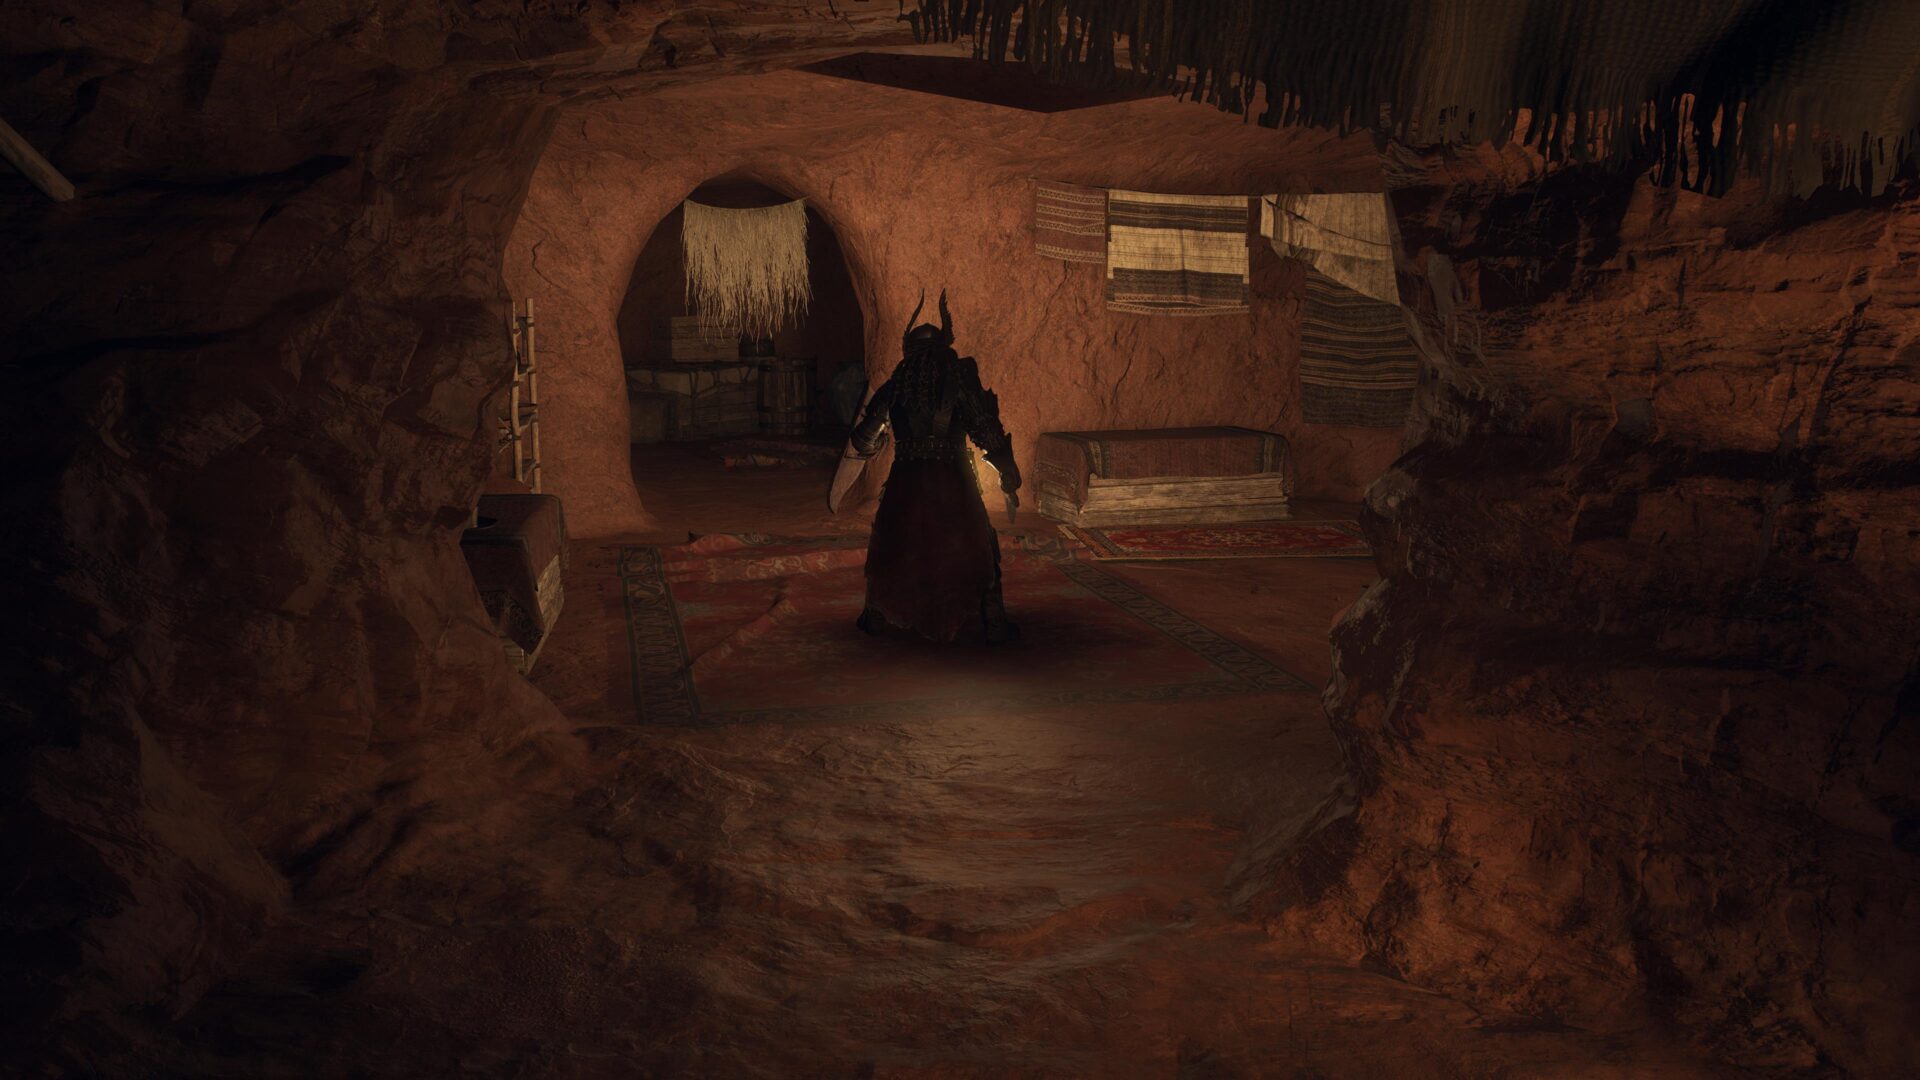
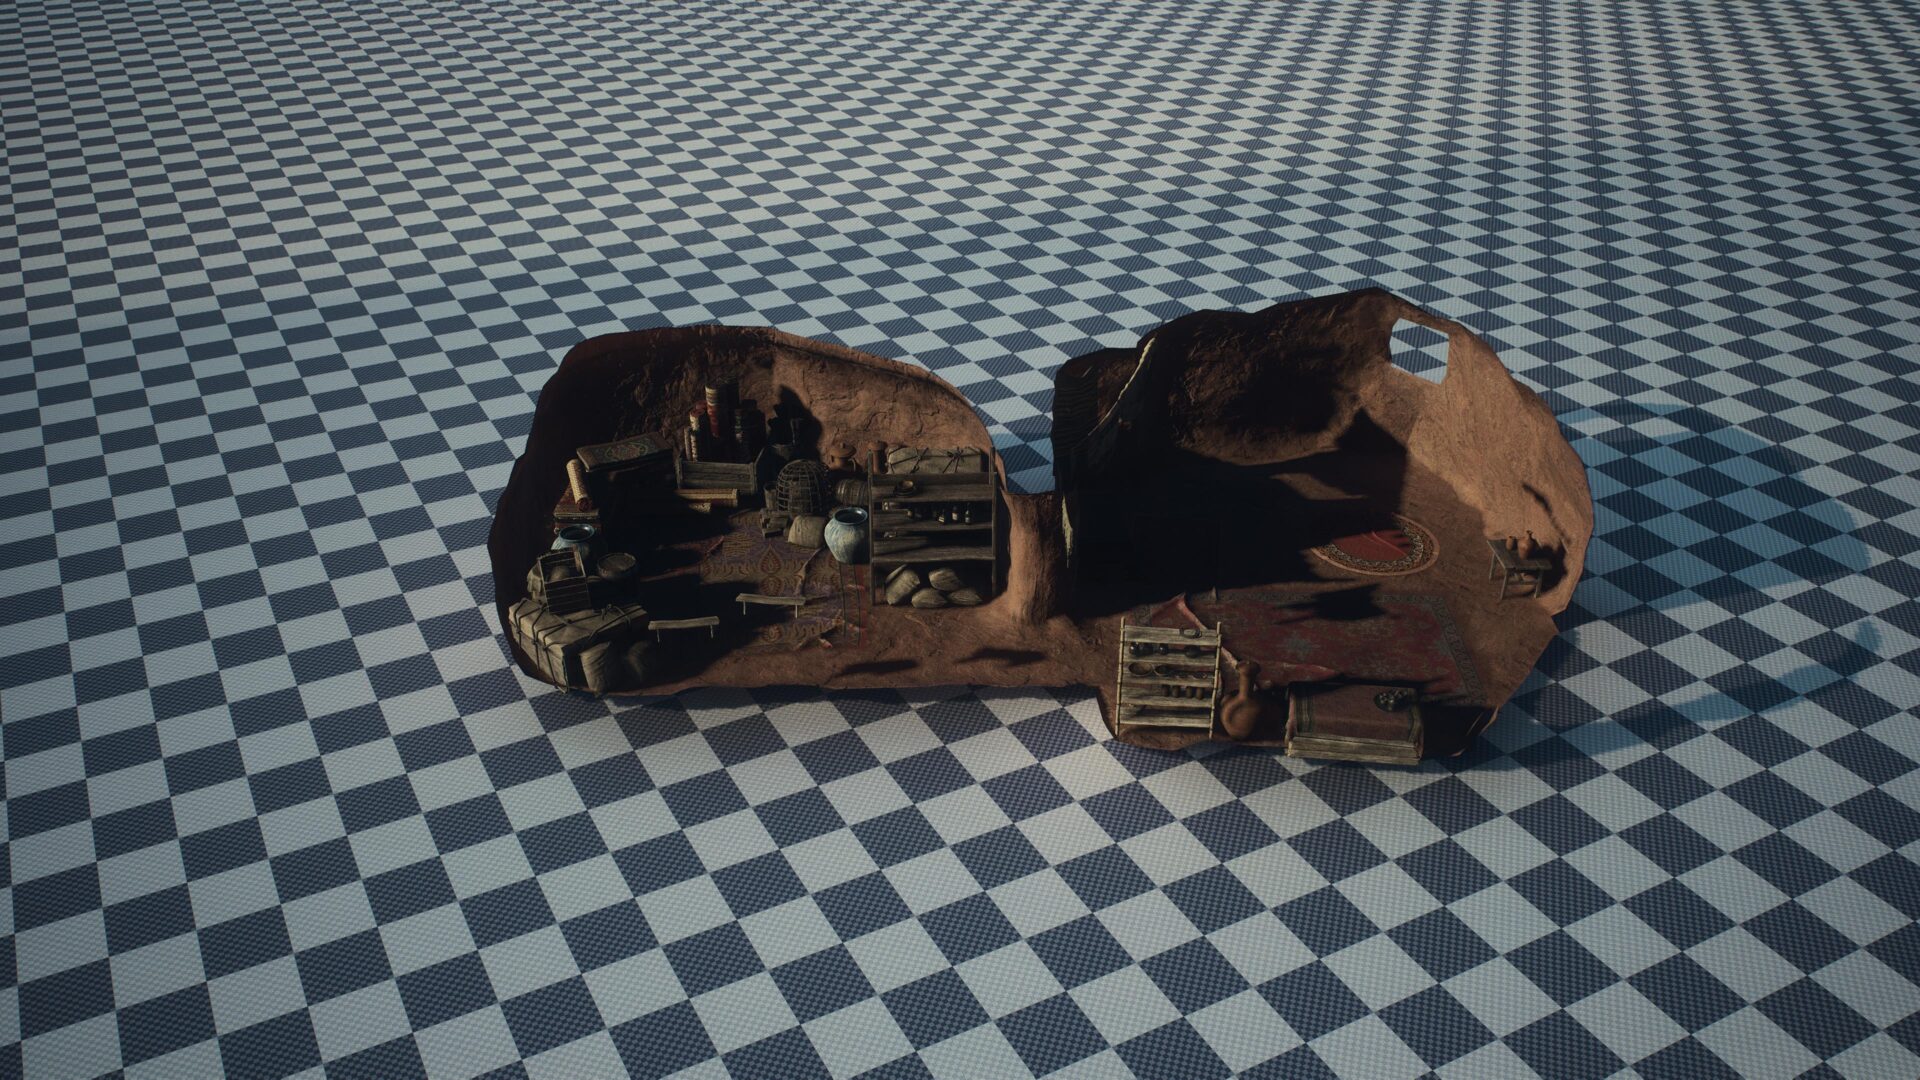
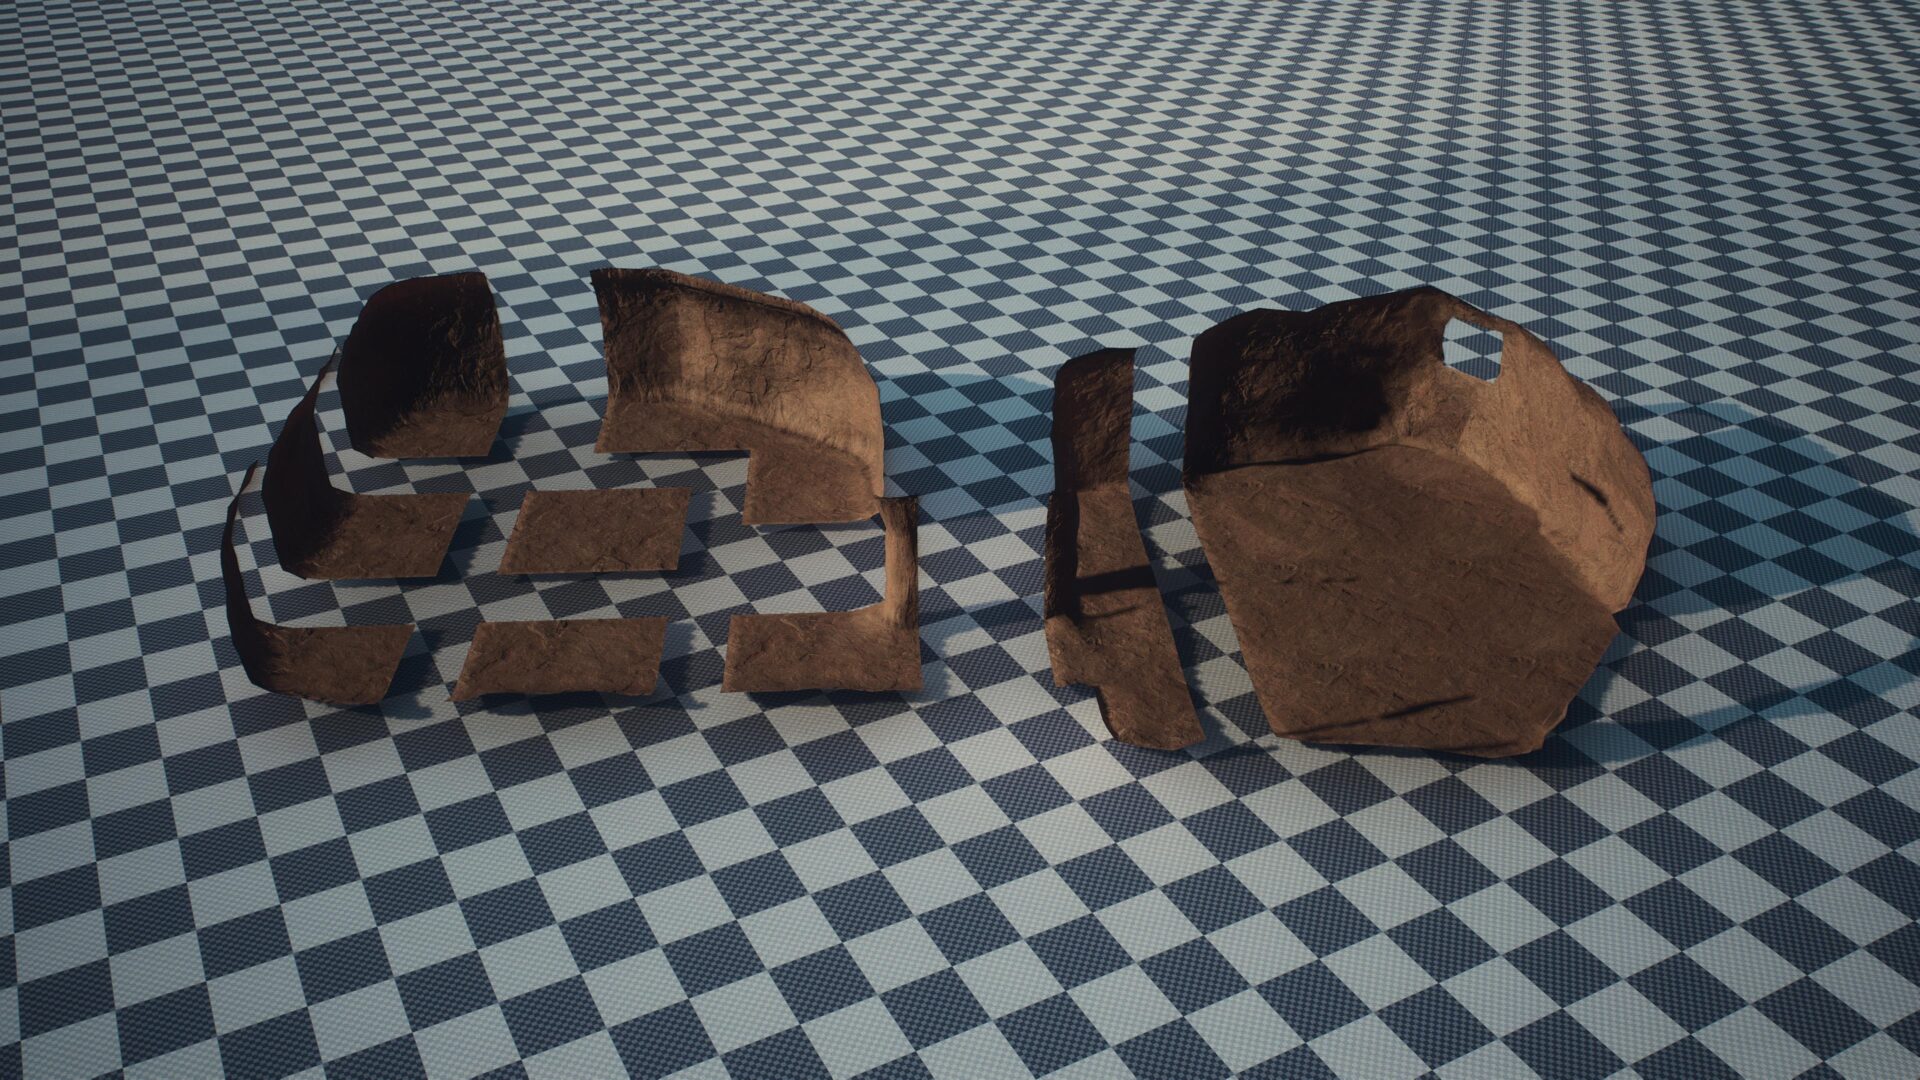
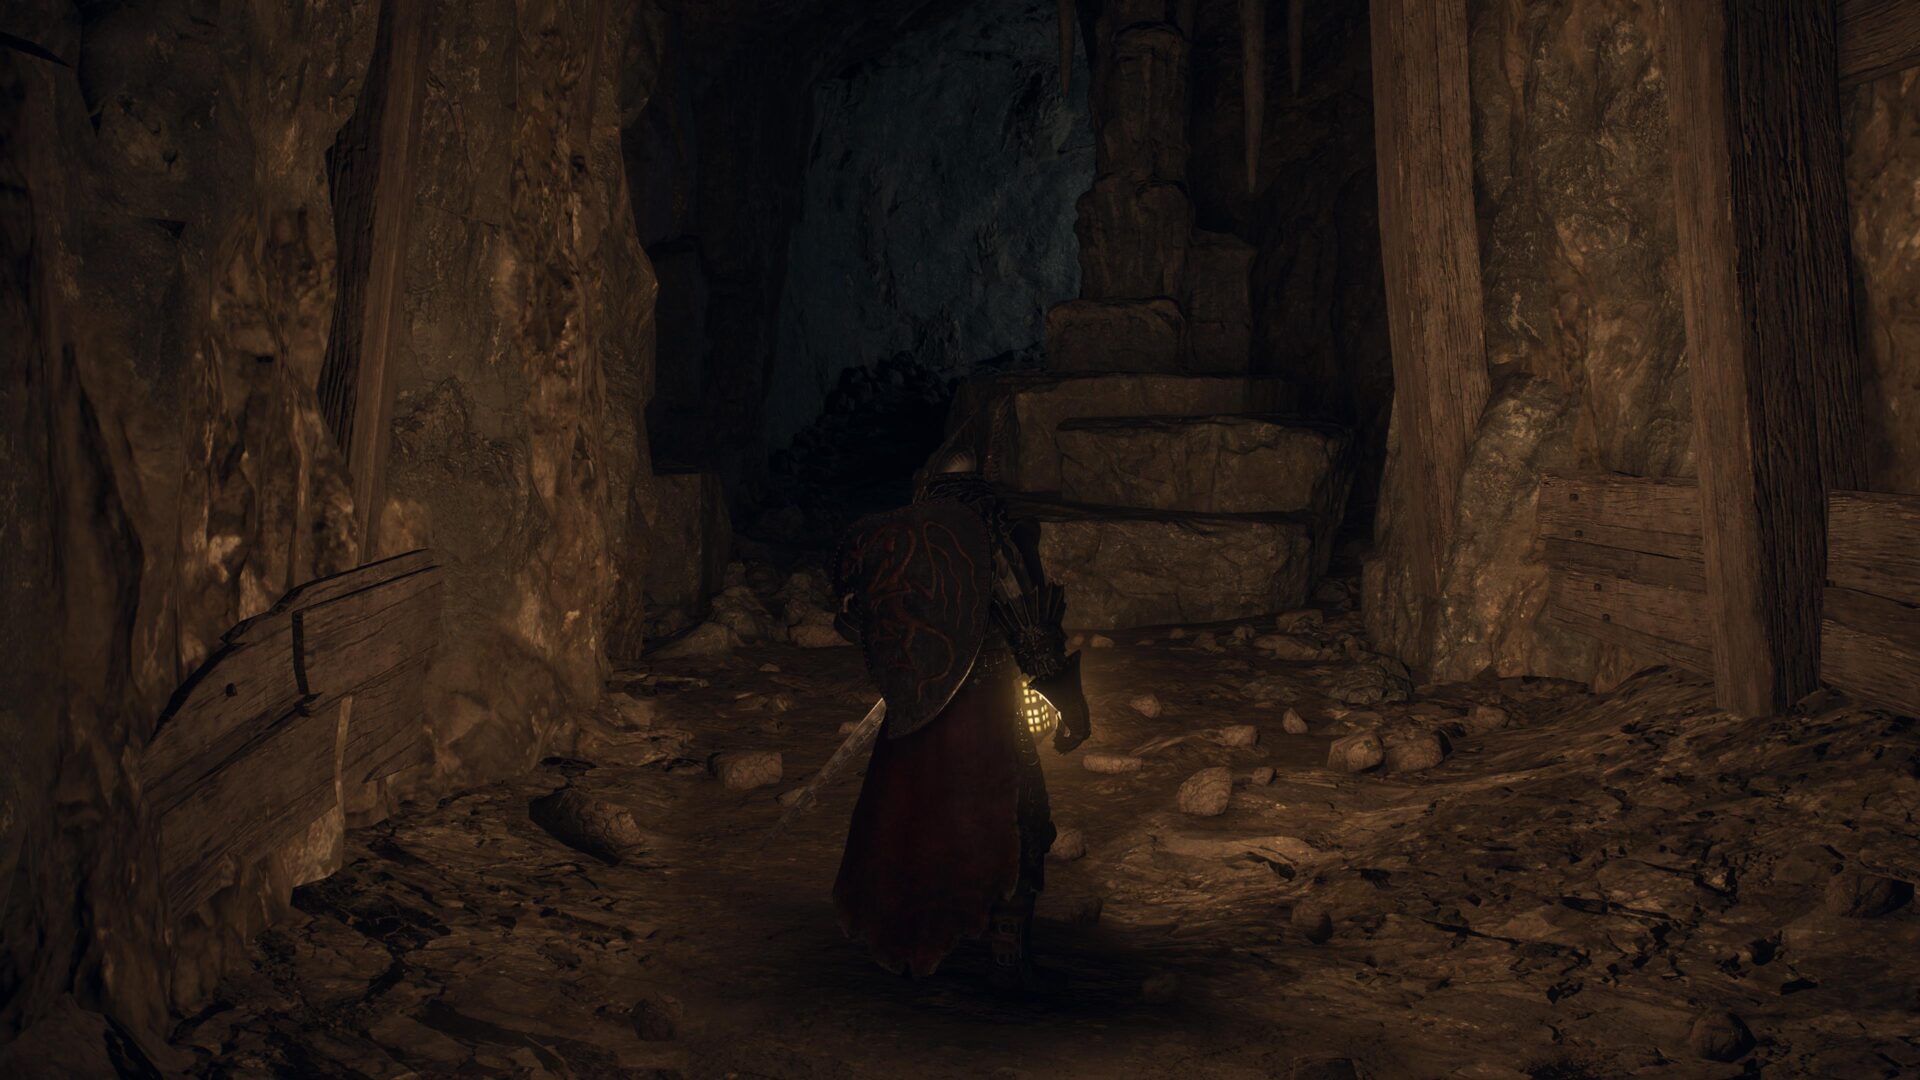
A house in a cave in the Baku Batal region. The right is divided into small pieces, while the left is a large module. If the modules are overly divided, the whole thing will look hard, so modules with a soft impression are mixed as accents.
“We worked with the art section to design and keep the overall design organic, but we also tried to build it by combining parts,” Lead Environment Artist Miguel Alonso Hernandez said, “and in the end, each part was assembled on the RE ENGINE, allowing us to freely change the level design.”
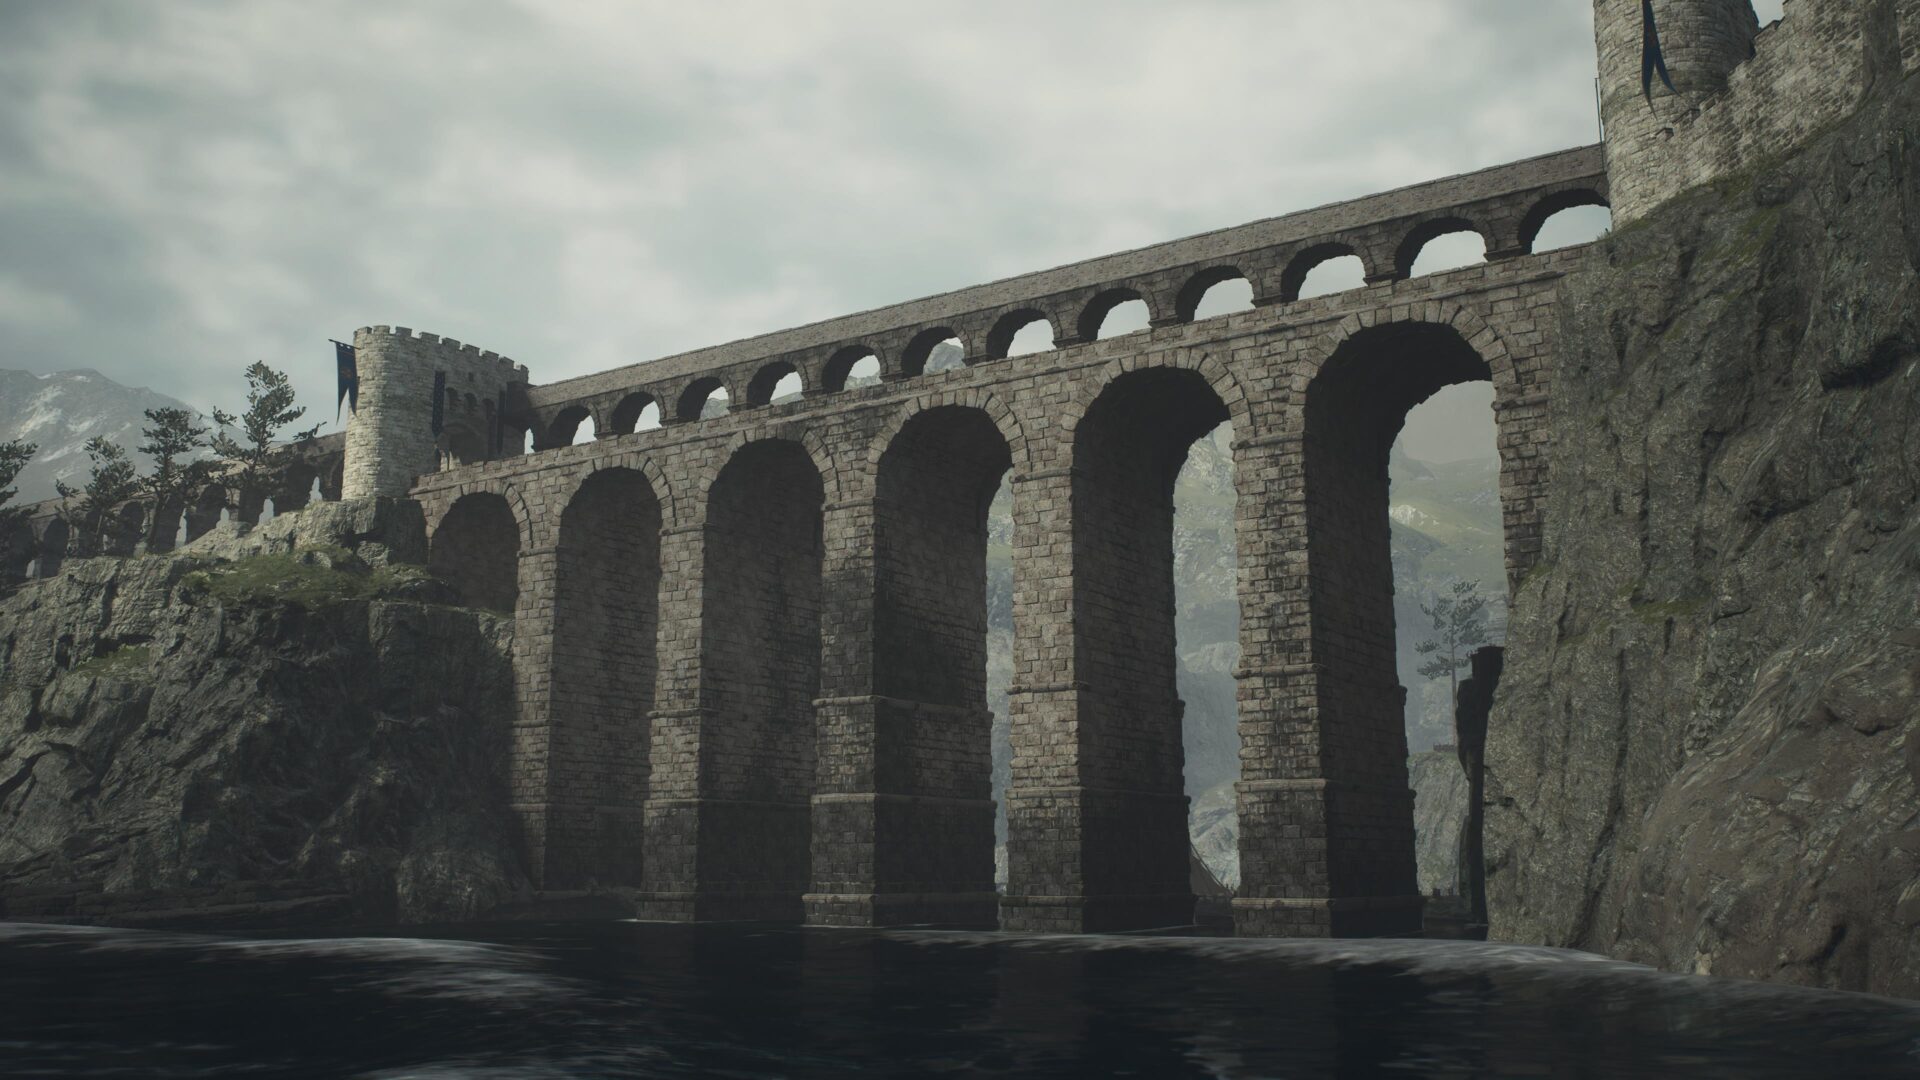
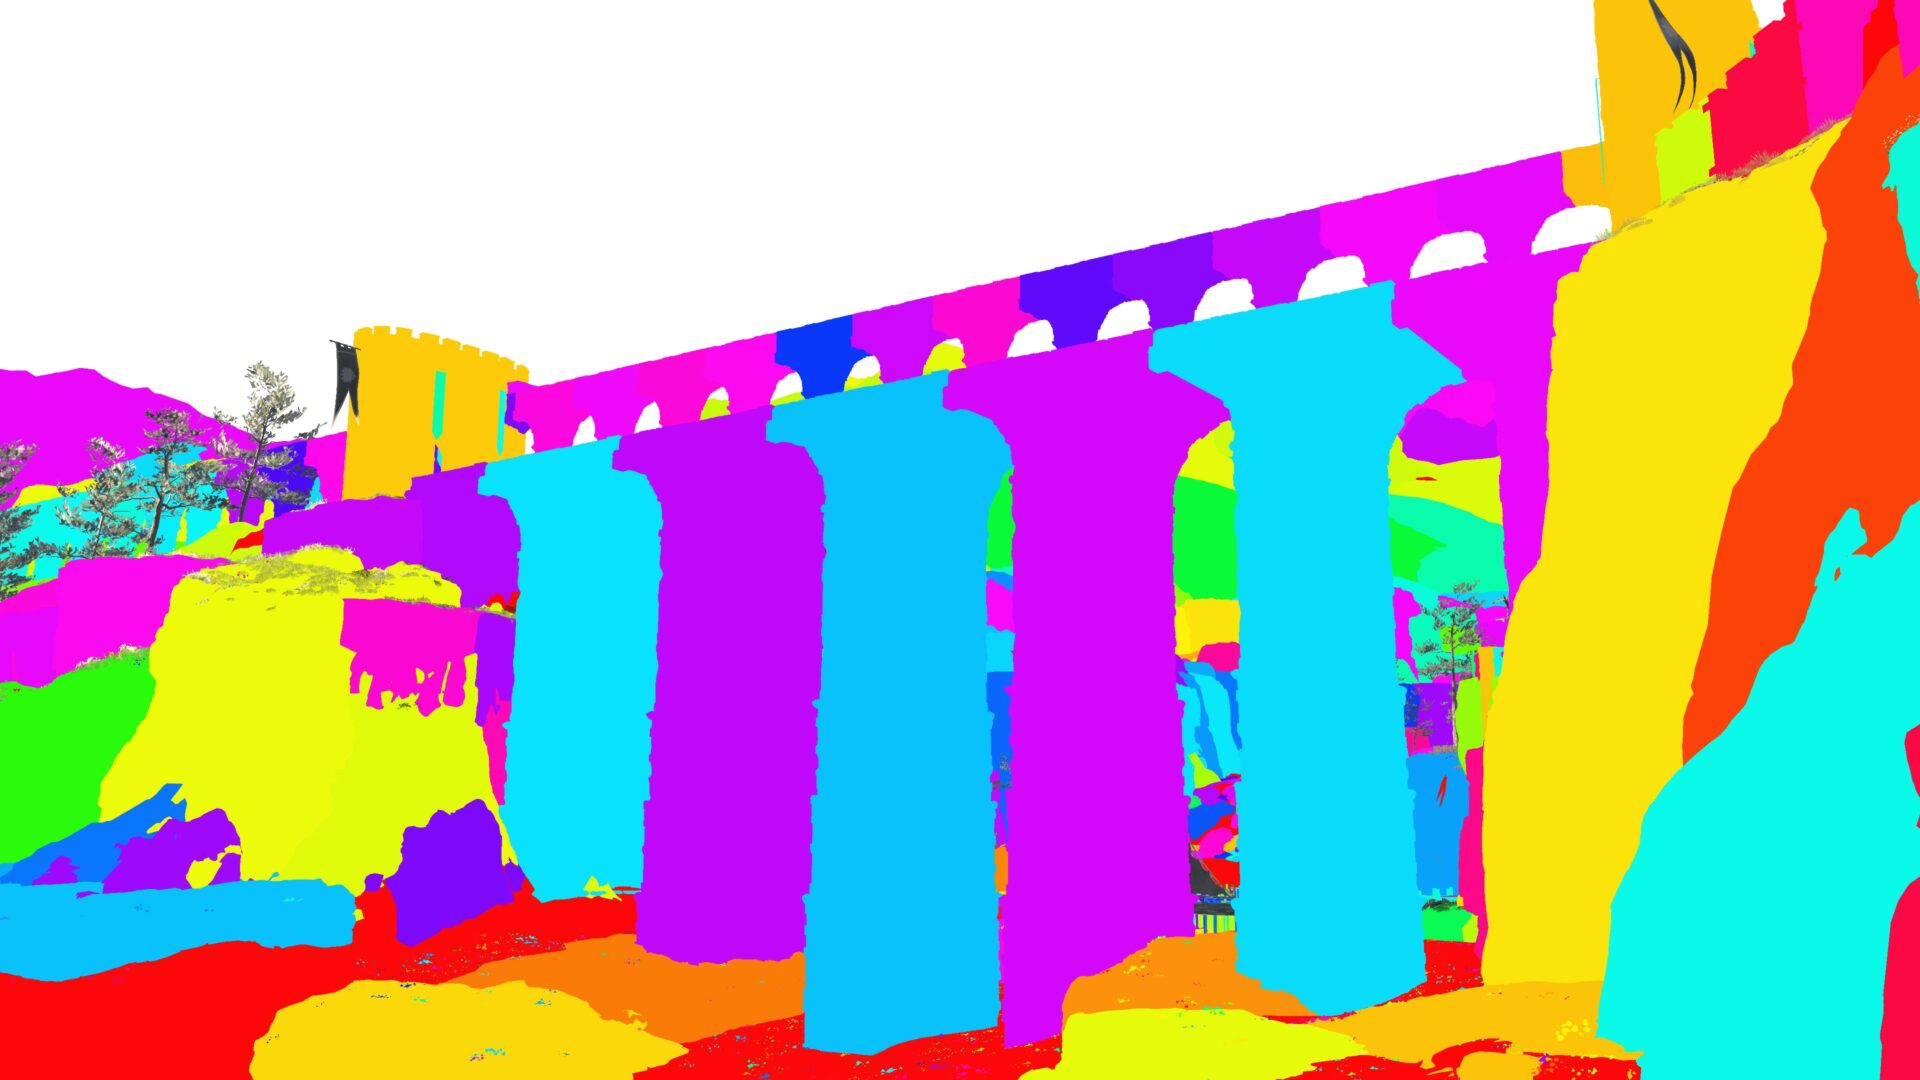
Models and modules of bridges. Identical modules, such as water supply and bridge piers, are the same color. Even if they look the same at first glance, they’re actually entirely different modules.
Immersive, atmospheric weather—with less cloudy processing power
The weather changes over time and by location in Dragon’s Dogma 2.
While there’s a correlation between certain aspects like rain and ice magic, the primary weather conditions basically have no direct impact on gameplay. In addition, the director asked the team not to overload the processing systems with the weather system, which was an issue in the previous Dragon’s Dogma title.
There’s a good reason why the weather changes throughout the game: to create a sense of adventure as the player goes through the story and world. The director instructed the team to make a weather system that “lets you enjoy different atmospheres in each region.”

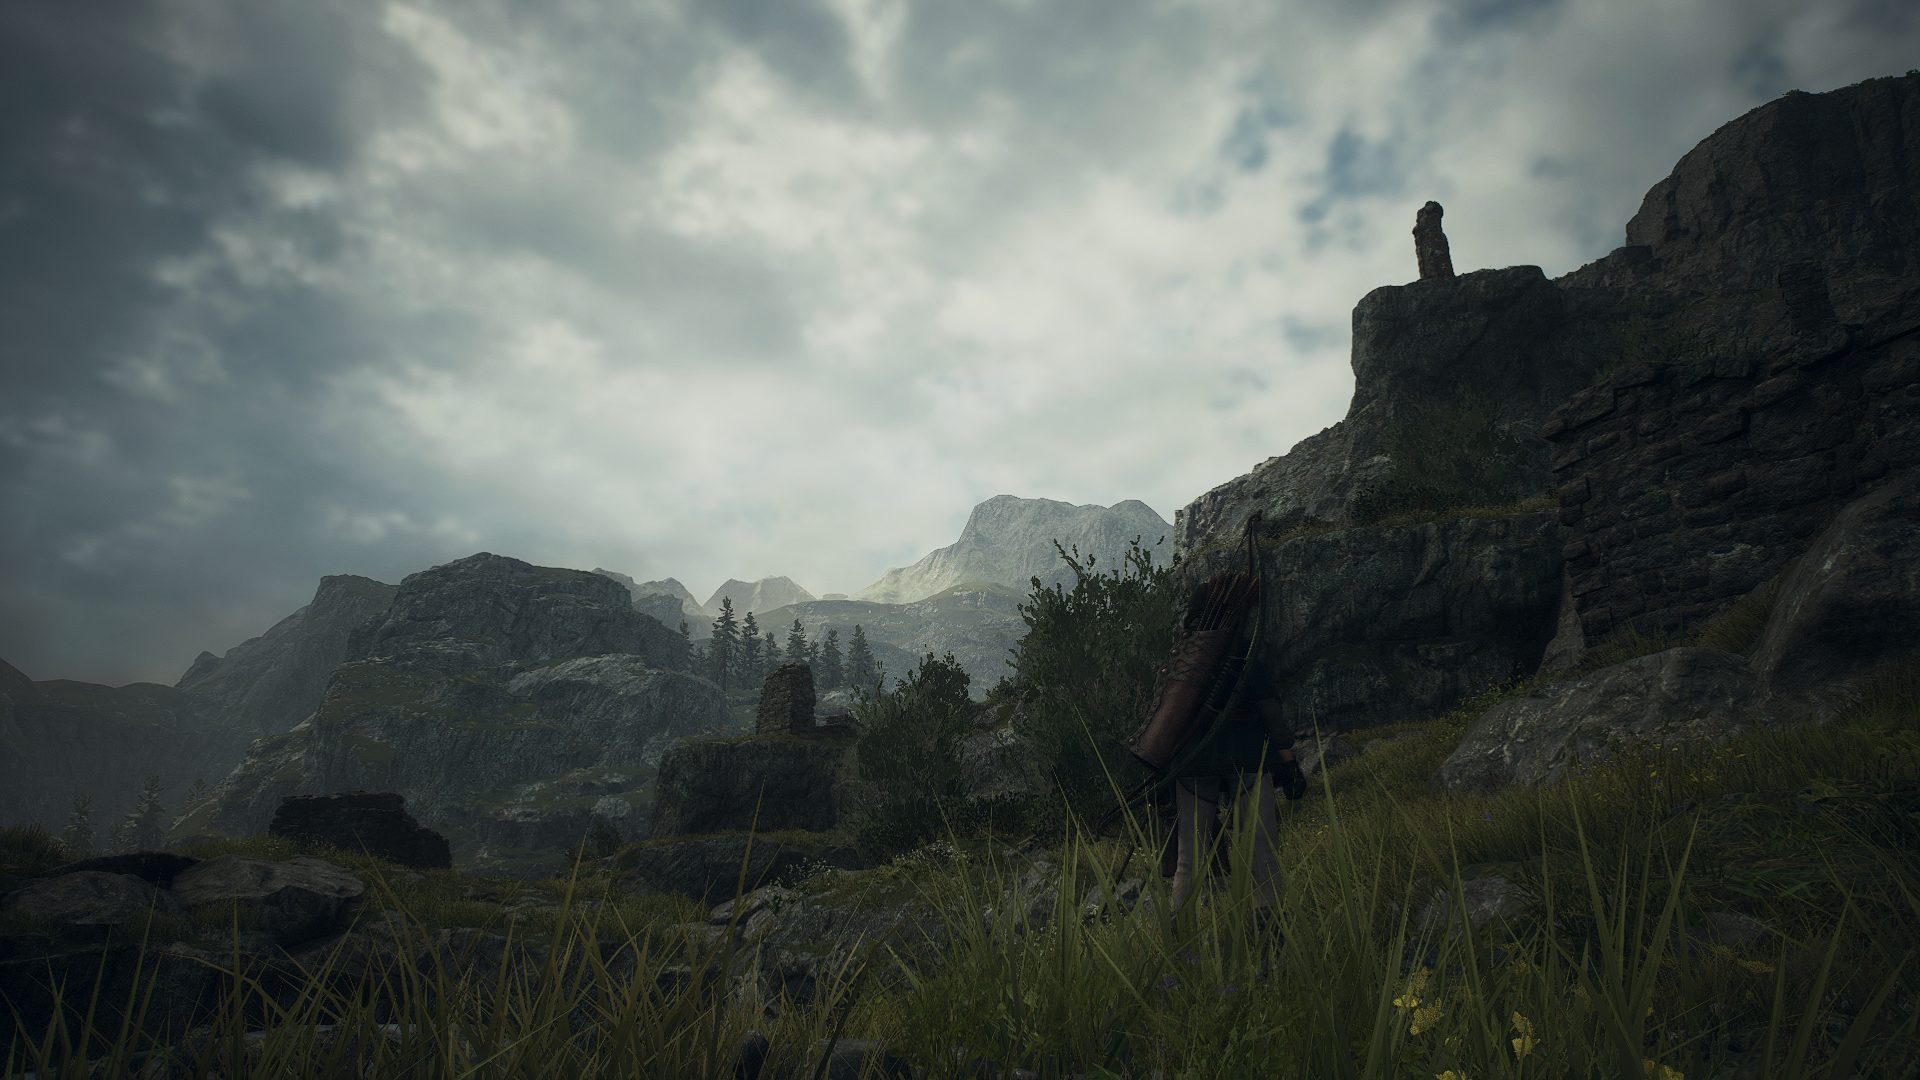
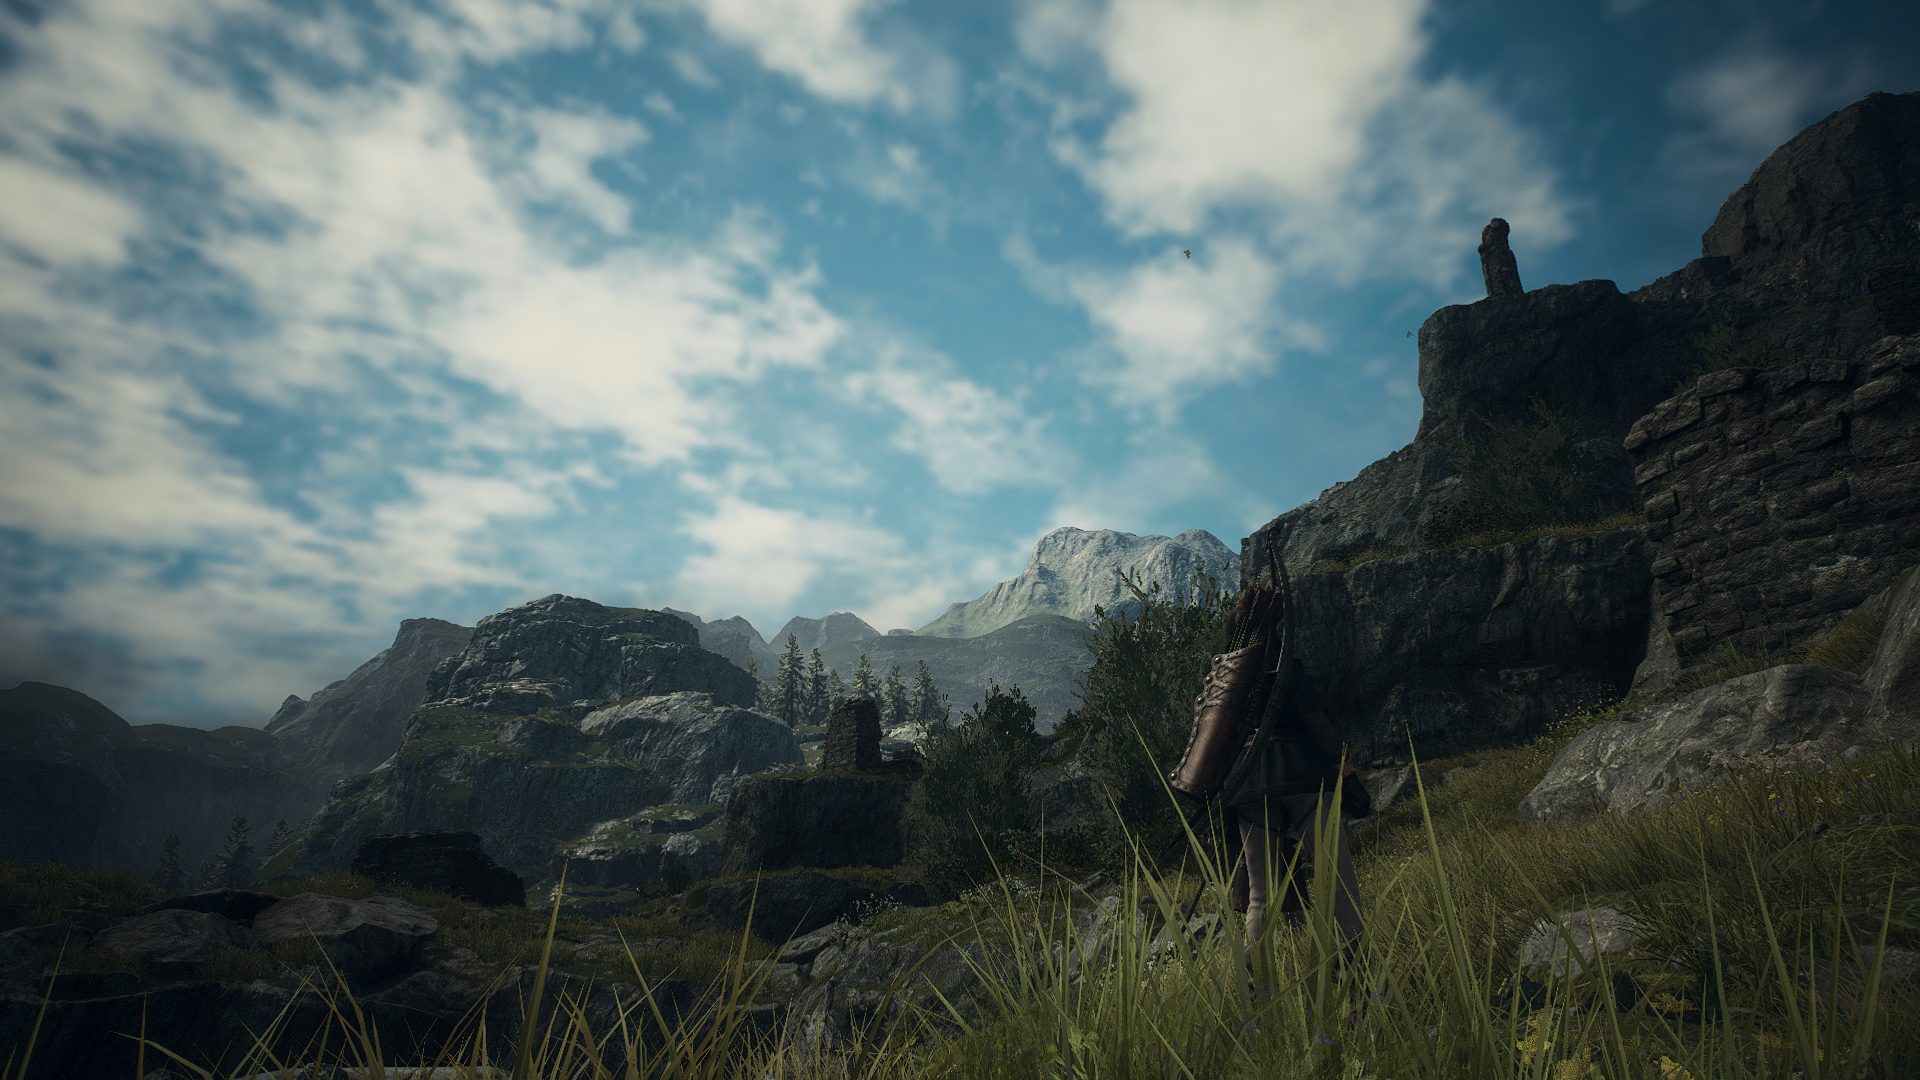
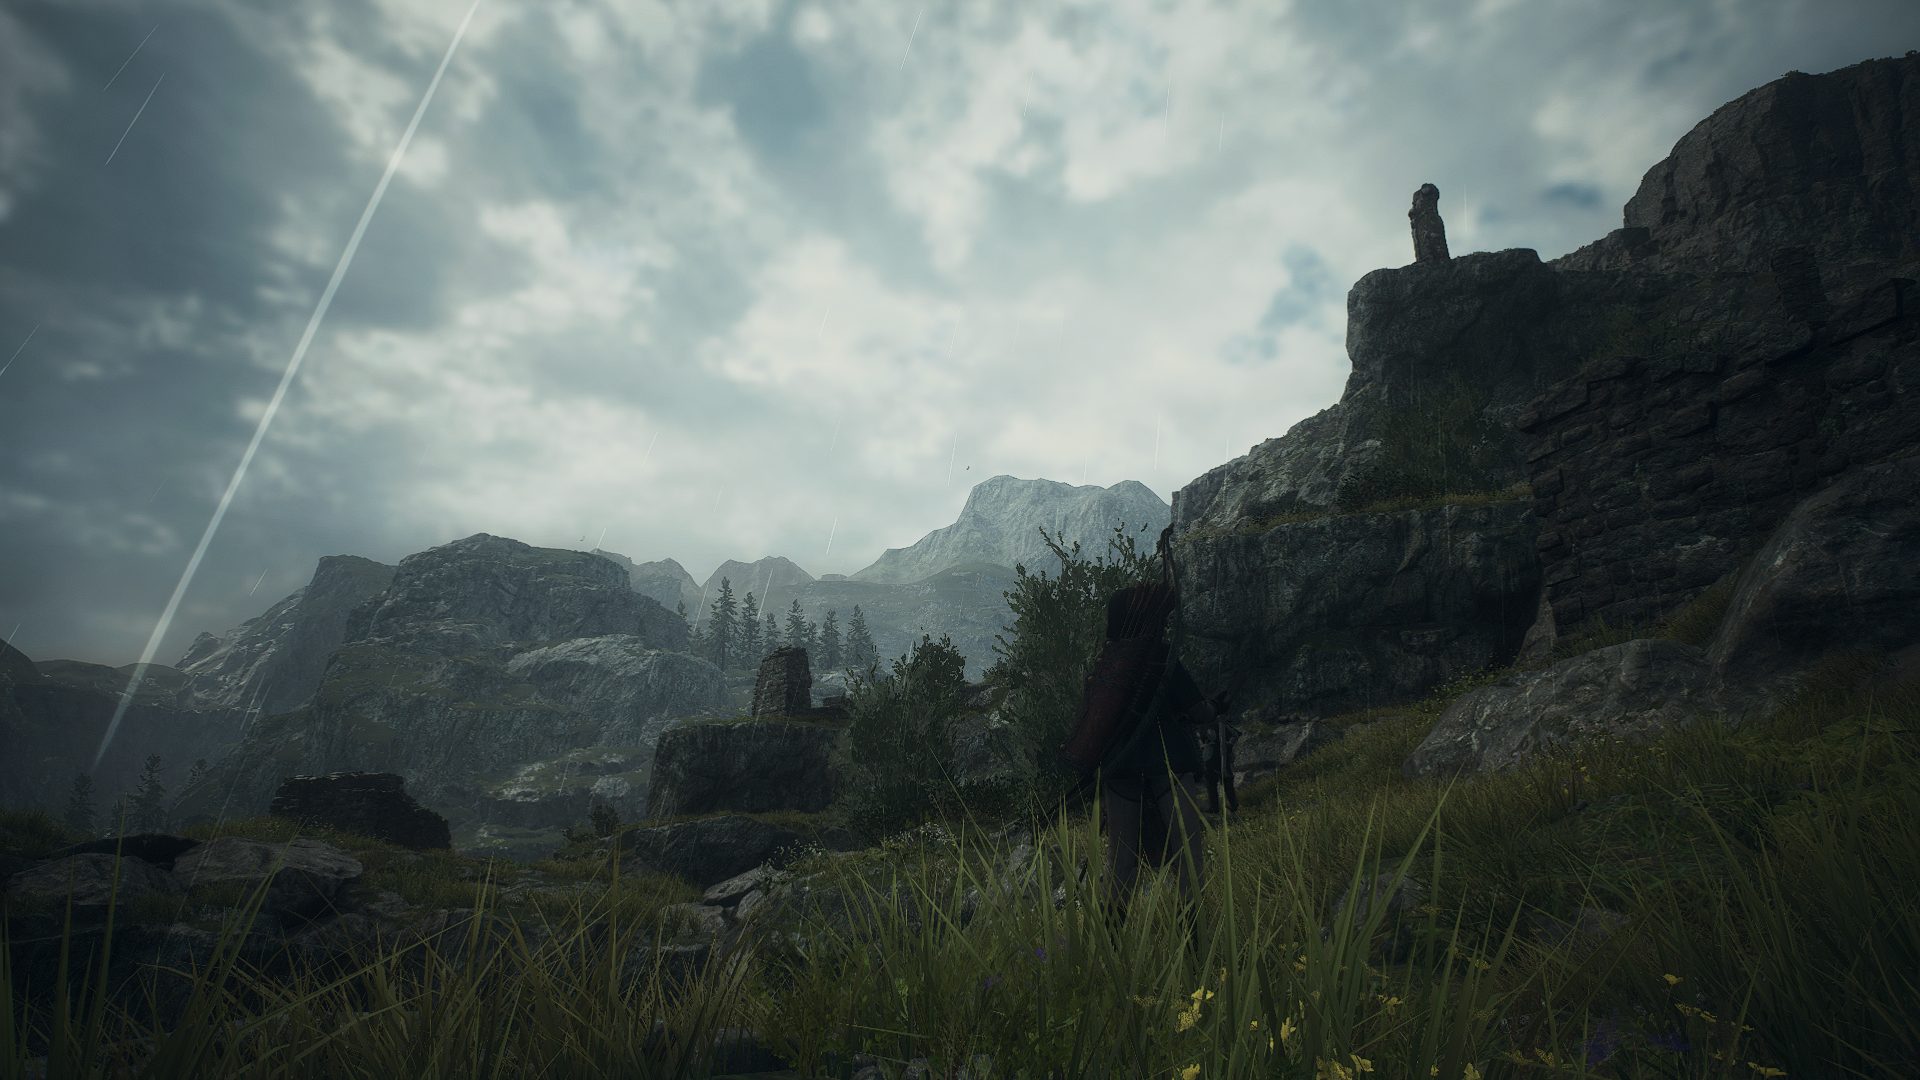
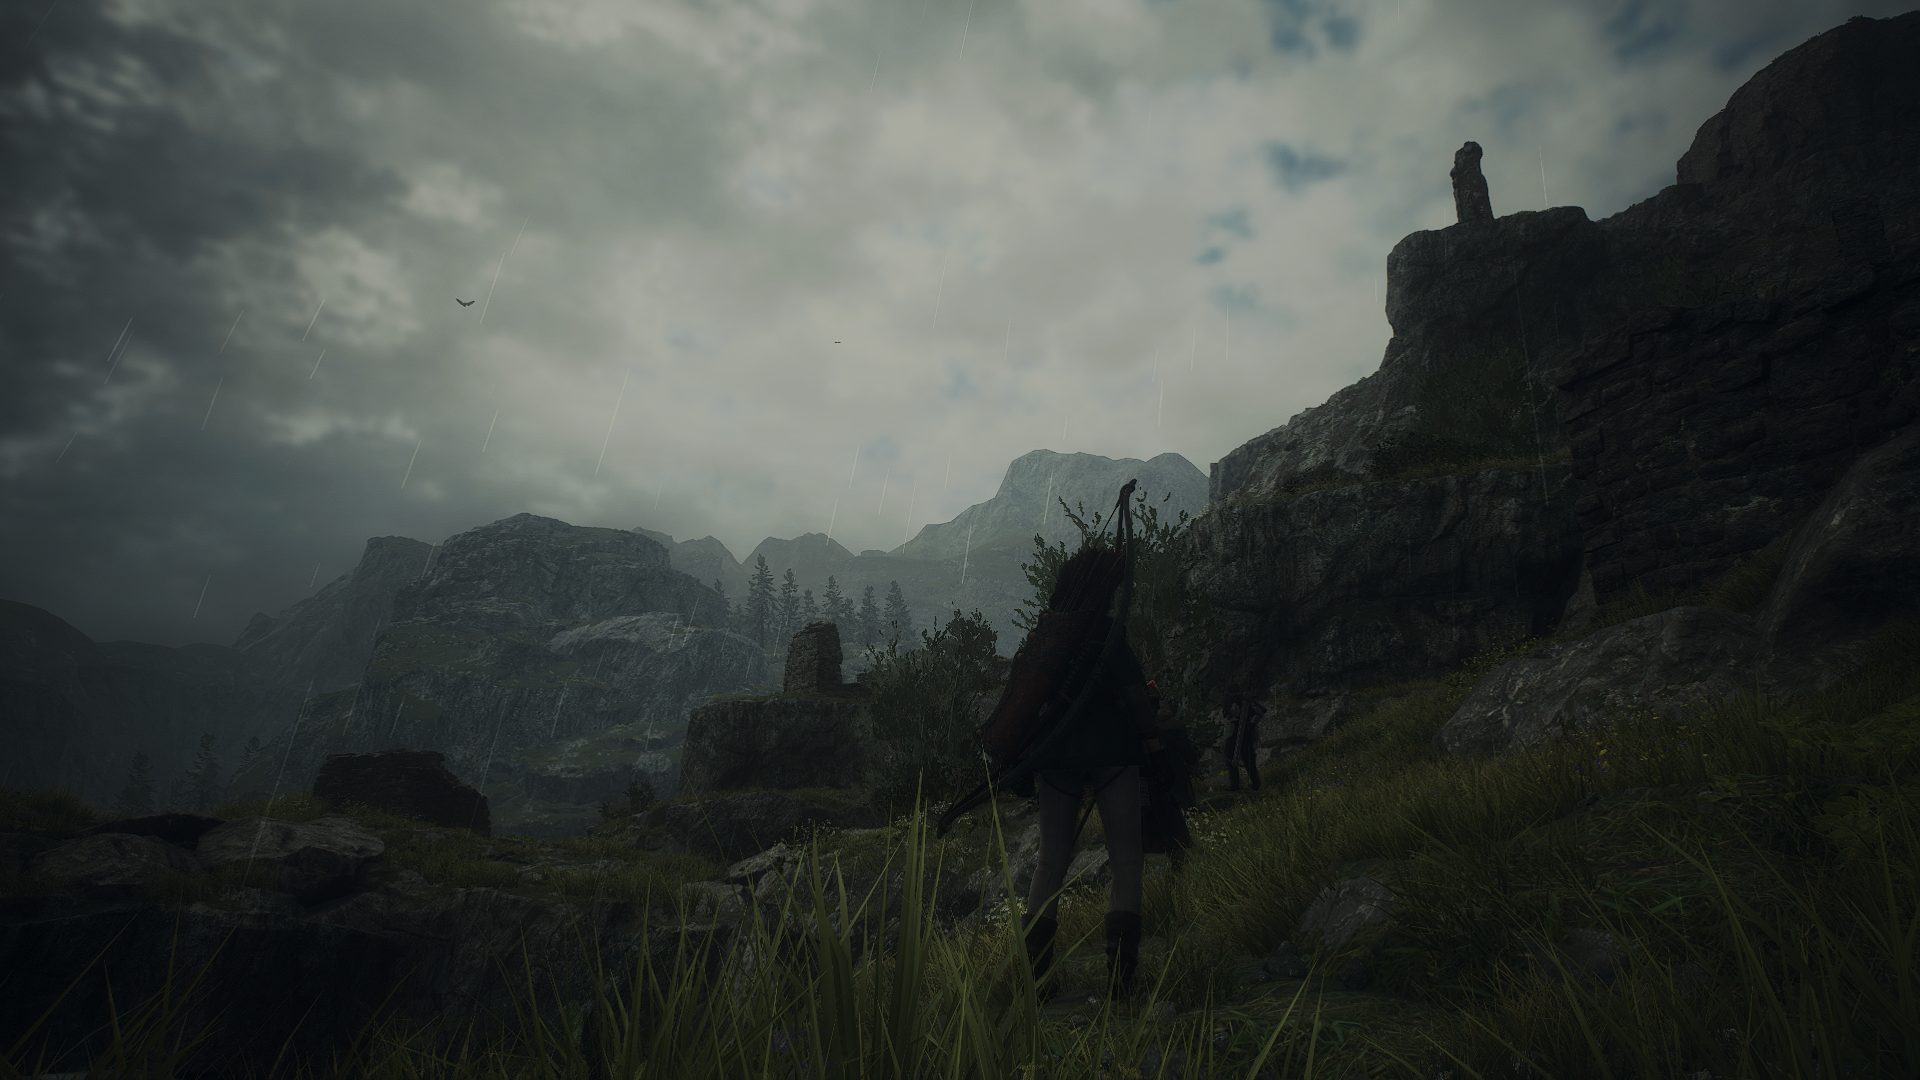

Even when it was sunny, the appearance of sunshine and clouds differed depending on the region. The team created a total of 15 weather types (5 types × 3 regions).
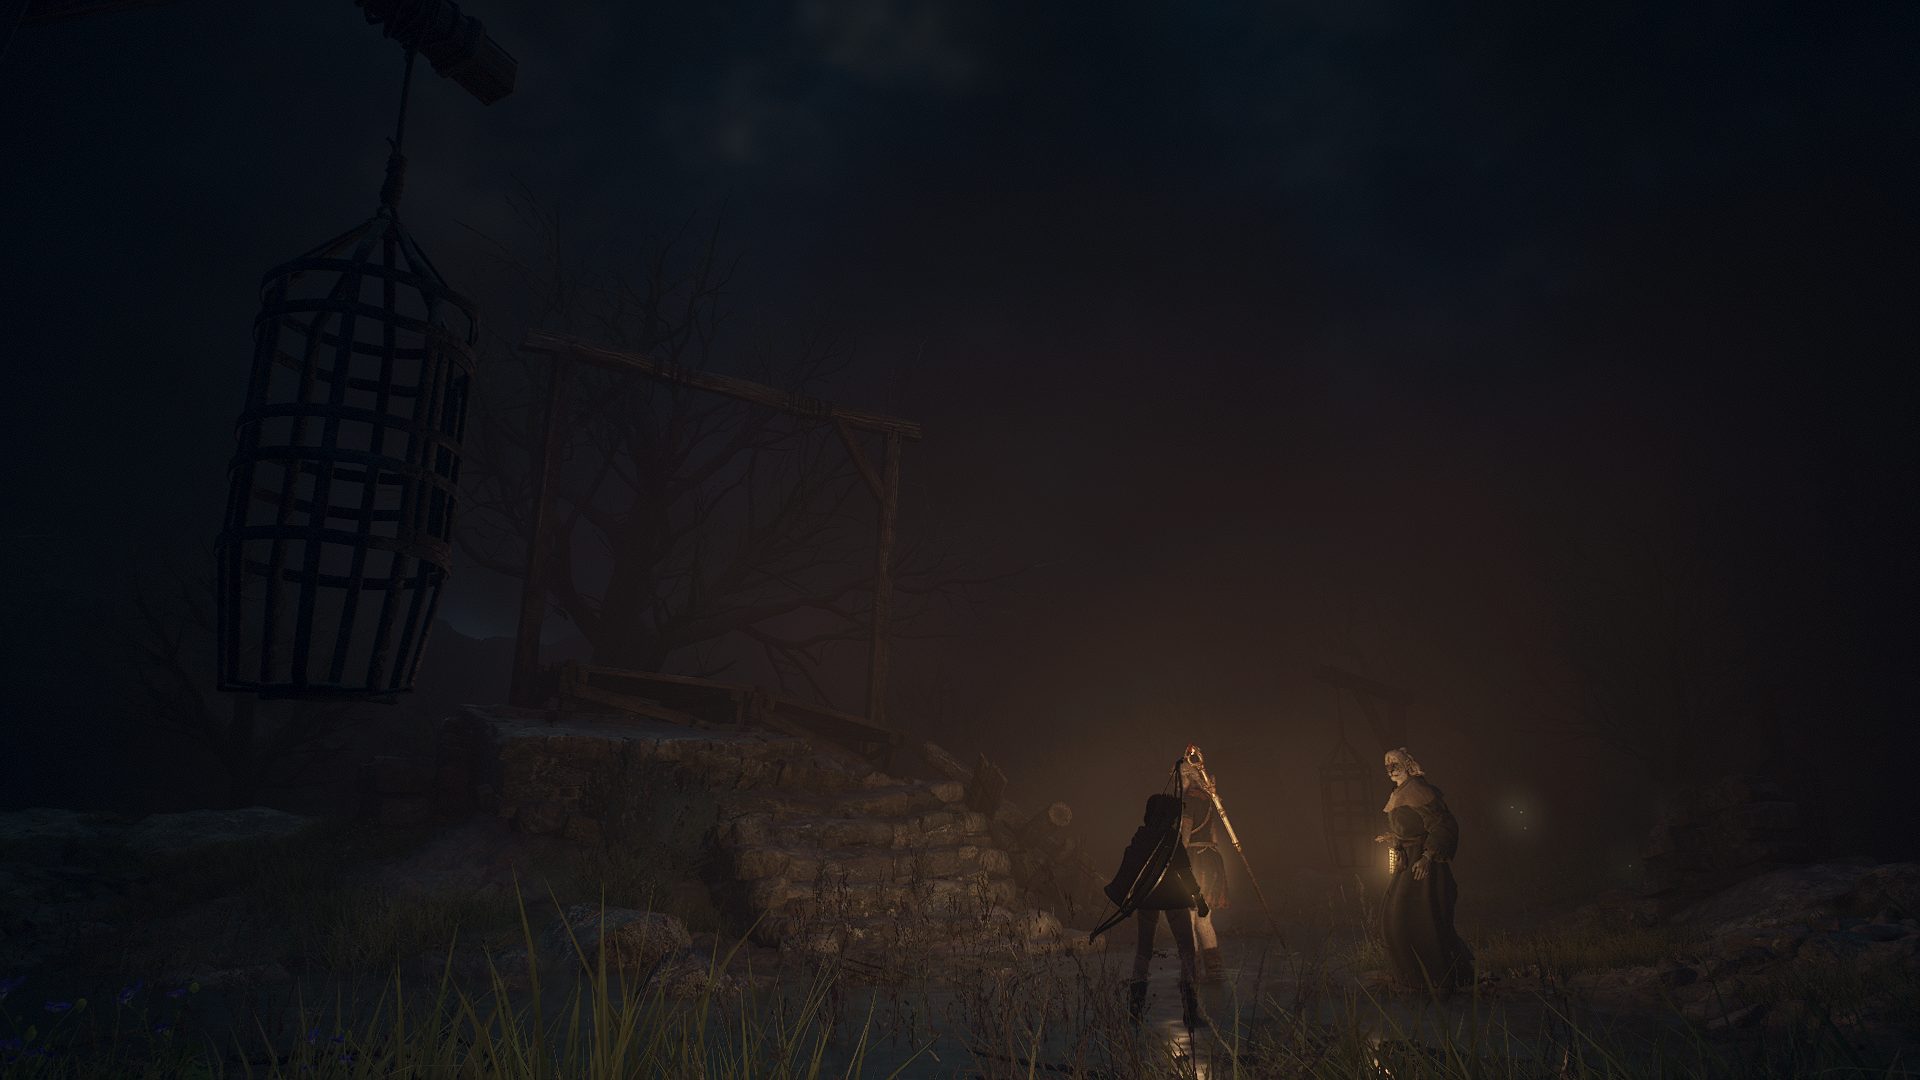
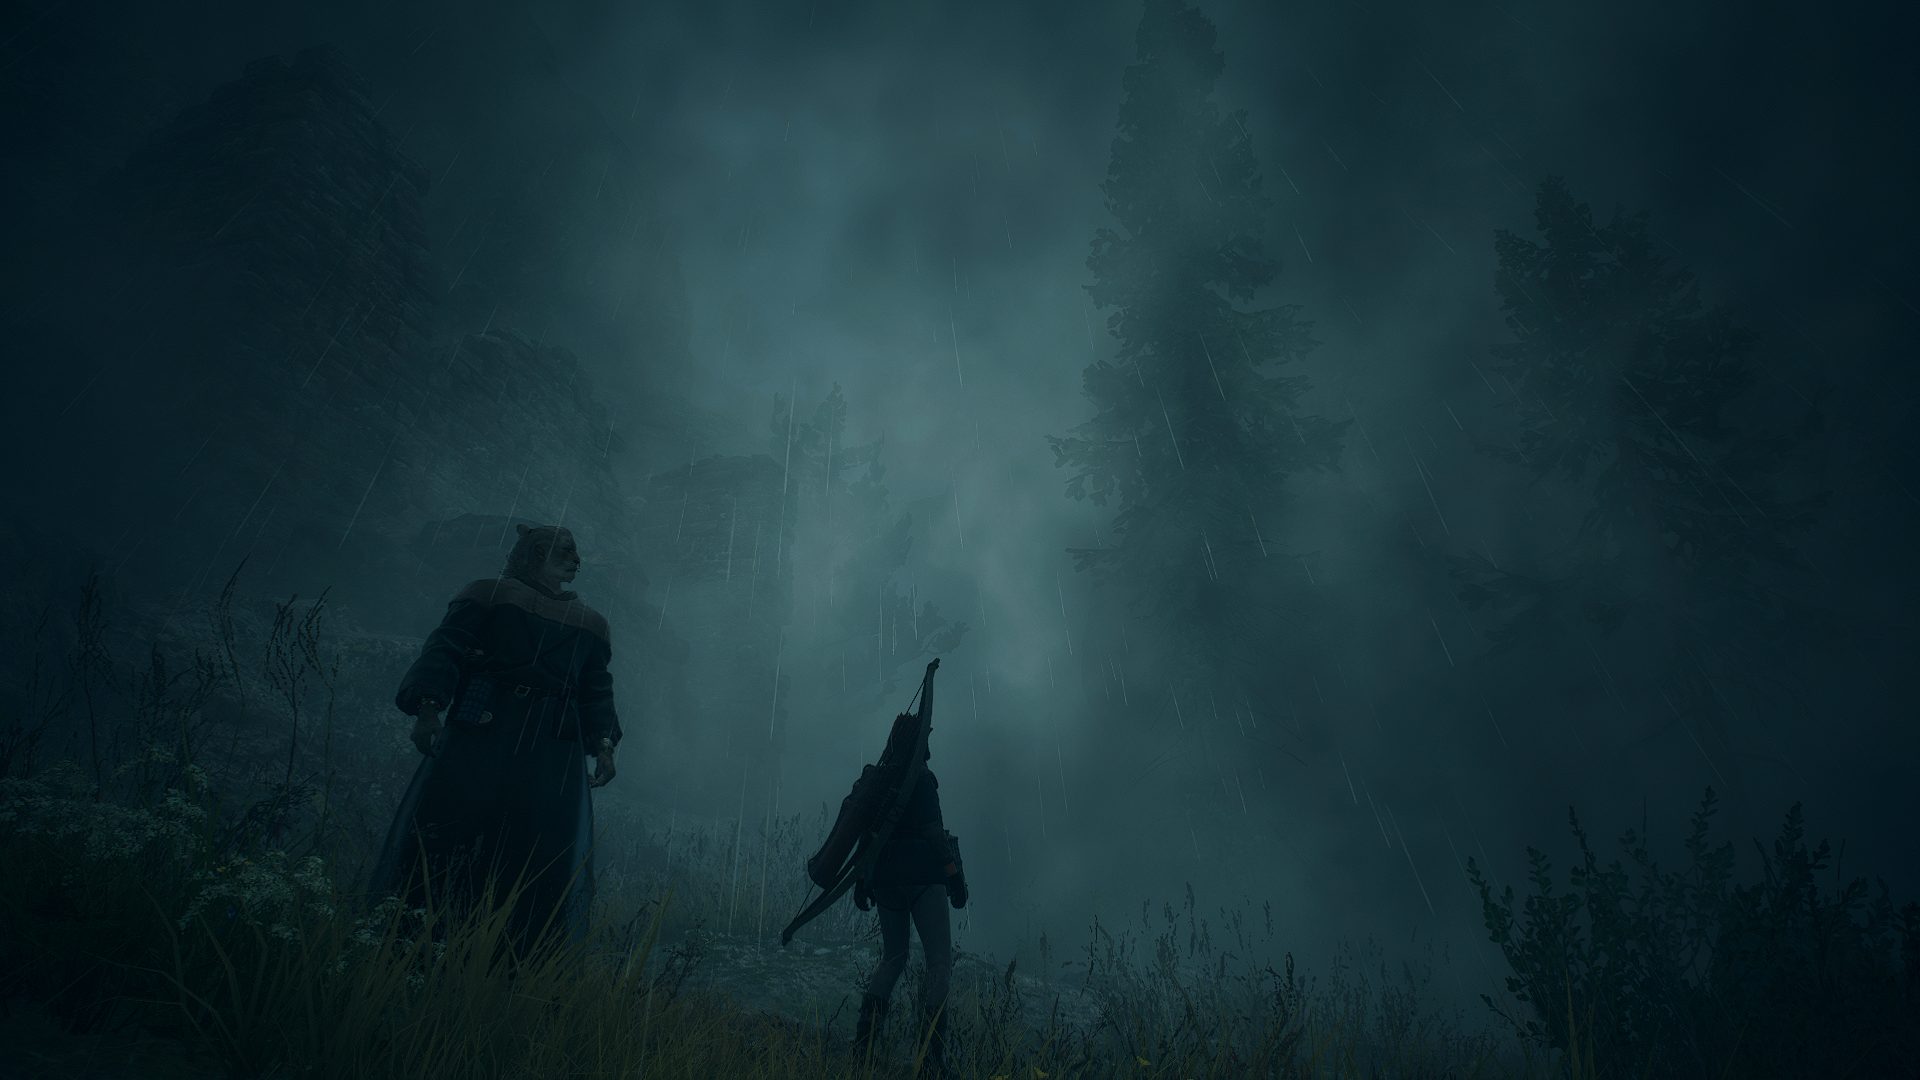
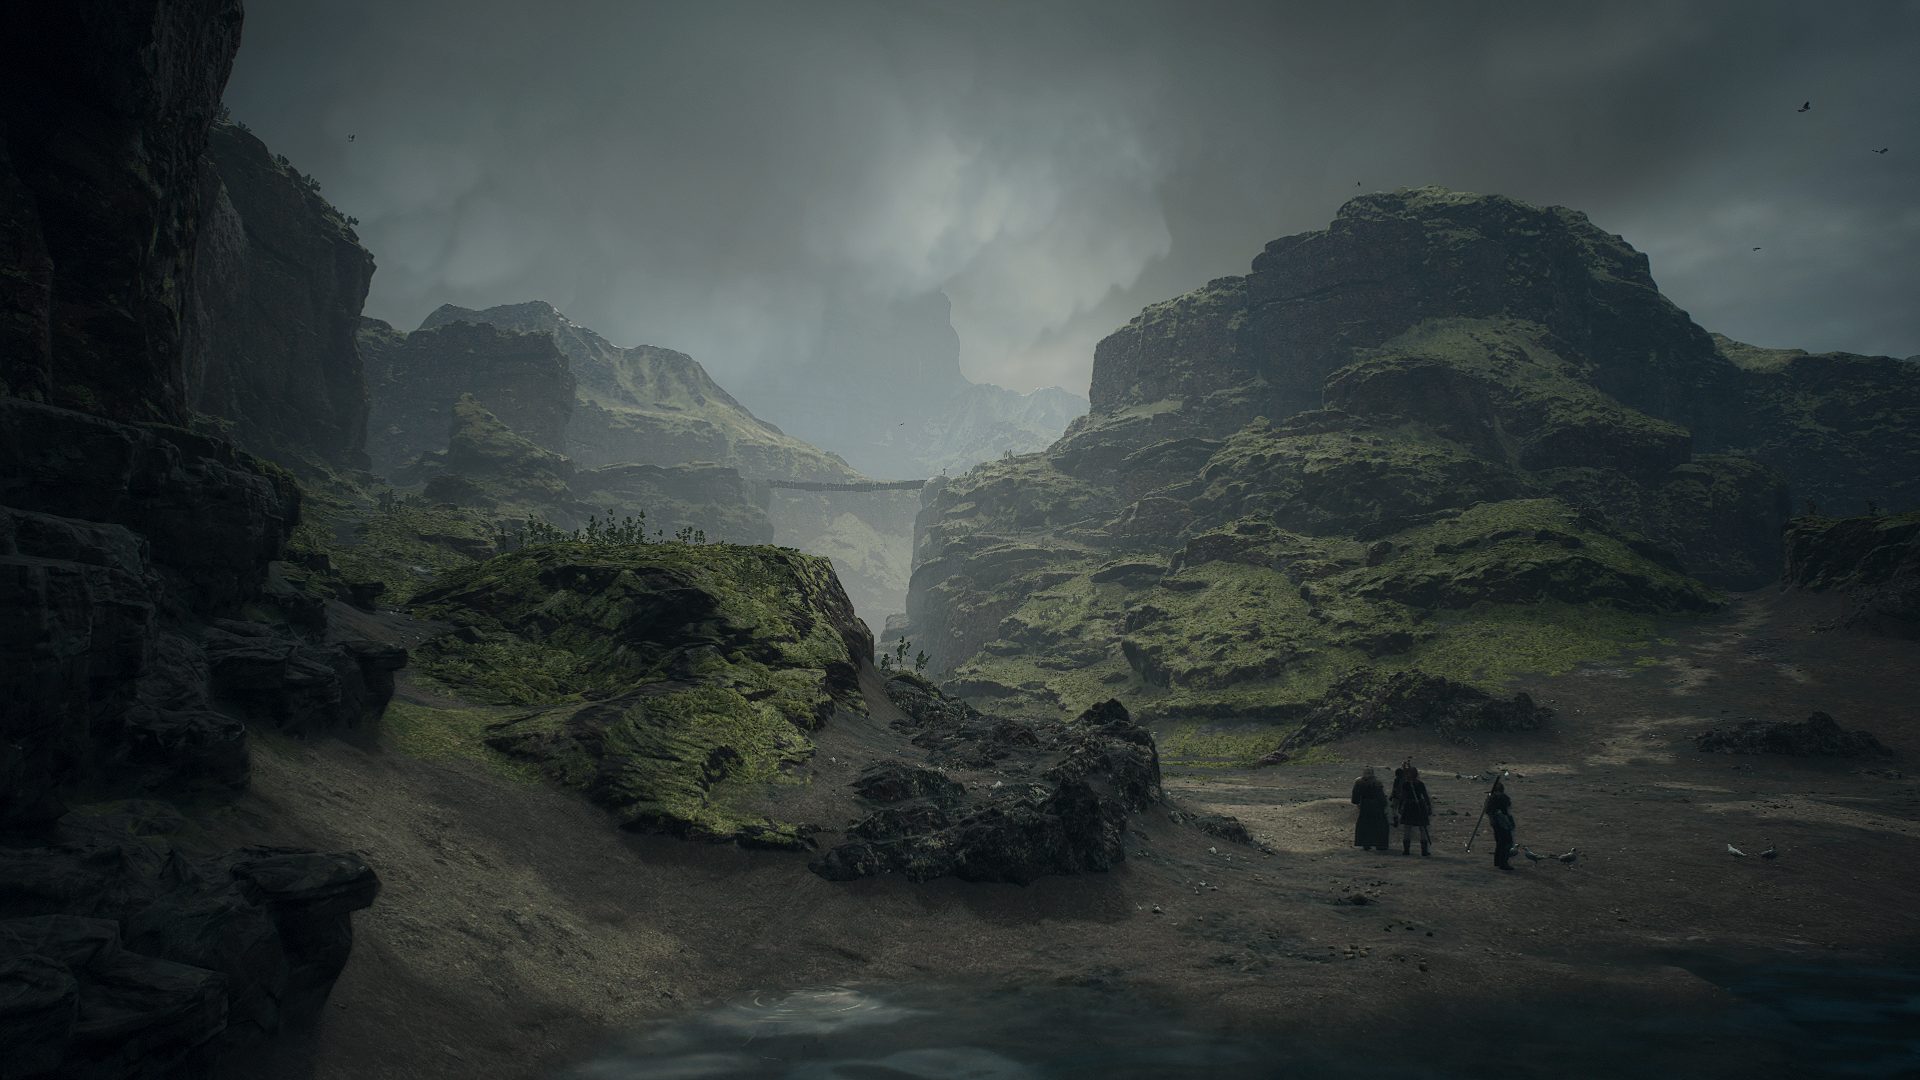
Unique region-specific weather. In heavy rain areas, it rains continuously day and night, reducing visibility. The foggy marshes also create a sense of dread. The weather is managed and looped on a 28-day schedule. This system was also present in the previous Dragon’s Dogma title.
Environmental elements that change with the weather include atmosphere, clouds, sun haze, fog, stars, rain, and wind.
Keeping in mind the director’s note about processing loads, these weather condition generation features were developed from scratch over time using RE ENGINE and introduced for the first time in Dragon’s Dogma 2.
In RE ENGINE’s weather, “atmosphere” is a function that simulates how the lighting changes as the sun rises and falls. Just by entering the numerical value of the height of the sun, you can create a beautiful sunrise or sunset.
In Dragon’s Dogma 2, it’s dangerous to go out at night. Therefore, it’s necessary to make it easy to understand when it’s evening by appearances alone, so orange lighting is strongly used this time of day.
When the sun goes behind a cloud and casts a shadow, the cloud’s shadow (CloudScape) risks taking up too much processing power if it casts onto the ground as normal. Instead, the sun shade (ShadowProjectionTexture) is used to pseudo-project the cloud pattern and weaken the sunlight.
The range of fog (VolumetricFog) can be specified with a box, and it can be expressed as if it is flowing under the influence of the wind or gradation. It’s also possible to express fog along the terrain.

The shader changes caused by rain are simulated throughout the entire “life” of rain: it falls, wets the environment, creates puddles that ripple in the rainfall, and slowly dries out. (Puddles don’t form on inclines or where any mesh is bent.)
In addition, technology was introduced to shield the effects of rain indoors and in caves, making it possible for the character to dry out while under a roof or cover. In order to shield the raindrop particles, the team used DepthOcclusion, which already proved effective in Capcom’s Resident Evil 7.
There are five types of wind strength: no wind, light wind, wind, strong wind, and storm. Each type affects a variety of elements, such as the swaying of grass and trees, the movement of cloaks and hair, and the way smoke rises.
The weather type determines which wind will be generated and at what rate; to synchronize these systems and settings, a management system was built with the cooperation of the NHK’s Science & Technology Research Laboratories.

Towards a brilliant future for game engine technology
Dragon’s Dogma 2’s development “brought together all of our accumulated technical know-how and also created many new ideas,” Producer Hirabayashi said.
The challenges and workflows discussed in this article make up only a small part of the game’s development, yet it’s clear how much know-how and technology RE ENGINE gained throughout the process.
Hirabayashi reiterated that RE ENGINE is “a collective of intelligence, just like DCC [digital content creation].”
The developments and feedback of various companies that use these DCC tools get back to Autodesk, allowing the company to make and upgrade tools for digital artists.
With RE ENGINE formulating powerful output through game development software such as Maya and MotionBuilder, it’s exciting to see what possibilities for game development lie ahead, especially knowing these tools will grow together. Behind the curtain of this massive gaming experience, there’s a brilliant glimpse of the future of technology.
Original text (in Japanese) by Akiyoshi Hizume
EDIT: Capcom, Autodesk
Dragon’s Dogma 2
Genre: Open World Action
Number of Players: 1
Release Date: Available Now (March 22, 2024)
CERO Rating: D (for ages 17 and up)
©CAPCOM
Take your game development to the next level with Autodesk’s innovative solutions.